Apache APISIX is an open-source, dynamic, scalable and high-performance cloud native API Gateway that you can use to create a traffic entrance to your APIs. In this tutorial, I will guide you on how to install Apache APISIX using Docker!
There are 2 ways for you to install APISIX with Docker, which are:
- Using the quickstart script from the api7.ai website
- Using the Docker Compose file from the GitHub Repository https://github.com/apache/apisix-docker/
Using the quickstart script from the api7.ai website
To install APISIX using quickstart from the api7.ai website, you just need to run the following command:
|
1 |
curl -sL https://run.api7.ai/apisix/quickstart | sh |
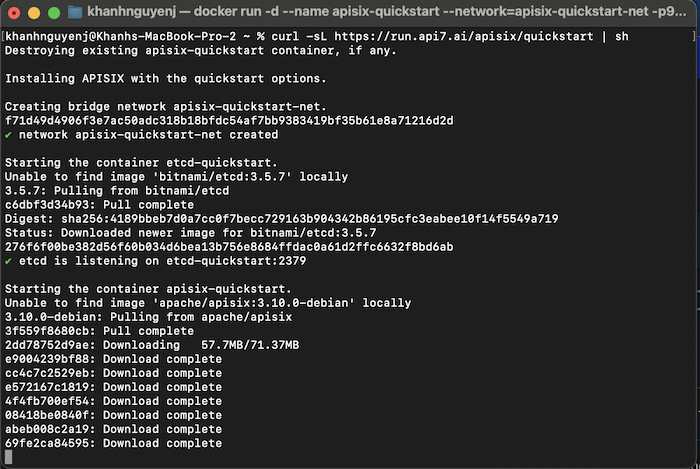
The quickstart script from the api7.ai website will automatically download and install the necessary Docker containers for Apache APISIX. These Docker Containers include Docker Container for etcd and Apache APISIX Docker Container as you can see.
In simple terms, etcd is a distributed key-value storage system with high synchronization and consistency!
My results are as follows:
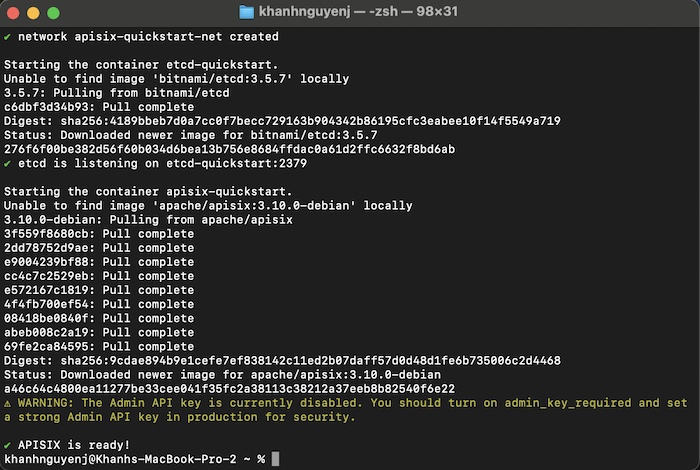
Now we have successfully installed Apache APISIX!
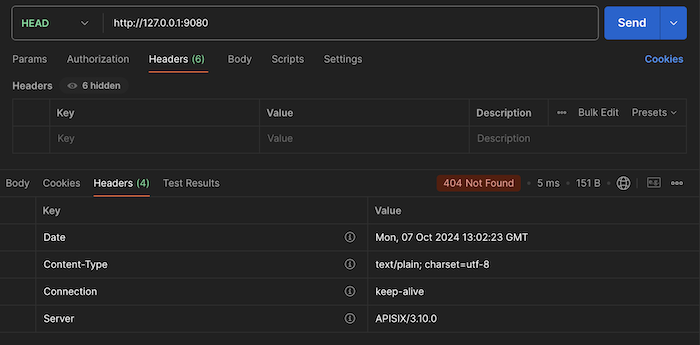
Now if you request to http://127.0.0.1:9080 with HEAD HTTP Method using Postman for example, you will see the Header of the response will display the APISIX version as follows:
Using Docker Compose file
You have to clone the GitHub Repository https://github.com/apache/apisix-docker/ to your computer first. The Docker Compose file to install APISIX is located in the /example folder in this repository!
After cloning this repository, go to the example folder, open the docker-compose.yaml file and edit the tags of the Docker Images that are declared in this docker-compose.yaml file including etcd, nginx, prometheus, grafana: to use the latest version:
|
1 2 3 4 5 6 7 8 9 10 11 12 13 14 15 16 17 18 19 20 21 22 23 24 25 26 27 28 29 30 |
services: apisix: image: apache/apisix:${APISIX_IMAGE_TAG:-3.10.0-debian} ... etcd: image: bitnami/etcd:3.5.16 ... web1: image: nginx ... web2: ... prometheus: image: prom/prometheus ... grafana: ... networks: apisix: driver: bridge volumes: etcd_data: driver: local |
Currently, if I do not edit the information of the tags declared in this docker-compose.yaml file, when running the command “docker-compose up”, my computer will report an error. You may not need to edit it, but if you still get the error like me, you can do it the way I said above.
After editing the docker-compose.yaml file, run the command:
|
1 |
docker-compose up |
to start APISIX!
My results are as follows:
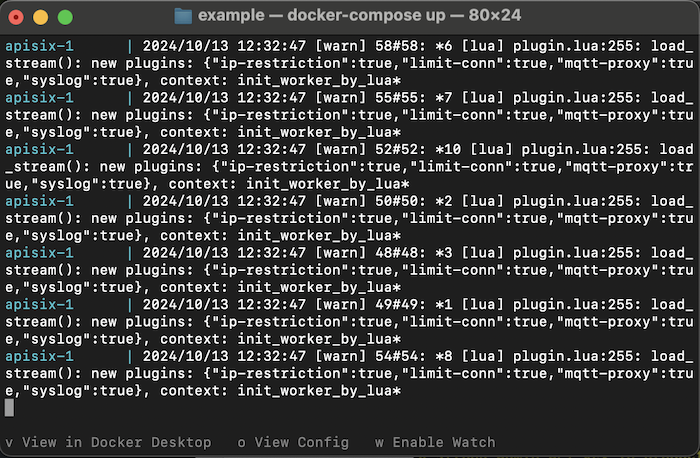
Rerun the Postman request as I did above, you will see the same result.


