Note: To make it easier to manage the Node.js versions you may have to work with, I recommend you use Node Version Manager. See details here!
Node.js today is no stranger to people, it is a JavaScript runtime used to develop client and server applications. It also provides for us a tool for managing dependencies like Apache Maven or Gradle in Java, called Node Package Manager. In this tutorial, I show you how to install Node.js on your macOS environment!
First, we need to have the installation file of Node.js. Please download it here: https://nodejs.org/en/
After the download is complete, double-click on the installation file of Node.js, you will see the following window:
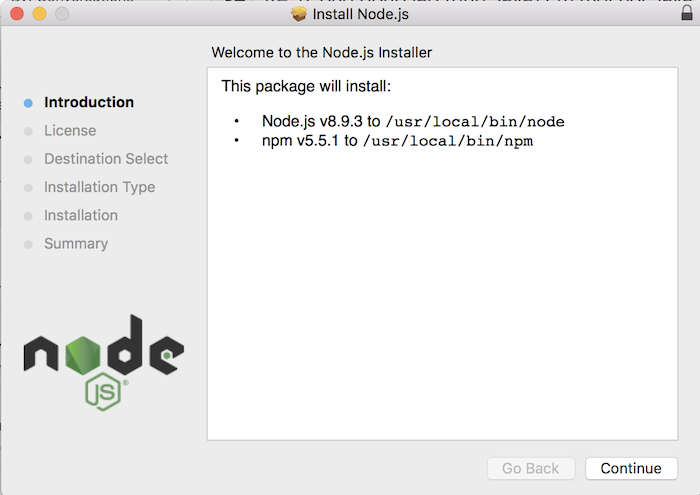
The current version of Node.js is v8.9.3. And as I said, Node.js provides us with a Node Package Management (NPM) tool to manage dependencies, so as you can see, NPM is also installed with Node.js and its current version is v5.5.1.
Then click Continue button:
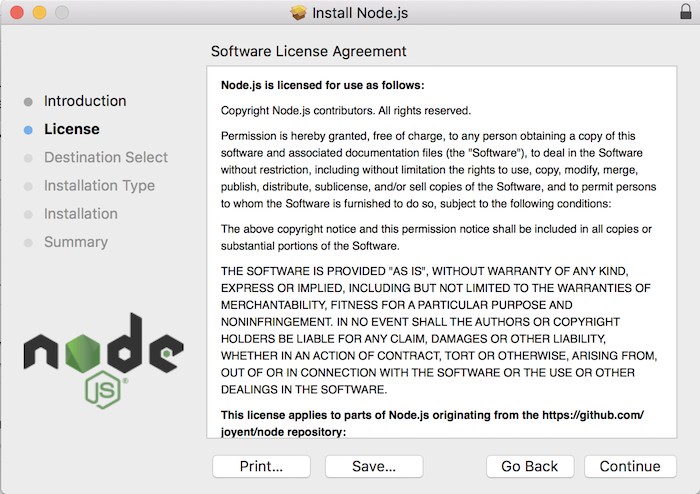
This is the license window of Node.js. Leave the default and then click Continue button.
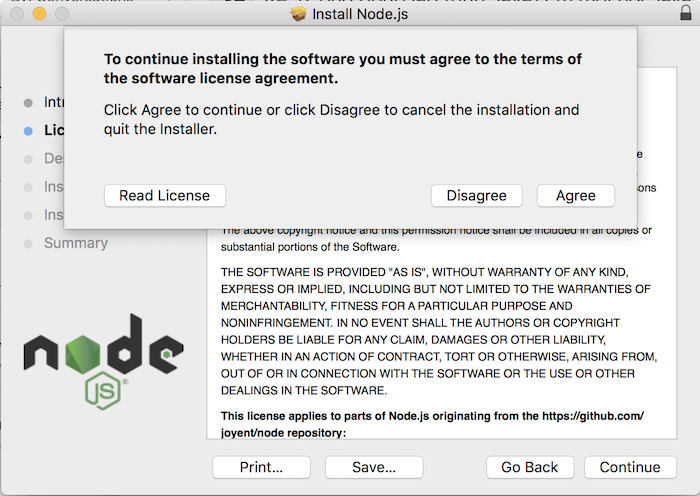
Click Agree button.
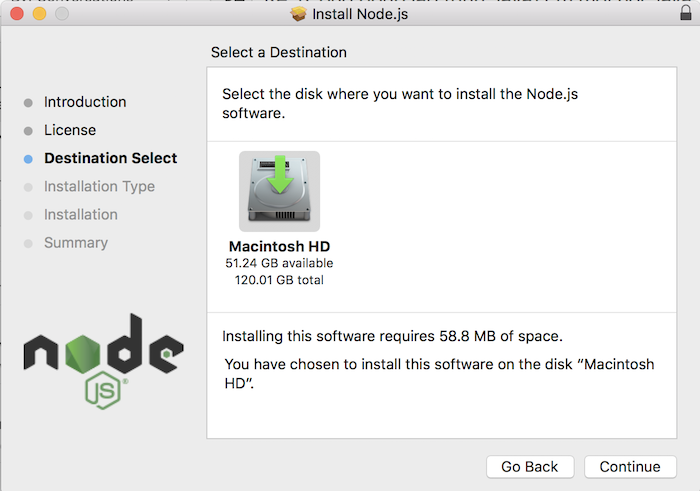
Select the drive that will install Node.js. Simply, just click Continue button.
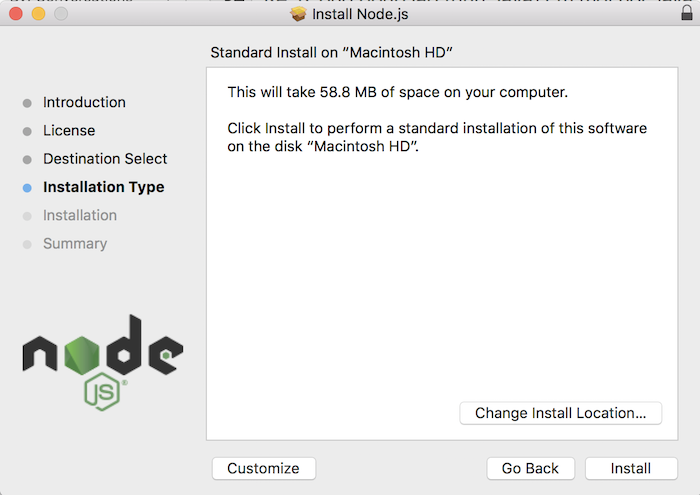
Click Install to install it. Normally on macOS, when installing some software, it will ask for the user password.
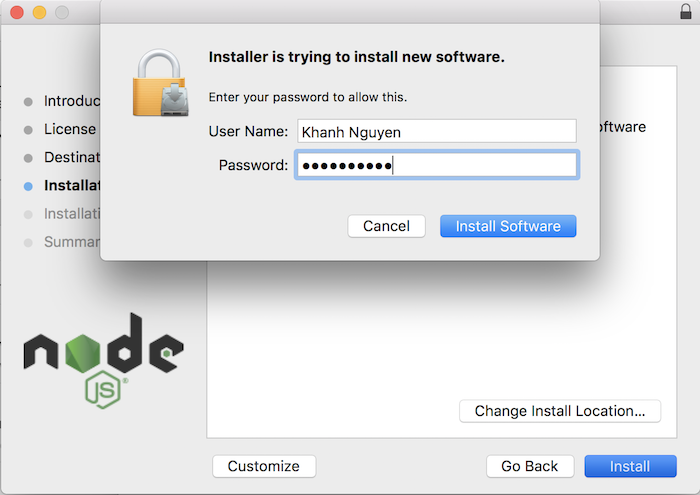
Click Install Software after you have completed entering the password.
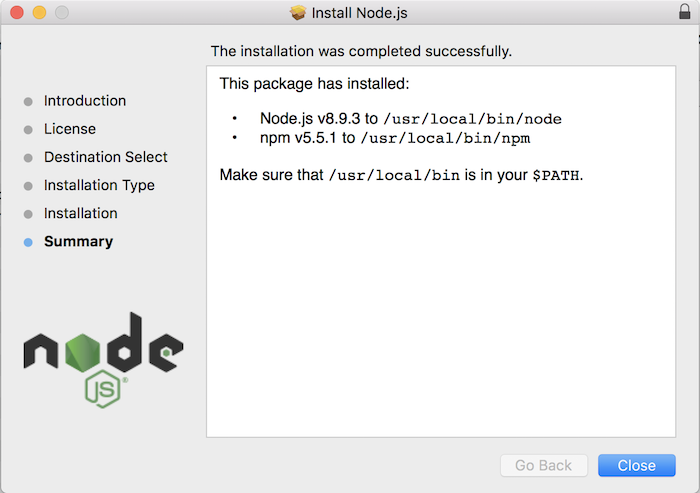
That’s it.


