I had a tutorial about creating Jakarta EE application using Maven in Eclipse, this tutorial I will show you how to create a project for Jakarta EE application in Eclipse that does not support Maven!
First, in Eclipse, go to File, select New, then select Project… a new window will be displayed.
In this window, select Dynamic Web Project as follows:
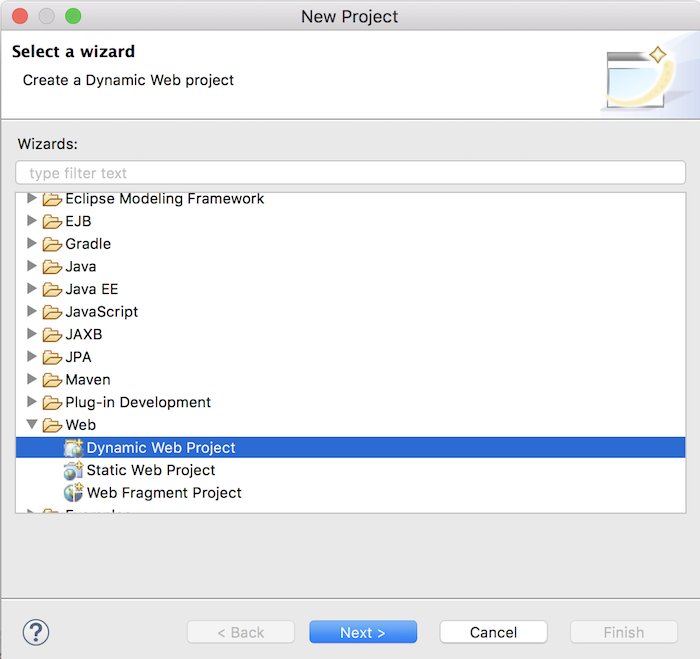
then press the Next button.
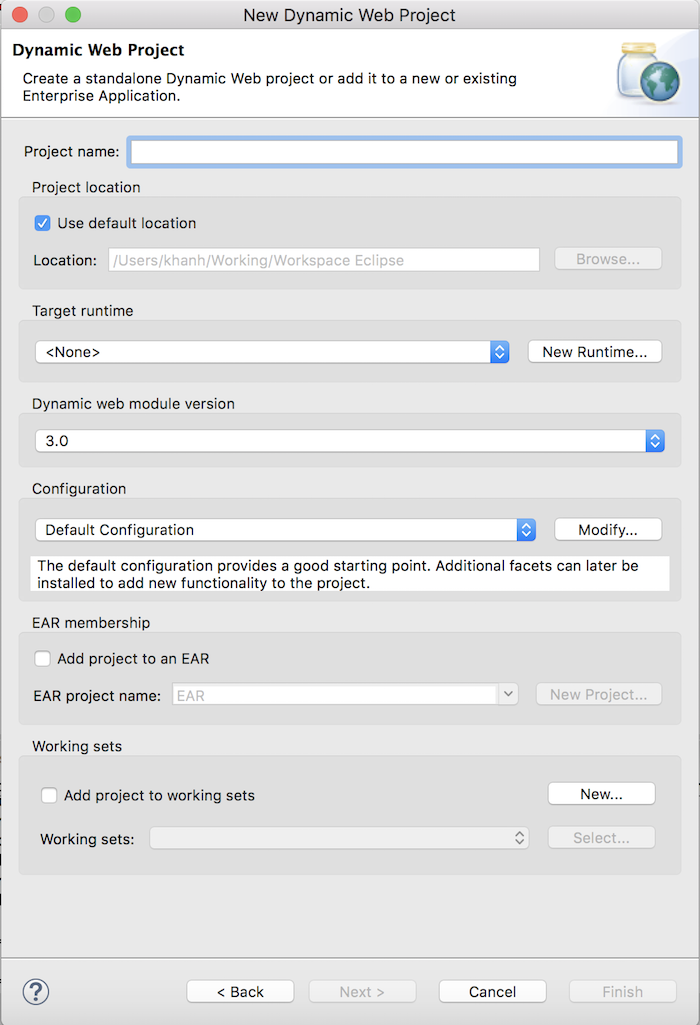
In the above window, enter the Project name.
The Target runtime section is the part where we configure the Jakarta Server Runtime that we want to run for our application in Eclipse. You can configure the Tomcat server to run for your application. If you haven’t defined a Server Runtime yet, please click the New Runtime… button to define a new one!
The Dynamic web module version section is the part that allows us to choose the Jakarta EE Servlet API version to use for the application. Which version of our application supports Jakarta EE Servlet API depends on the Server Runtime that we have installed above!
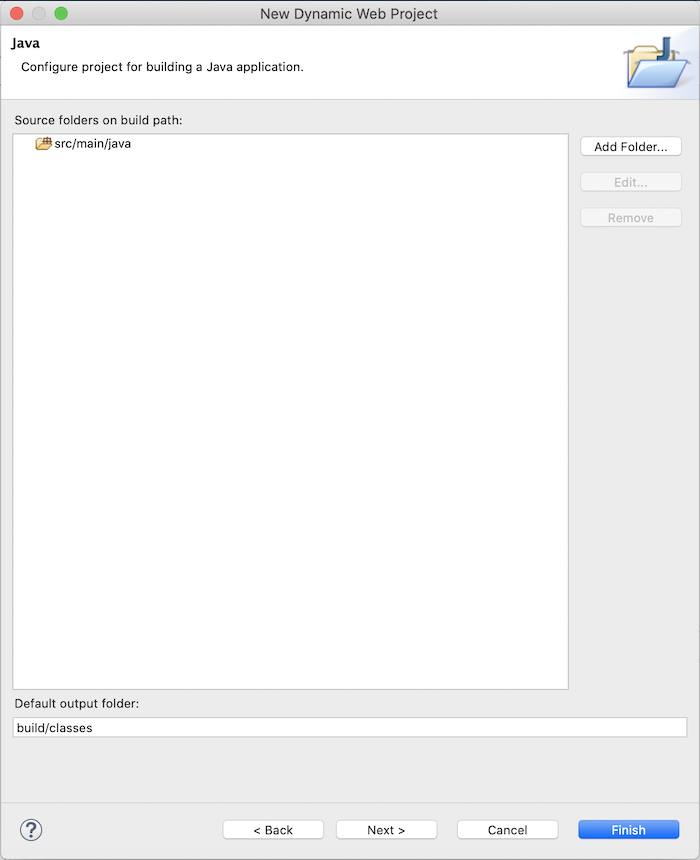
The rest you can leave as default.
Here, I will configure the following:
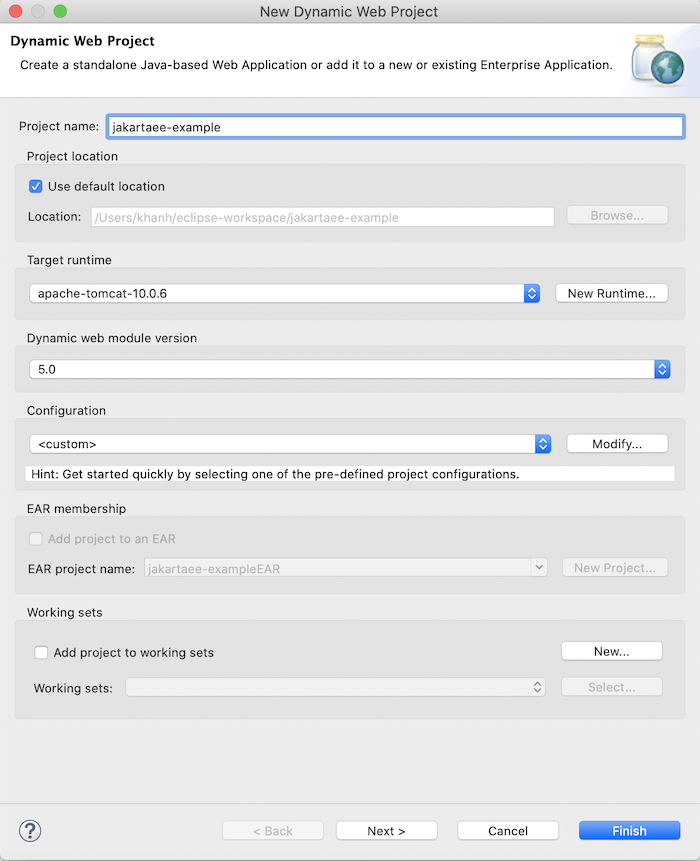
Click the Next button guys.
Click Next to continue guys.
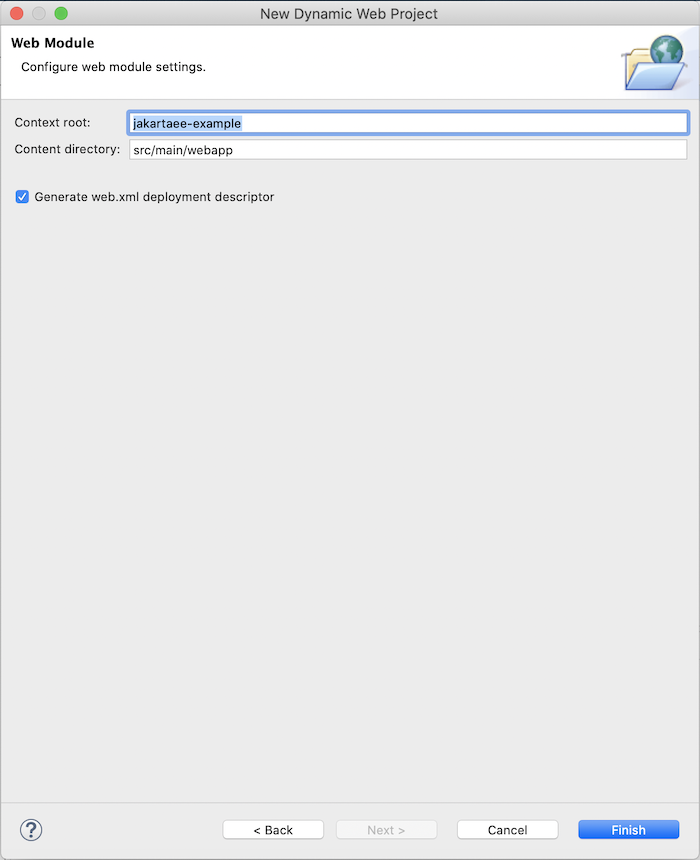
At this point, you can click the Finish button to finish creating the web application in Eclipse.
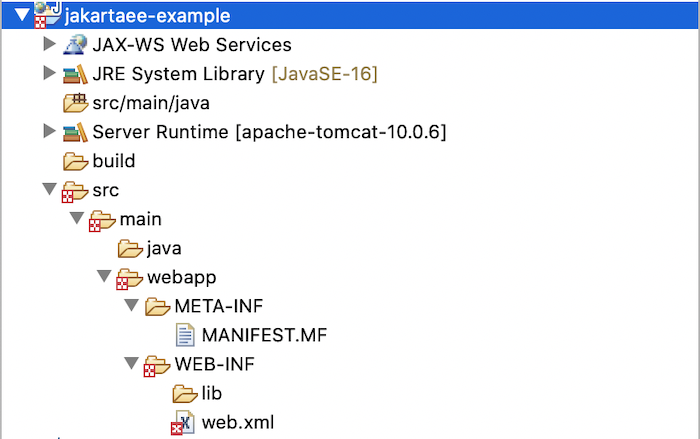
Result:
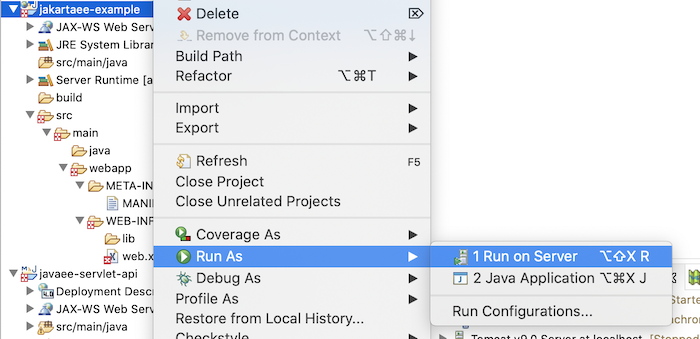
To run this project, you can right click on the project and select Run As, then select Run on Server:
Select the server that you have installed in your Eclipse, as follows:
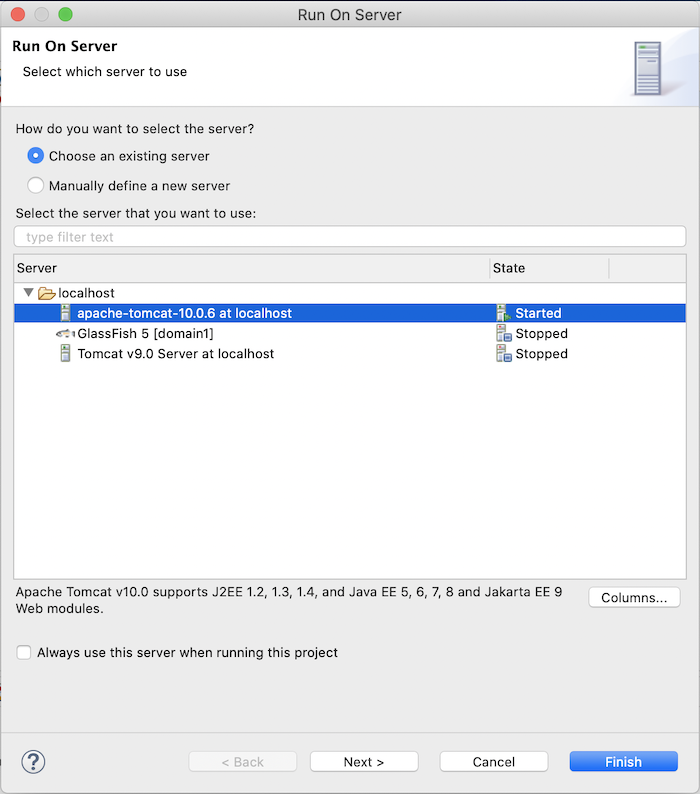
Click the Next button, guys.
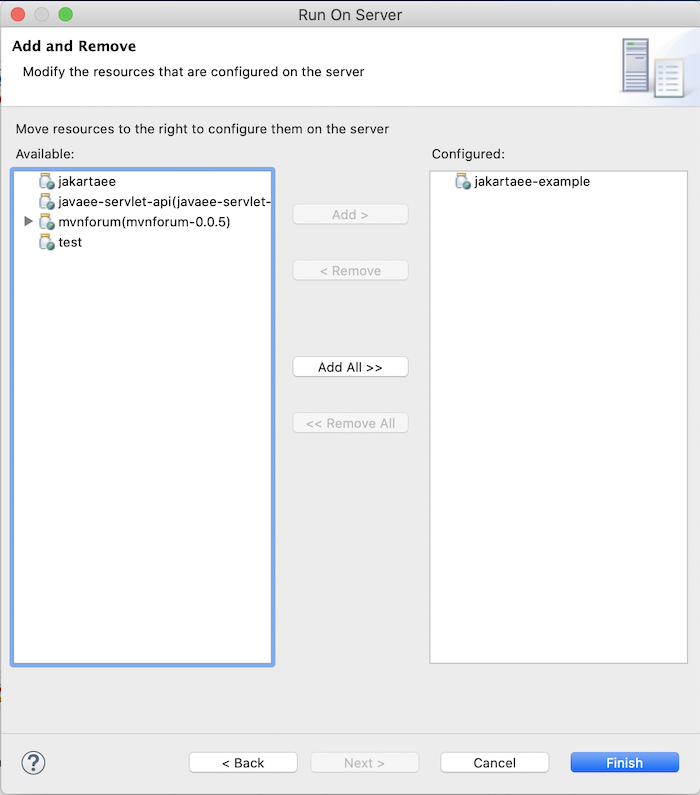
As you can see, our application has been configured to run with the server.
Click the Finish button to run the server.
Because by default there are no servlets declared in the web.xml file, only a list of welcome files:
|
1 2 3 4 5 6 7 8 9 10 11 12 13 14 |
<?xml version="1.0" encoding="UTF-8"?> <web-app id="WebApp_ID" version="2.5" xmlns="http://java.sun.com/xml/ns/j2ee" xmlns:xsi="http://www.w3.org/2001/XMLSchema-instance" xsi:schemaLocation="http://java.sun.com/xml/ns/j2ee http://java.sun.com/xml/ns/j2ee/web-app_2_4.xsd"> <display-name>jakartaee-example</display-name> <welcome-file-list> <welcome-file>index.html</welcome-file> <welcome-file>index.htm</welcome-file> <welcome-file>index.jsp</welcome-file> <welcome-file>default.html</welcome-file> <welcome-file>default.htm</welcome-file> <welcome-file>default.jsp</welcome-file> </welcome-file-list> </web-app> |
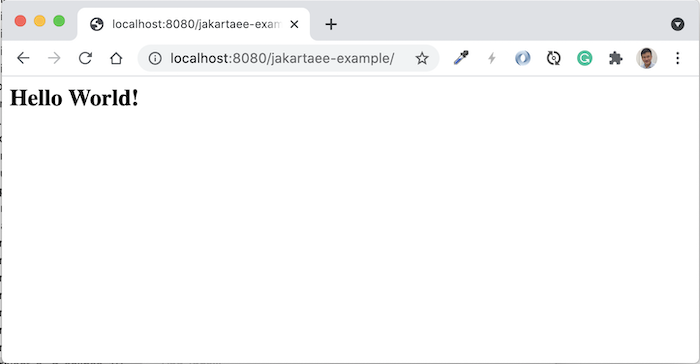
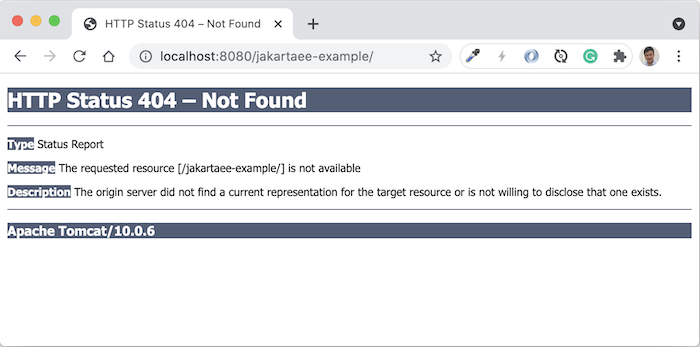
so if you now request to the address http://localhost:8080/jakartaee-example/, you will see the following result:
If you now create a new file index.jsp in the src/main/webapp directory with the following content:
|
1 2 3 4 5 |
<html> <body> <h2>Hello World!</h2> </body> </html> |
and then request again http://localhost:8080/jakartaee-example/, you will see the following result: