Normally, you should build React applications with a framework, such as Next.js, React Router, … The most popular framework of React is Next.js! In this tutorial, I will guide you on how to create a new React project with Next.js framework using Node Package eXecute (NPX) CLI!
To create a new React project with NPX CLI, you can:
- Go to the folder where you want to create the React project
- Open Terminal in macOS or Linux or command-line in Windows
- Enter the following command:
|
1 |
npx create-next-app@latest |
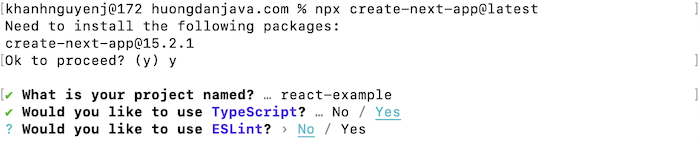
You will see the following results:

Type “y” and then Enter to create a new project!

Please enter the name of the project that you want to create, then press Enter. For example, I enter the project name “react-example” as follows:

I will use TypeScript for my project. Depending on your needs, please select Yes or No in the above window:
ESLint is a tool that helps you detect problems in your code. We should use it!
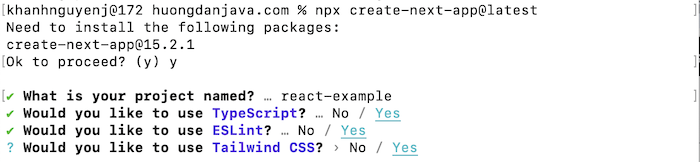
Tailwind CSS is a CSS library that helps us style applications quickly, like Bootstrap CSS! I will use it:
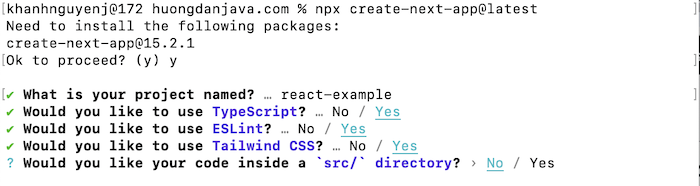
I will also put all the React code in the src folder, so I will choose Yes.
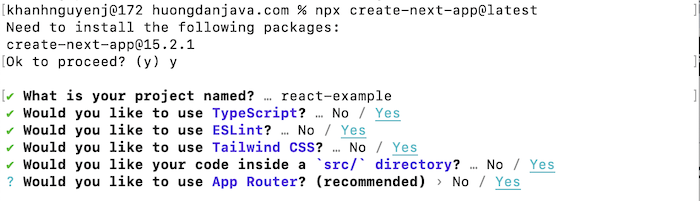
Normally, we will need to use App Router in applications, so please choose Yes.

Turbopack is a bundler optimized for JavaScript and TypeScript. You should use it too.
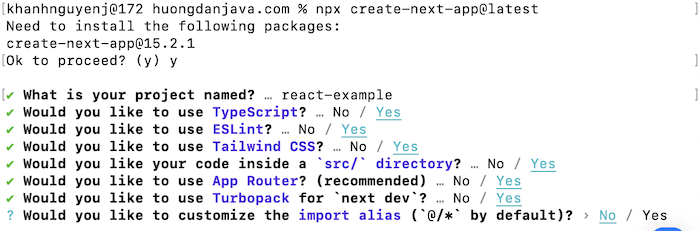
This option is related to optimizing the import code line, you can choose Yes or No depending on your preference, it’s not very important. I will choose No to only import the classes and libraries needed for the code.
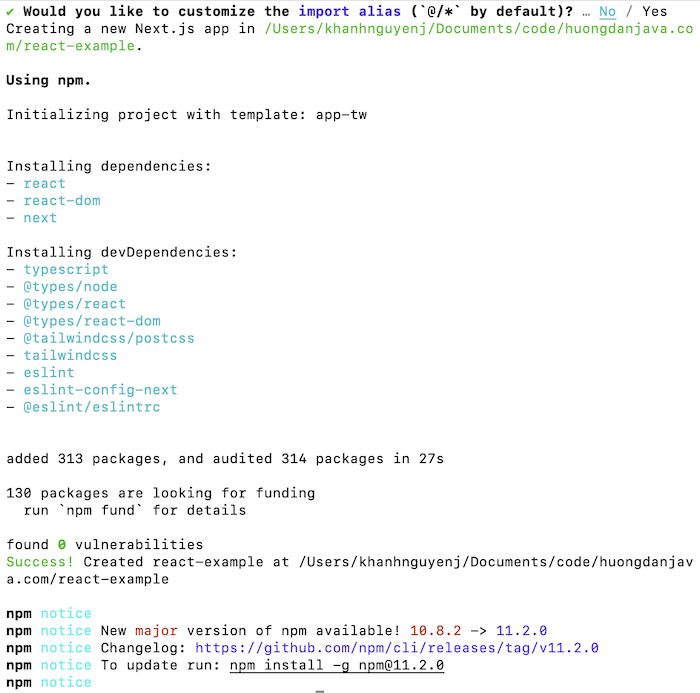
At this point, NPX CLI will automatically download the necessary dependencies to create a new React project for us:
To run this project, you just need to go to the root directory of the project and run the following command:
|
1 |
npm run dev |
By default, React will run on port 3000. So if you now access http://localhost:3000/, you will see the following result:
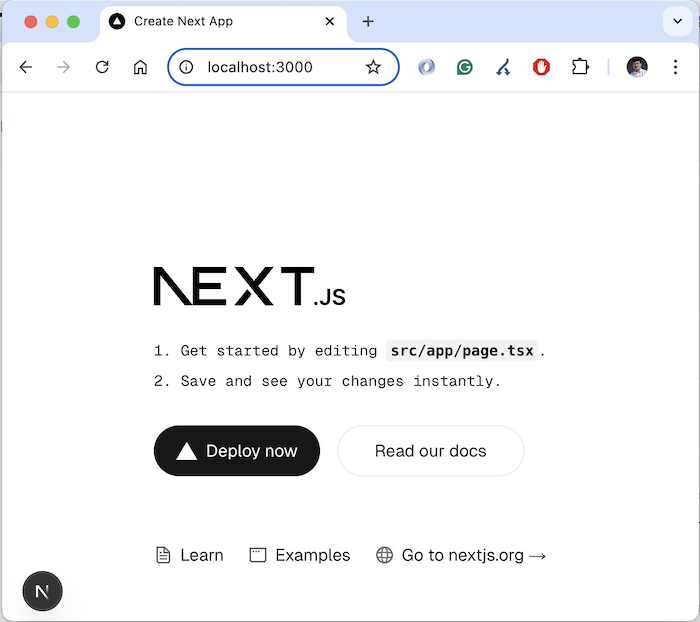
So we have successfully created a new React project with Next.js framework!