There are many ways to register a service with Consul such as using a configuration file, using Consul API, … In this tutorial, I will guide you how to use Consul API to register a service with Consul!
First, I will create a simple service with Spring Boot with Spring Web dependency:
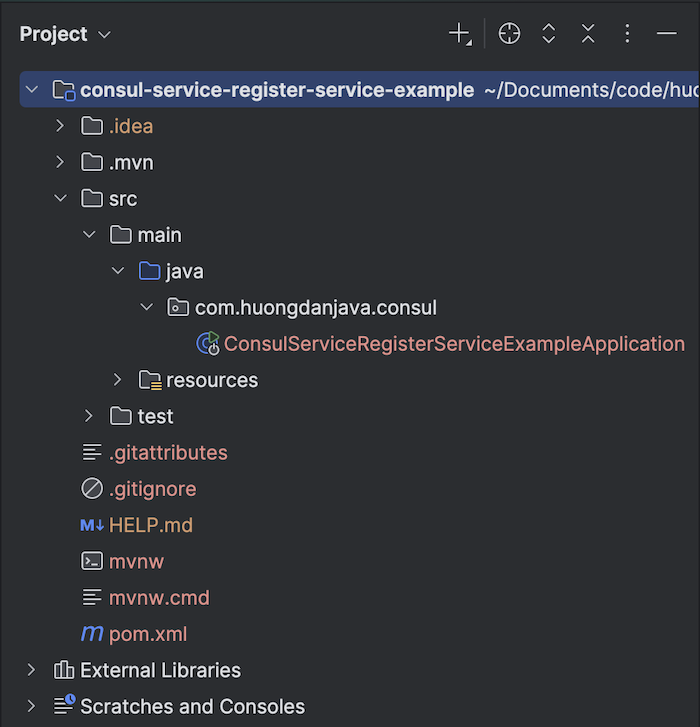
expose a simple endpoint like “/hello”:
|
1 2 3 4 5 6 7 8 9 10 11 12 13 14 15 16 17 18 19 20 21 |
package com.huongdanjava.consul; import org.springframework.boot.SpringApplication; import org.springframework.boot.autoconfigure.SpringBootApplication; import org.springframework.web.bind.annotation.GetMapping; import org.springframework.web.bind.annotation.RestController; @SpringBootApplication @RestController public class ConsulServiceRegisterServiceExampleApplication { public static void main(String[] args) { SpringApplication.run(ConsulServiceRegisterServiceExampleApplication.class, args); } @GetMapping("/hello") public String hello() { return "Hello from Huong Dan Java"; } } |
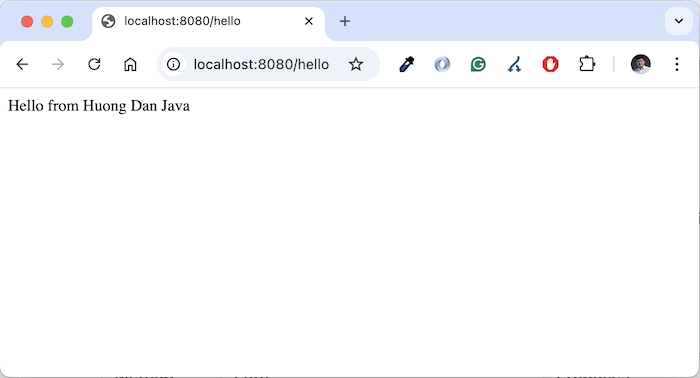
Run this Spring Boot application and request to http://localhost:8080/hello, you will see the following result:
Now, let’s register this service with Consul!
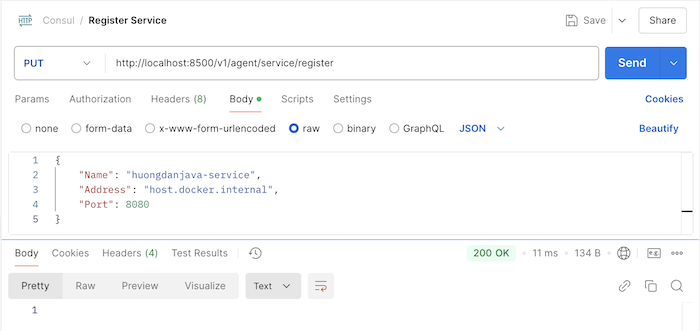
To register a service with Consul, you can use the Register Service API at https://developer.hashicorp.com/consul/api-docs/agent/service#register-service. Basically, you can request with the PUT method to Consul’s address http://localhost:8500/v1/agent/service/register with data in the request body, for my example, as follows:
|
1 2 3 4 5 |
{ "Name": "huongdanjava-service", "Address": "host.docker.internal", "Port": 8080 } |
- Name is the name of the service
- Address is the hostname of the service. Here, I ran Consul using Docker Compose, and my service is running on the host machine, so as you can see, the address information will be host.docker.internal.
- Port is the port where the service is running
For my example, I only declare some basic information as above. Depending on the case, please see more data requests that Consul supports in the link above!
The result when I run the above request with Postman is as follows:
Now, check the services in Consul UI, you can see the result as follows:
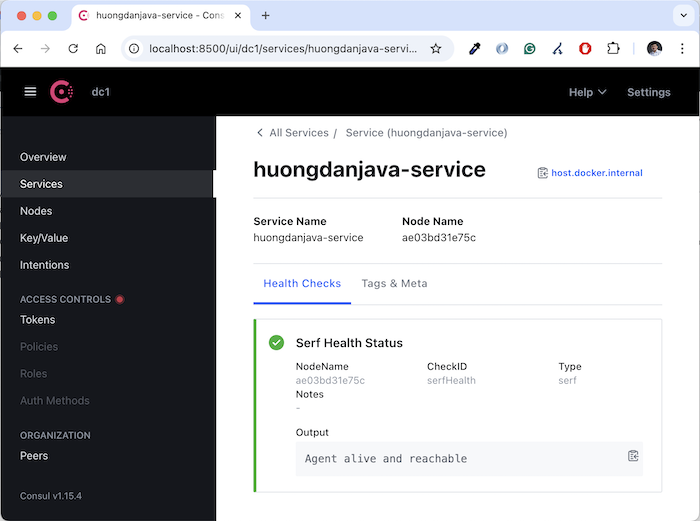
So, we have successfully registered a simple service with the Consul API!