Tomcat is a web container used to run Java web applications. Installing Tomcat in Eclipse will make it quick and easy to develop our Java web applications in Eclipse. In this tutorial, I will guide you how to install Tomcat in Eclipse.
First, we need the installation file of Tomcat. Please go to this address https://tomcat.apache.org/download-90.cgi to download the latest version of Tomcat. Currently, the latest version of Tomcat is 9.0.2 and the installation file named apache-tomcat-9.0.2.zip.
After downloading, please unzip this file.
OK, now in Eclipse, select Eclipse and select Preferences (I am using Eclipse in macOS, other operating systems are similar), then select Server and then select Runtime Environments.
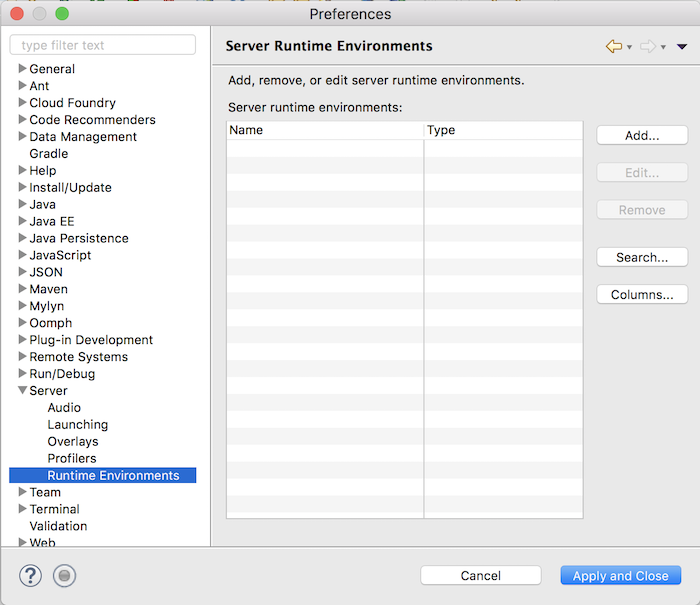
In the window above, click the Add button, then select Apache Tomcat v9.0 as follows:
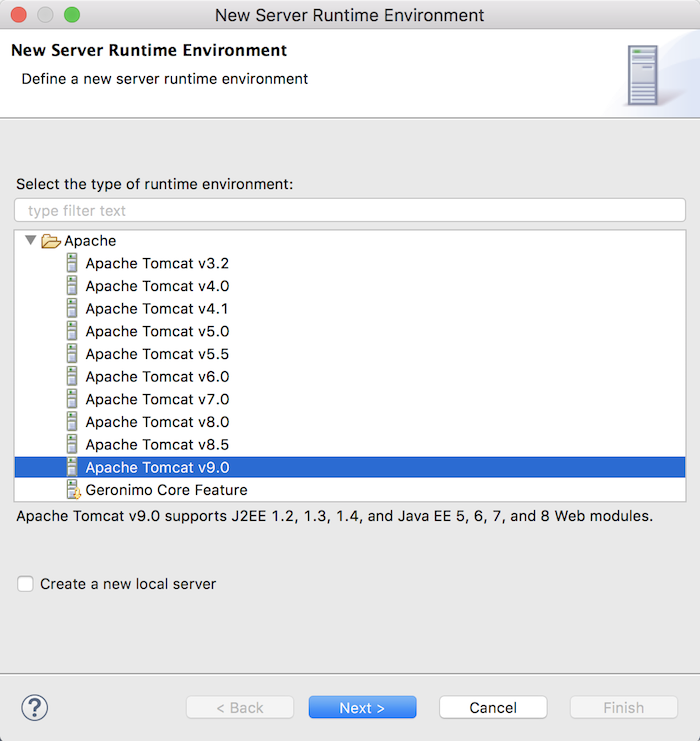
Select the checkbox “Create a new local server” and click the Next button.
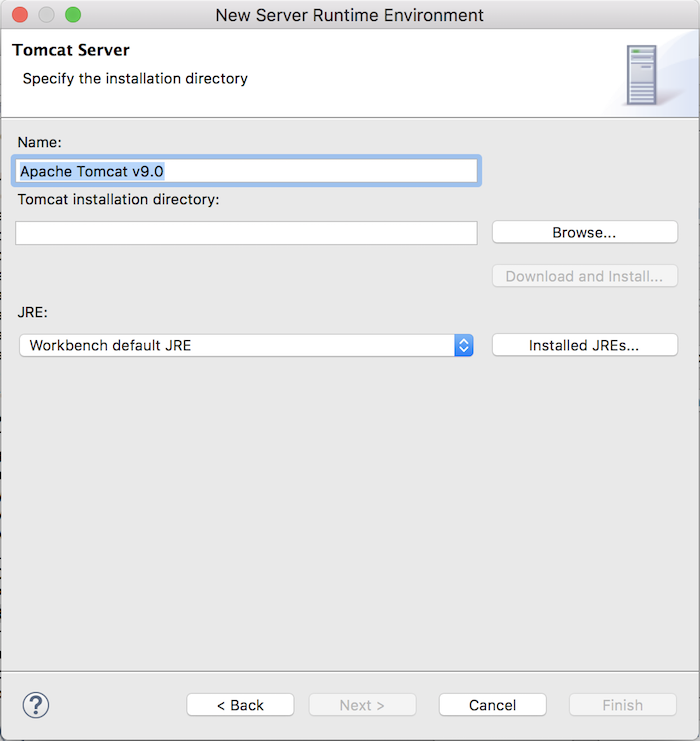
In the window above, you click the Browse… button to specify the directory of Tomcat, the folder we have just unzipped it.
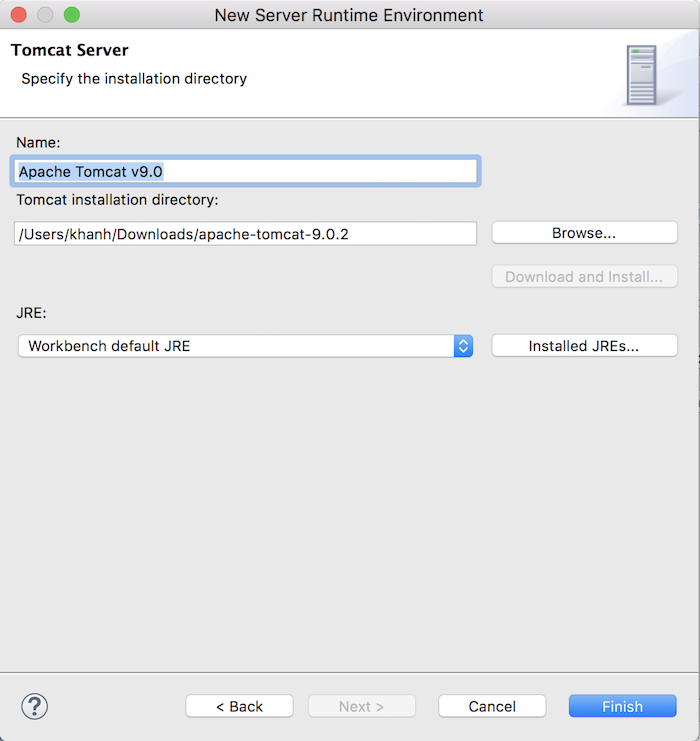
Click the Finish button to complete the installation.
Result: