The HTTP Listener Connector in Mule ESB application is the component that will receive HTTP requests from other applications. To do that, our Mule ESB application needs to initialize a server with a request URL so that other applications can request to. In this tutorial, I will guide you all how to configure HTTP Listener Connector in Anypoint Studio.
Suppose you have dragged the HTTP Connector into the Anypoint Studio Editor. This connector must be in the Source section of Message Flow as follows:
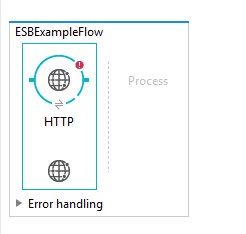
At the bottom of the Editor, you will see an HTTP tab that allows us to configure the HTTP Listener Connector.
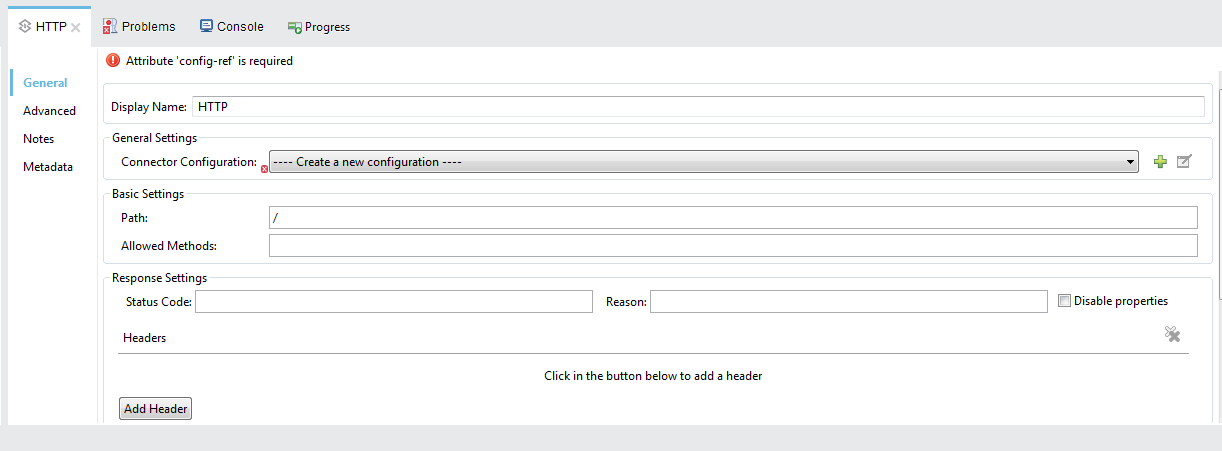
We must at least configure the Host, Port, Request URL (Path) of the HTTP server for the HTTP Listener Connector.
– To configure Host, Port for HTTP server, in General Settings, click Add button to open Global HTTP Listener Configuration window. This is a common configuration window for the HTTP server that we can reuse for the HTTP Listener Connector in other Mule Flows within our Mule ESB application.
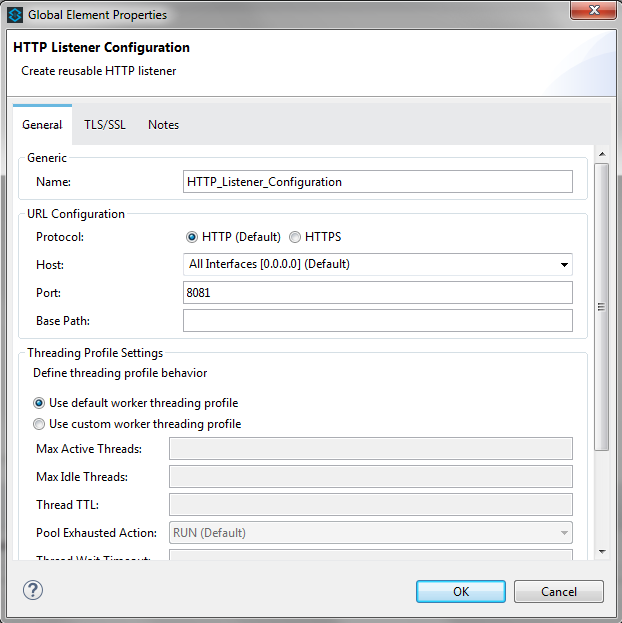
In the Host box, we have two choices as follows:

0.0.0.0: meaning the Mule ESB HTTP server can be accessed from anywhere.
localhost: only accessible from the machine that is deploying the Mule ESB application.
The Port field defines the port of the HTTP server.
Base Path: defines the base path of Mule ESB HTTP server.
For example, we leave the Host, Port values by default. In this window, I just changed the Base Path to “esb”.
This means that the Mule ESB HTTP server can be accessed at the following address:
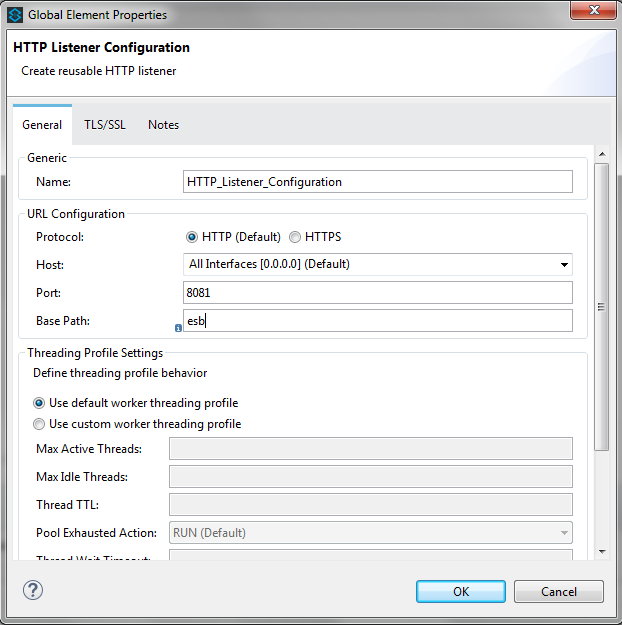
Click the OK button to close the Global HTTP Listener Configuration window.
At this time, the configuration tab for the HTTP Listener Connector will look like:
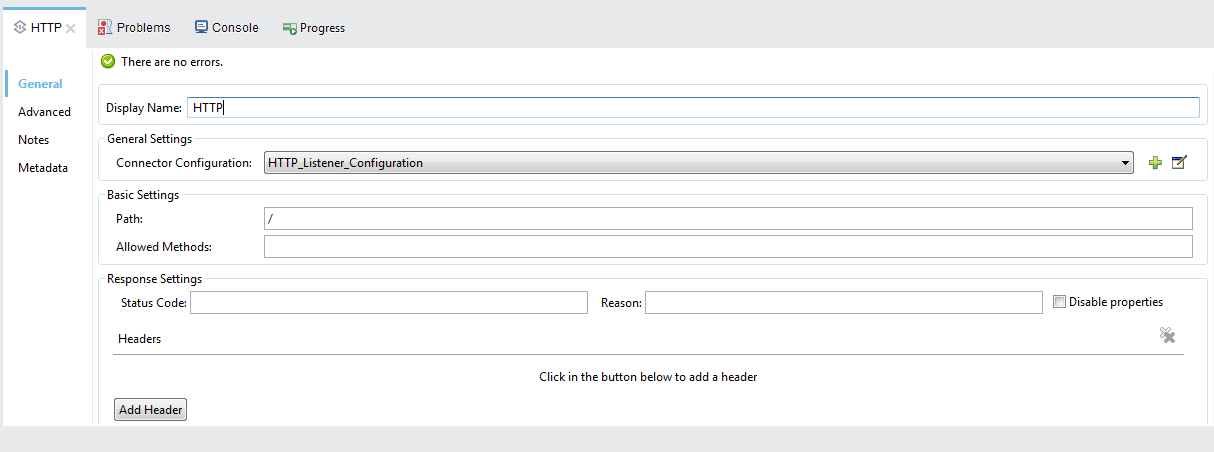
– We configure the request URL in the Paths of Basic Settings section. Its default value is “/”.
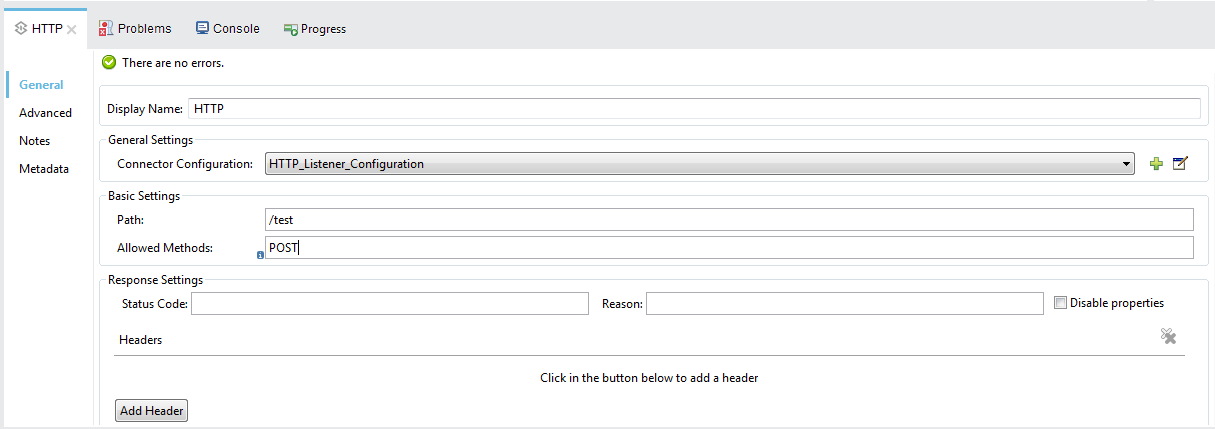
Here I will change it to “/ test”.
You can also specify an HTTP Request Method in the Allowed Methods box. It allows us to declare multiple HTTP Request Methods, separated by commas. If left blank, our request URL can be accessed by all HTTP Request Methods.
The whole configuration here is as follows:
Press Ctrl + S to save all of our configuration.


