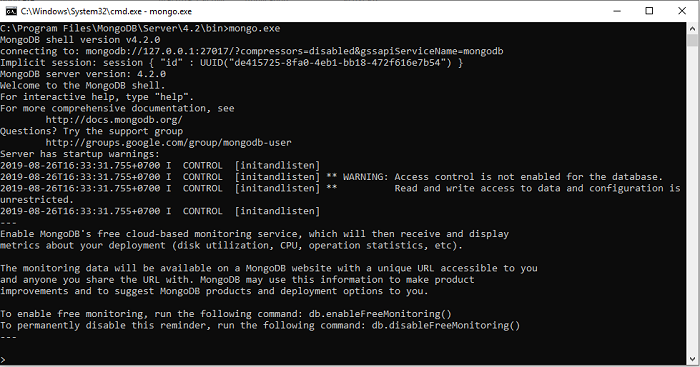
In this tutorial, I will show you how we can install the MongoDB Community Server on Window environment.
Download MongoDB
To download MongoDB, you can go to the download page of MongoDB at https://www.mongodb.com/download-center/community, and choose the version suitable for your machine.
I am using Window 64bit, so I will download the version 64bit of MongoDB for Window.
Steps to install
After downloading the install package to your machine, you can double click on the binary file. A dialog will be displayed as below:
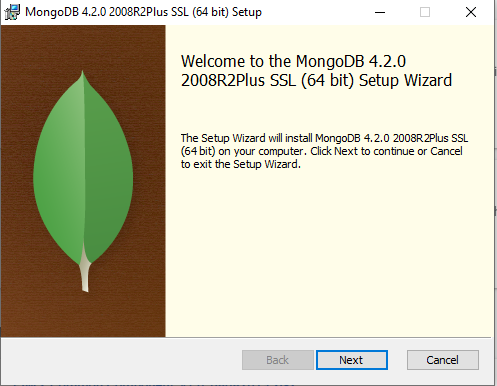
Press button Next to continue.
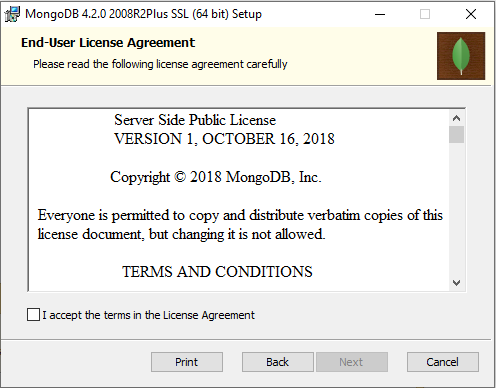
Click the checkbox I accept the terms in the License Agreement, then press button Next.
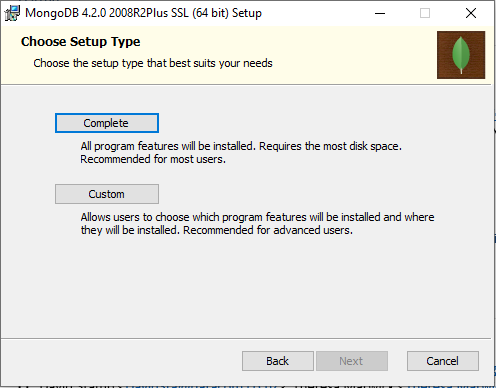
Here, you can press the button Complete to install all existing features of MongoDB.
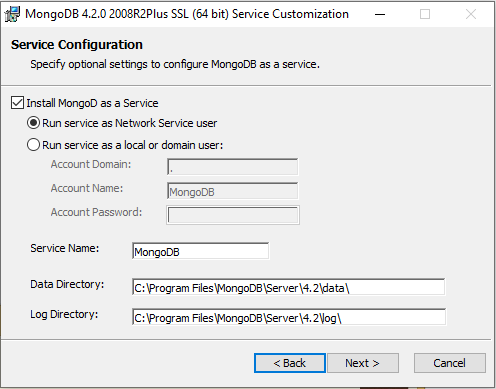
Click the Next button to continue!
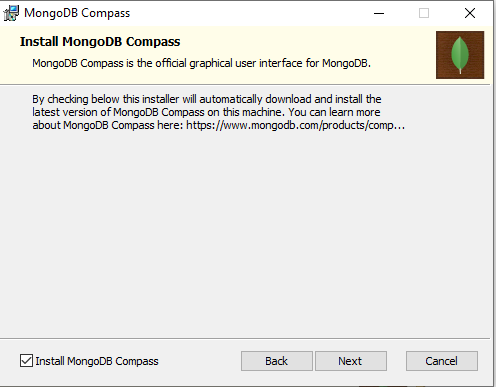
This window allows you to choose to install the MongoDB Compass, a tool that helps us manipulate MongoDB Server with the GUI, or not? If you want to install MongoDB Compass, leave the default and then click the Next button. If not, uncheck “Install MongoDB Compass”!
I will leave the default setting for MongoDB Compass and click the Next button:
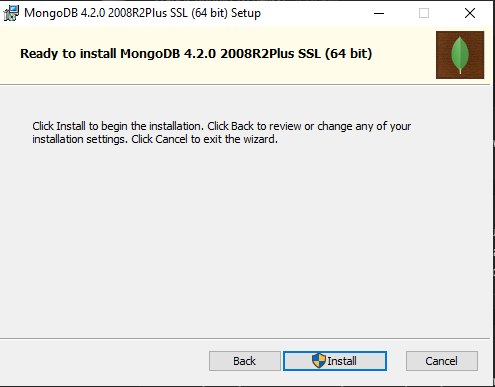
Press the Install button to start the installation.
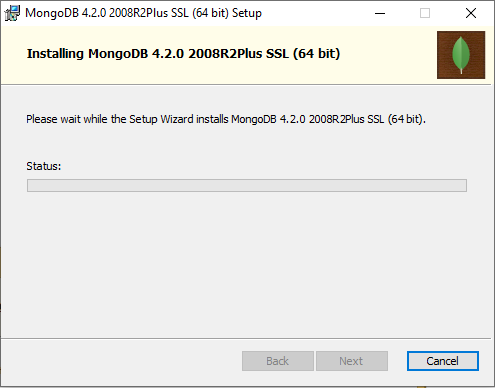
After the installation is completed:
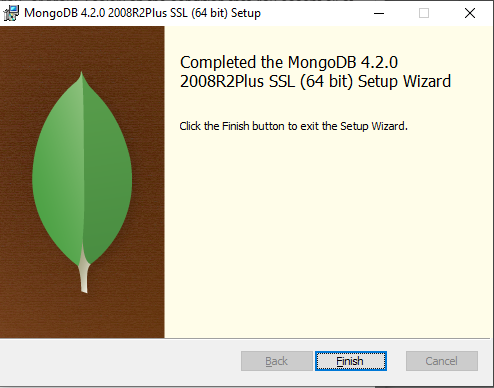
You can press the button Finish to finish installing MongoDB into our computer.
By default, MongoDB will be installed at C:\Program Files\MongoDB\Server.
Environment configuration for MongoDB
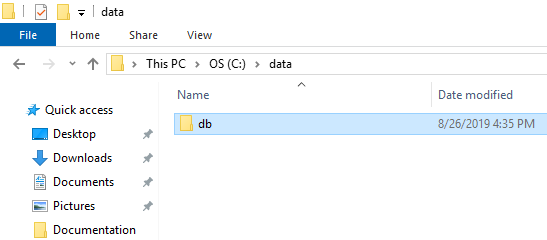
To run, MongoDB needs a folder to store the data. By default, this folder will be located at C:\data\db. So, we need to create this folder:
Run MongoDB
MongoDB will use the file, named mongod.exe in the folder C:\Program Files\MongoDB\Server\4.2\bin to run.
So that, you need to open the command line and go to the folder C:\Program Files\MongoDB\Server\4.2\bin, then run MongoDB by using this file mongod.exe as below:
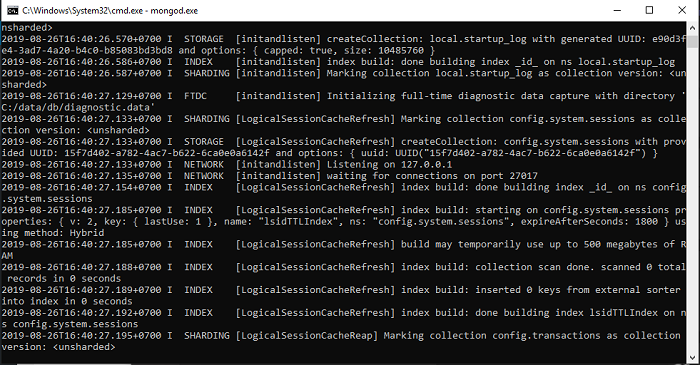
Now, we ran MongoDB successfully!
Connect to MongoDB
To connect to MongoDB, we will use the file mongo.exe in the same folder of mongod.exe, C:\Program Files\MongoDB\Server\4.2\bin.
See result:
