
Apache Camel is also one of the open-source that supports us to implement Enterprise Service Bus applications besides Spring Integration, … It supports most of the patterns mentioned in the Enterprise Integration Pattern. In the tutorial, we will learn together the basics of Apache Camel and make an example to see how Apache Camel works!
Apache Camel basics
Apache Camel uses the Route concept instead of Spring Integration’s Message Channel to integrate and exchange data between different systems and endpoints. You can define integration using this Route of Apache Camel using Domain Specific Language (DSL).
Some basic concepts that you need to know when working with Apache Camel are:
Message
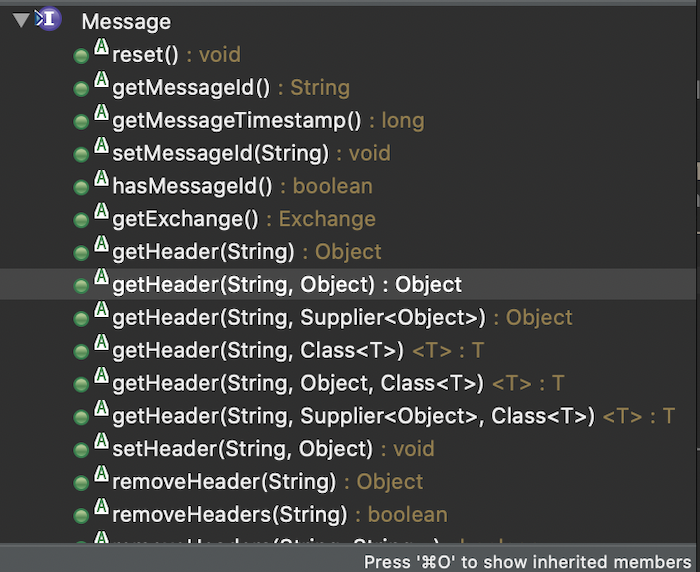
The Message contains the data we want to process, passed from one system to another using Route. A Message will include information about the headers, the body containing the data we are processing, the message ID to identify with other Messages, and the timestamp when the Message was initialized. Apache Camel’s Message interface will take care of defining this information:
Exchange
Exchange is an object containing Message information that is instantiated when a Message is sent to a Consumer. It determines whether the exchange between two different systems is one-way or request-response.
Endpoint
Endpoint are the systems that will receive, process, and send Messages in a Route of the Apache Camel application.
Component
Component is a collection of available tools of Apache Camel, making it easy for us to interact with other external systems, process or transform data without having to write a lot of code. For example, you can use the JDBC component to work with the database: you don’t need to write code to open the connection to the database, just pass the query to get the results.
You can refer to https://camel.apache.org/components/next/index.html to see the list of Components that Apache Camel has supported.
Processor
Processor is an interface that allows us to add business logic with Java code. It has a method process() with the parameter of the Exchange object that I mentioned above, so you can get information about the Message being routed by the Route and add Java code to process the Message at your own discretion.
Another concept that I also want to mention here is about CamelContext interface. This is the object that helps us manage information of an Apache Camel application including the Route information, the Components that we use, the Endpoints, … We can add, remove Route, Component if desired. , …
Example application
To have a glimpse of how Apache Camel will work, I will make a basic application, every 5 seconds will send a Message with the body of the words “Hello Khanh from Huong Dan Java” from this Endpoint to another Endpoint for that other Endpoint to print this text!
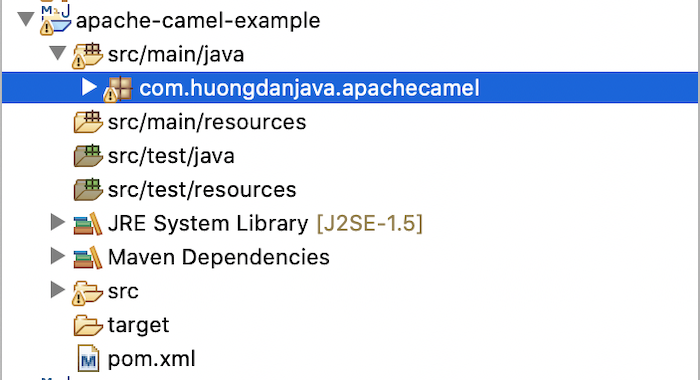
I will create a new Maven project:
with Apache Camel dependency as follows:
|
1 2 3 4 5 |
<dependency> <groupId>org.apache.camel</groupId> <artifactId>camel-core</artifactId> <version>3.20.2</version> </dependency> |
I will use Java DSL to define Route in this tutorial.
I will create a new CamelContext object first:
|
1 |
CamelContext camelContext = new DefaultCamelContext(); |
To define a Route, you can use Apache Camel’s RouteBuilder class. We need to implement configure() method to define Route as follows:
|
1 2 3 4 5 6 7 |
RouteBuilder routeBuilder = new RouteBuilder() { @Override public void configure() throws Exception { } }; |
In my example, so that every 5 seconds, a new Message is created, I will use the Scheduler component and the Log component. Please note that this Log component only supports Log4j, Logback, and Java Util Logging!
I will use Log4J for my example with Slf4j for the Log4J dependency as follows:
|
1 2 3 4 5 6 7 8 9 10 |
<dependency> <groupId>org.slf4j</groupId> <artifactId>slf4j-api</artifactId> <version>2.0.6</version> </dependency> <dependency> <groupId>org.slf4j</groupId> <artifactId>slf4j-log4j12</artifactId> <version>2.0.6</version> </dependency> |
The contents of the configuration file for Log4J log4j.properties in the src/main/resources directory are as follows:
|
1 2 3 4 5 |
log4j.rootLogger=INFO, A1 log4j.appender.A1=org.apache.log4j.ConsoleAppender log4j.appender.A1.layout=org.apache.log4j.PatternLayout log4j.appender.A1.layout.ConversionPattern=%-4r %-5p [%t] %37c %3x - %m%n |
Every 5 seconds when the Scheduler is triggered, I will set the data for the Body part of the Message with the words “Hello Khanh from Huong Dan Java”, then log out as follows:
|
1 2 3 4 5 6 7 8 9 10 11 |
RouteBuilder routeBuilder = new RouteBuilder() { @Override public void configure() throws Exception { // @formatter:off from("scheduler://hdj?delay=5000") .setBody(simple("Hello Khanh from Huong Dan Java")) .to("log:com.huongdanjava.apachecamel?showAll=true&multiline=true"); // @formatter:on } }; |
We use the from() method of the RouteBuilder class to initialize the Message and the to() method to route the Message. The parameter of the from() method and the to() method is formatted with the structure as a string including the name of the Component that you want to use with the configuration related to this Component. Component names and configurations will be separated by a colon in between.
In the above example, I use the Scheduler component with configuration related to its name and time delay, and for the Log component, I configure the category and how the log message is displayed.
The setBody() method I used above is used to assign a value to the Body part of the Message.
After defining the Router, we need to add it to the CamelContext and then start the CamelContext as follows:
|
1 2 3 4 5 |
camelContext.addRoutes(routeBuilder); camelContext.start(); Thread.sleep(100000); camelContext.stop(); |
Since I’m running a Java Console application, I also need Thread.sleep() to give the program enough time to run. And after Thread.sleep() is done, we can stop CamelContext to stop the application.
The entire code of my example application is as follows:
|
1 2 3 4 5 6 7 8 9 10 11 12 13 14 15 16 17 18 19 20 21 22 23 24 25 26 27 28 29 30 31 |
package com.huongdanjava.apachecamel; import org.apache.camel.CamelContext; import org.apache.camel.builder.RouteBuilder; import org.apache.camel.impl.DefaultCamelContext; public class Main { public static void main(String[] args) throws Exception { try (CamelContext camelContext = new DefaultCamelContext();) { RouteBuilder routeBuilder = new RouteBuilder() { @Override public void configure() throws Exception { // @formatter:off from("scheduler://hdj?delay=5000") .setBody(simple("Hello Khanh from Huong Dan Java")) .to("log:com.huongdanjava.apachecamel?showAll=true&multiline=true"); // @formatter:on } }; camelContext.addRoutes(routeBuilder); camelContext.start(); Thread.sleep(100000); camelContext.stop(); } } } |
The result when I run this example is as follows:
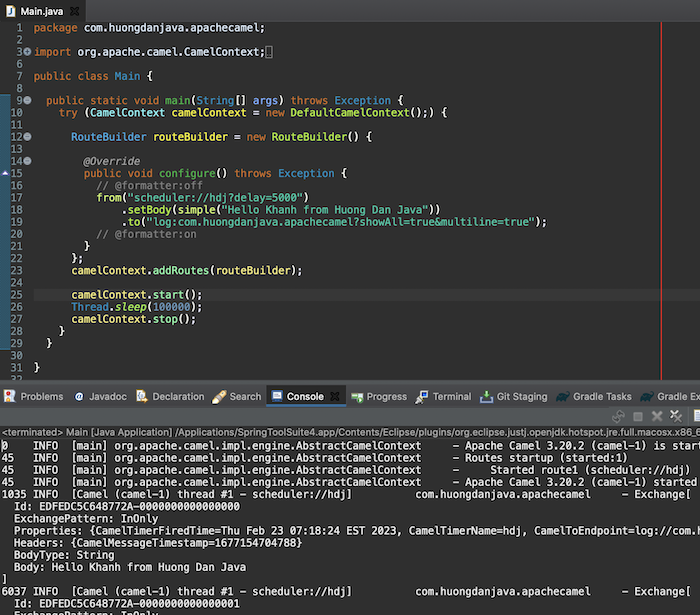
You will see that every 5 seconds, the application will trigger to create a new Message, then print the content of this Message.