Spring Boot is a member of the big Spring family. It helps the programmers simplify the process of programming an application with Spring, focused solely on business development for the application. So how is it in details? In this tutorial, let’s learn together.
First of all, assume that you need to develop a basic HelloWorld web application using the Spring framework. These application programming stages will at least include the following:
- Create a project using Maven with the necessary dependencies of Spring MVC and Servlet API.
- A web.xml file to declare the Spring MVC DispatcherServlet.
- A Spring MVC configuration file.
- A Controller class returns a “Hello World” page when a request arrives.
- Finally, there must be a web server to deploy the application to run.
In total, we have at least 5 stages, right?
In these steps, if you are aware, you will see that only one process of creating a Controller class can be different for different applications because each application has a different requirement. As for the other steps, we all need to develop an application with Spring and they may be the same.
To reduce the likelihood of this, Spring Boot has been introduced. Spring Boot will automate all of the same possible steps; all we need to do is: develop the application code relate to the business of the application, mainly with Spring’s Controller.
To illustrate what Spring Boot does, in this tutorial, I will use the Spring Boot Command Line Interface (CLI) to run an example. By that, you will find that, just a few small operations, we were able to create an application that runs with Spring Boot.
OK, let’s get started.
First, let’s install the Spring Boot CLI first. If someone does not know how to install, you guys can refer to here.
My Spring Boot CLI is as follows:

Now, I will use the Spring Boot CLI to create a basic web application using the following command:
|
1 |
spring init <project-name> -d=web --package-name=<package-name> -g=<maven-group-id> -a=<maven-artifact-id> |
with:
- -d = web means we are going to use spring-boot-starter-web
- -g is Maven Group Id
- -a is Maven Artifact Id
- –package-name is the name of the package.
Here, I will create a web application named hello as follows:
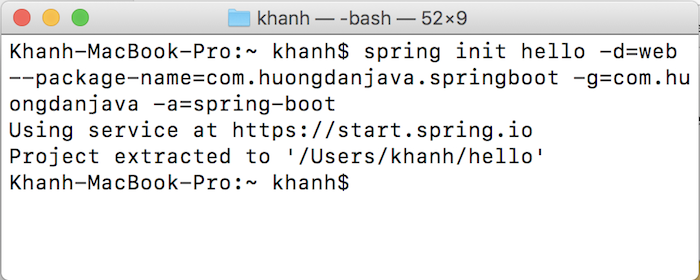
As a result, a folder named hello will be created along with the structure of a Maven project as follows:
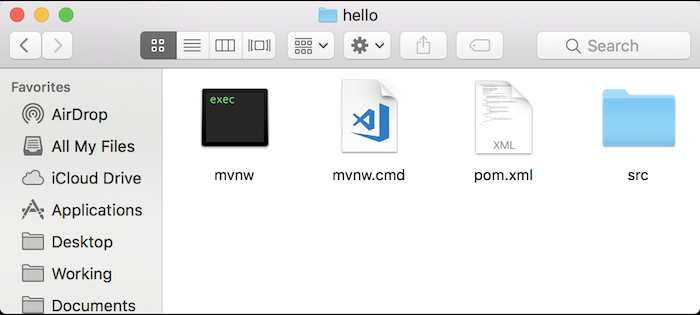
Use the command line to navigate to the hello directory and use the following command:
|
1 |
mvn spring-boot:run |
to run the web application we just created.
Result:
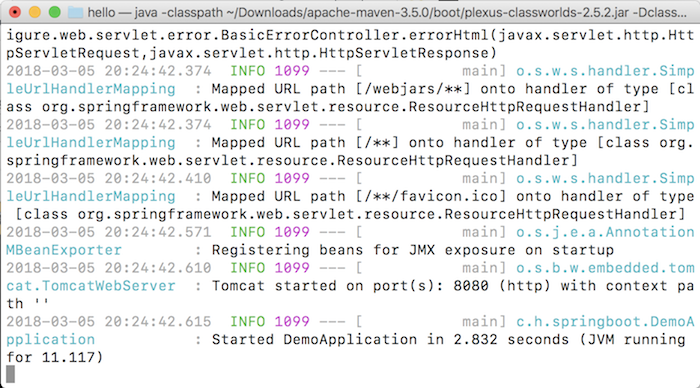
As you can see, Spring Boot automatically does everything to run our web application on Tomcat with the default port of 8080.
If you now use a browser and access http://localhost:8080 then the result will look like this:
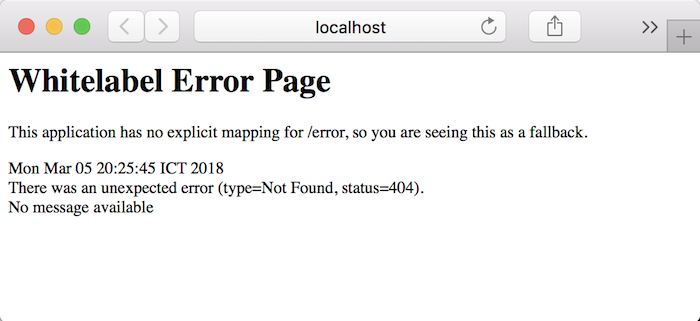
We are seeing a 404 Not Found error, which is because in the project we just created, there is no Controller that handles the request to the homepage.
Now, if you create a HelloController class with the following content:
|
1 2 3 4 5 6 7 8 9 10 11 12 13 14 15 16 |
package com.huongdanjava.springboot; import org.springframework.http.HttpStatus; import org.springframework.http.ResponseEntity; import org.springframework.stereotype.Controller; import org.springframework.web.bind.annotation.RequestMapping; @Controller public class HelloController { @RequestMapping(value = "/") public ResponseEntity<String> hello() { return new ResponseEntity<String>("Hello World!", HttpStatus.OK); } } |
and placed in the /src/main/java/com/huongdanjava/springboot directory:
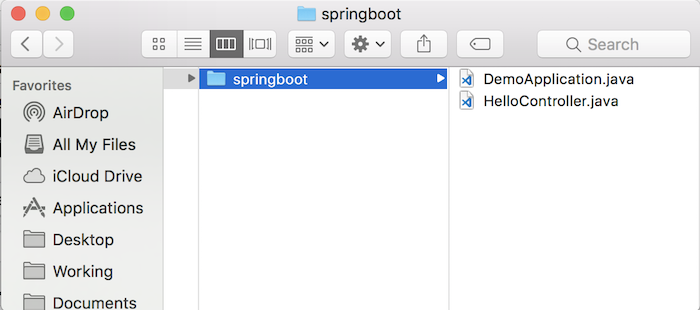
then run the command again:
|
1 |
mvn spring-boot:run |
The results are as follows:
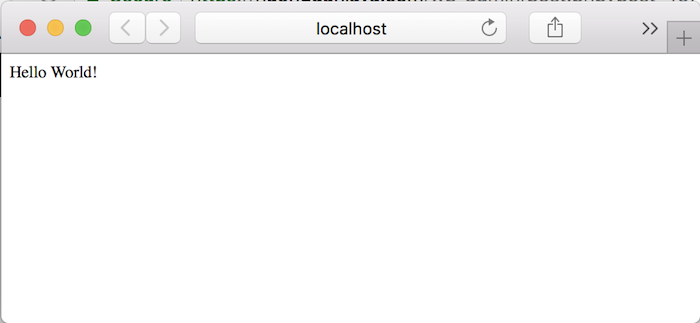
Obviously, as you can see, we do not spend much effort creating a web project that can run. Everything Spring Boot has done automatically, which we are interested in is just Controller.


