Socket.IO has 2 main Java implementations Socket.IO Java and Netty-socketio. Netty-socketio only implements Socket.IO 2.x and Socket.IO Java implements the latest version of Socket.IO. Therefore, if you want to implement a Websocket server with Socket.IO using Java, please use the version of Socket.IO Java! In this article, I will show you how to do this and also show you how to send and receive messages from a Websocket server using the Socket.IO-client Java library!
Websocket Server
I will create a new Maven project to build a Websocket server:
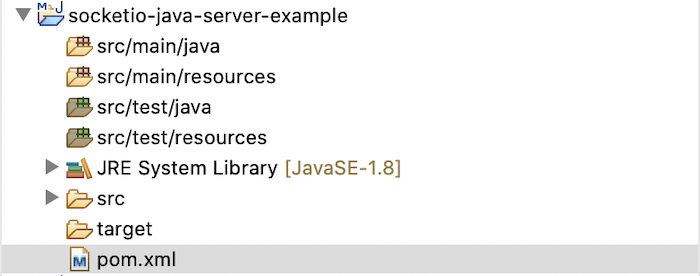
To be compatible with the Java Socket.IO-client library, we will use Socket.IO Java version 3.x as follows:
|
1 2 3 4 5 |
<dependency> <groupId>io.socket</groupId> <artifactId>socket.io-server</artifactId> <version>3.0.2</version> </dependency> |
In this example, I will start a Websocket server using Socket.IO Java with an embedded Jetty server:
|
1 2 3 4 5 |
<dependency> <groupId>org.eclipse.jetty</groupId> <artifactId>jetty-server</artifactId> <version>9.4.46.v20220331</version> </dependency> |
When an HTTP request comes to this Jetty server, we will upgrade the HTTP connection to a Websocket connection using the Jetty Websocket server:
|
1 2 3 4 5 |
<dependency> <groupId>org.eclipse.jetty.websocket</groupId> <artifactId>websocket-server</artifactId> <version>9.4.46.v20220331</version> </dependency> |
and use Socket.IO Java to handle this connection with the Jetty WebSocket adapter module:
|
1 2 3 4 5 |
<dependency> <groupId>io.socket</groupId> <artifactId>engine.io-server-jetty</artifactId> <version>5.0.1</version> </dependency> |
Now, we will go into implementing Websocket server!
We will need to initialize the Socket.IO Java SocketIoServer object to integrate with the embedded Jetty server first.
To initialize the object of this SocketIoServer class, we need the EngineIoServer object.
EngineIoServer is a class from the Engine.IO Java library, a library that implements a two-way communication channel between client and server cross-browser/cross-device.
To have an EngineIoServer object, we need an EngineIoServerOptions object. We can initialize this EngineIoServerOptions object with default configuration using the newFromDefault() static method of the EngineIoServerOptions class, like so:
|
1 |
EngineIoServerOptions engineIoServerOptions = EngineIoServerOptions.newFromDefault(); |
A default configuration that you should note is the CORS (Cross-origin resource sharing) configuration. You can learn more about CORS in my tutorial on Configure Web Origin in Keycloak. By default, all origins are allowed, you can restrict the list of origins by using the setAllowedCorsOrigins() method of the EngineIoServerOptions object if you want.
Once we have the EngineIoServerOptions object, we can instantiate the EngineIoServer object as follows:
|
1 |
EngineIoServer engineIoServer = new EngineIoServer(engineIoServerOptions); |
And the SocketIoServer object from the EngineIoServer object:
|
1 |
SocketIoServer socketIoServer = new SocketIoServer(engineIoServer); |
Once we have the SocketIoServer object, we will add the code to start an embedded Jetty server:
|
1 |
Server server = new Server(new InetSocketAddress("localhost", 8080)); |
Because when a Socket.IO client connects to the Socket.IO Websocket server, it will request to the server, the default with the context path is “/socket.io” so we need to add a servlet to handle this context path.
|
1 2 3 4 5 6 7 8 |
ServletContextHandler servletContextHandler = new ServletContextHandler(ServletContextHandler.SESSIONS); servletContextHandler.addServlet(new ServletHolder(new HttpServlet() { @Override protected void service(HttpServletRequest request, HttpServletResponse response) throws IOException { engineIoServer.handleRequest(request, response); } }), "/socket.io/*"); |
As you can see, I instantiate a ServletContextHandler object and add a new servlet to handle all requests that start with “/socket.io”. All requests starting with this “/socket.io” will be upgraded from HTTP connection to Websocket connection using the following code:
|
1 2 3 |
WebSocketUpgradeFilter webSocketUpgradeFilter = WebSocketUpgradeFilter.configureContext(servletContextHandler); webSocketUpgradeFilter.addMapping(new ServletPathSpec("/socket.io/*"), (servletUpgradeRequest, servletUpgradeResponse) -> new JettyWebSocketHandler(engineIoServer)); |
The EngineIoServer object of the Engine.IO Java library as I mentioned above, assumes the two-way communication between the client and the server, so it will handle all requests from the client for this context path “/socket.io”.
After we have configured the ServletContextHandler object, we need to add it to the handler list of the embedded Jetty server:
|
1 |
server.setHandler(servletContextHandler); |
With that, we have completed integrating Socket.IO Java with the embedded Jetty server. You need to start the embedded Jetty server using the start() method of the Server object as follows:
|
1 |
server.start(); |
Now we can use the SocketIoServer object to send and receive messages with the client.
You can create a new Namespace to work. The code below will print the logline “Client … has connected.” when the client connects to the “/” namespace:
|
1 2 3 4 5 6 7 8 |
SocketIoNamespace ns = socketIoServer.namespace("/"); ns.on("connection", new Emitter.Listener() { @Override public void call(Object... args) { SocketIoSocket socket = (SocketIoSocket) args[0]; System.out.println("Client " + socket.getId() + " has connected."); } }); |
Websocket Client
I also created a Maven project to build a client application that connects to the Websocket server that we ran above:
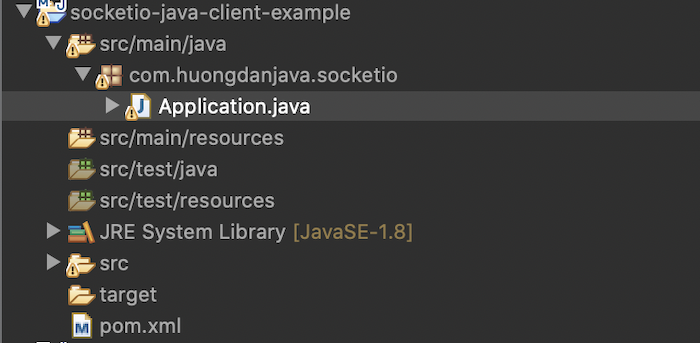
with the Socket.IO-client Java dependency as follows:
|
1 2 3 4 5 |
<dependency> <groupId>io.socket</groupId> <artifactId>socket.io-client</artifactId> <version>2.0.1</version> </dependency> |
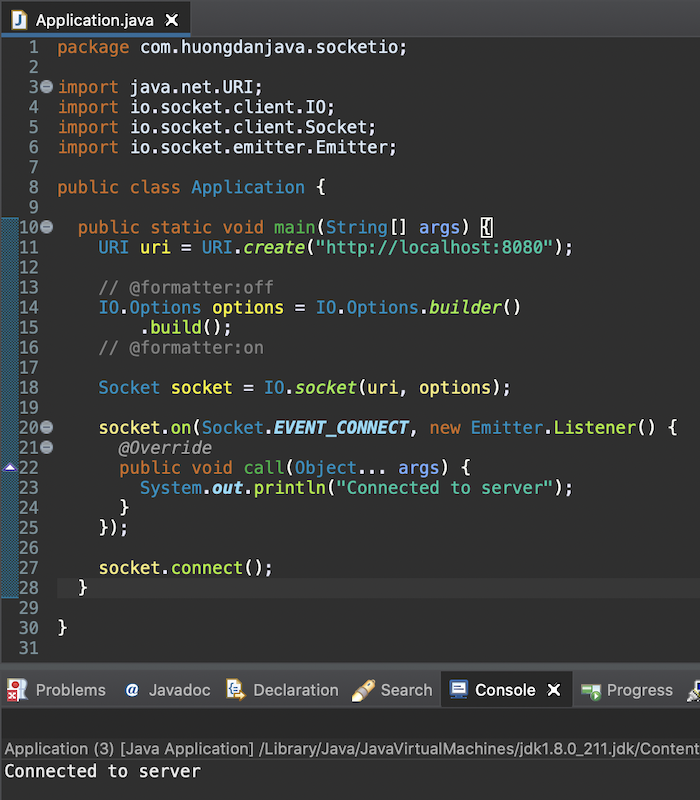
Using one of the static socket() methods defined in the IO class of Socket.IO-client Java, you can create a new Socket client object as follows:
|
1 2 3 4 5 6 7 8 |
URI uri = URI.create("http://localhost:8080"); // @formatter:off IO.Options options = IO.Options.builder() .build(); // @formatter:on Socket socket = IO.socket(uri, options); |
The parameter of the socket() method that I used above is the Websocket server’s URI and the client’s options when connecting to this Websocket server, respectively.
We can print out the words “Connected to server” when connecting to the Websocket server that we started above as follows:
|
1 2 3 4 5 6 7 8 |
socket.on(Socket.EVENT_CONNECT, new Emitter.Listener() { @Override public void call(Object... args) { System.out.println("Connected to server"); } }); socket.connect(); |
Result:
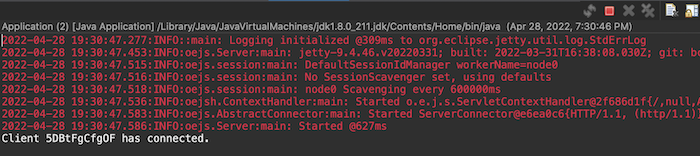
On the Websocket server-side, you will also see the following text printed as follows:
Send message from client to Websocket serve
After connecting to the Websocket server, the client can send a message to the server using the emit() method, for example as follows:
|
1 |
socket.emit("message", "Hello World"); |
The first parameter of the emit() method is the event name and the second parameter is the data to be sent to this event. In this example, I’m simply sending a “Hello World” message.
On the Websocket server-side, you can subscribe to the above event to receive data. We have to use the object of class SocketIoSocket attached to each Websocket connection to do this. For example, to receive the message emitted from the client above, you can add the code in the “connection” event section as follows:
|
1 2 3 4 5 6 7 8 9 10 11 12 13 14 15 |
SocketIoNamespace ns = socketIoServer.namespace("/"); ns.on("connection", new Emitter.Listener() { @Override public void call(Object... args) { SocketIoSocket socket = (SocketIoSocket) args[0]; System.out.println("Client " + socket.getId() + " has connected."); socket.on("message", new Emitter.Listener() { @Override public void call(Object... args) { System.out.println("[Client " + socket.getId() + "] " + args[0]); } }); } }); |
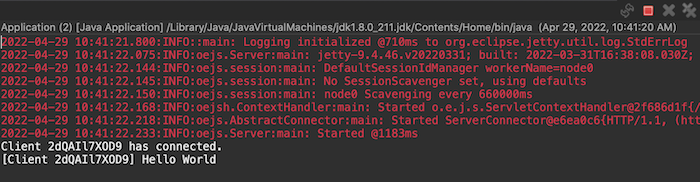
The result when we run the Websocket server again and then the client is as follows:
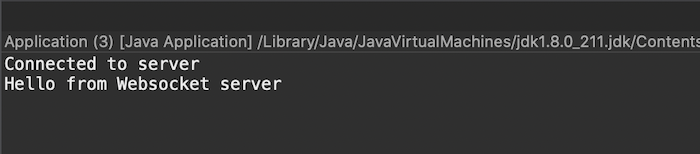
Send message from Websocket server to client
To send messages from Websocket server to client, we also use the object of SocketIoSocket class with send() method. For example:
|
1 2 3 4 5 6 7 8 9 10 11 12 13 14 15 16 17 |
SocketIoNamespace ns = socketIoServer.namespace("/"); ns.on("connection", new Emitter.Listener() { @Override public void call(Object... args) { SocketIoSocket socket = (SocketIoSocket) args[0]; System.out.println("Client " + socket.getId() + " has connected."); socket.on("message", new Emitter.Listener() { @Override public void call(Object... args) { System.out.println("[Client " + socket.getId() + "] " + args[0]); } }); socket.send("hello", "Hello from Websocket server"); } }); |
On the client-side, we can subscribe to this event to receive data from the Websocket server, for example as follows:
|
1 2 3 4 5 6 |
socket.on("hello", new Emitter.Listener() { @Override public void call(Object... args) { System.out.println(args[0]); } }); |
Result: