I have shown you how to create an Image from a Container using the commit command in the Docker in the previous tutorial. This tutorial will guide you another way without using Container, which is to use a Dockerfile to create a new Image in the Docker. Let’s see how this works!
A Dockerfile is a text file that contains a set of commands to create an image in the Docker. Some of the most commonly used commands in the Dockerfile are listed below:
- FROM <base_image>:<version>: This is a required statement in any Dockerfile. This is used to declare the base Image that we will be building our Image.
- MAINTAINER <author_name>: This statement is used to declare the author of the image, we can declare it or not.
- RUN <command>: We use this command to run a command to install the necessary tools for our Image.
- CMD <command>: In a Dockerfile, we have only one CMD command, which determines the execution rights of the statements when we create new images.
- ADD <src> <dest>: This command is used to copy a local or remote file (declared in <src>) to a location on the container (declared by dest).
- ENV <variable_name>: defines the environment variable in the container.
- ENTRYPOINT <command>: Defines the default command, which will be run when the container is running.
- VOLUME <directory_name>: This is used to link a folder in the Container with the folder on the machine on which we are running Docker.
- EXPOSE <port_number>: used to expose a certain port in the container to the outside.
Some more commands, you can refer to here.
OK, now I will create an example.
I will use Dockerfile to create an image of Ubuntu 16.04 with Git tool installed.
The steps will be as follows:
Firstly, I will create a new Dockerfile file and then open the file.
Then I will add the following lines to my Dockerfile:
|
1 |
FROM ubuntu:16.04 |
Here, I have declared using an Image of Ubuntu with version 16.04.
Then I will run the command:
|
1 |
RUN apt-get update |
to update the repositories of this Ubuntu.
Finally, I will declare the Git installation command with the -y option to skip the confirmation step to install Git.
|
1 |
RUN apt-get install -y git |
The entire contents of the Dockerfile file are as follows:
|
1 2 3 |
FROM ubuntu:16.04 RUN apt-get update RUN apt-get install -y git |
Now, we will use this file to create a new image.
The structure of this statement is as follows:
|
1 |
sudo docker build -t <version_name> <folder_containing_Dockerfile> |
Assuming that I am in the directory containing the Dockerfile file, in my example, the new Dockerfile Image command will look like this:
|
1 |
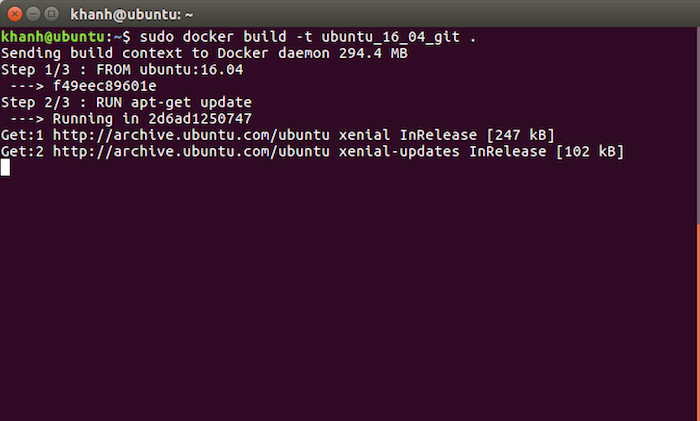
sudo docker build -t ubuntu_16_04_git . |
Result:
Run the apt-get update statement

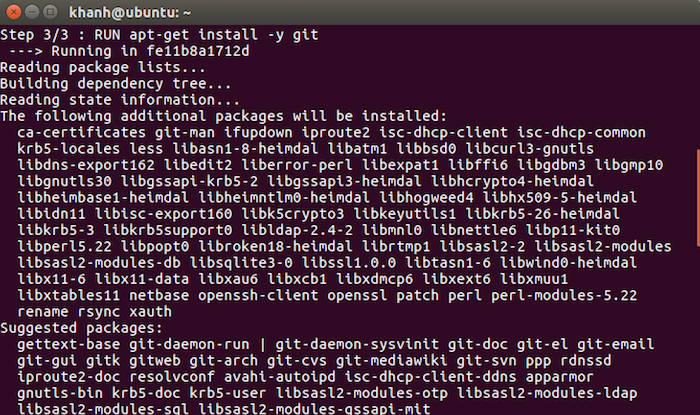
Install Git

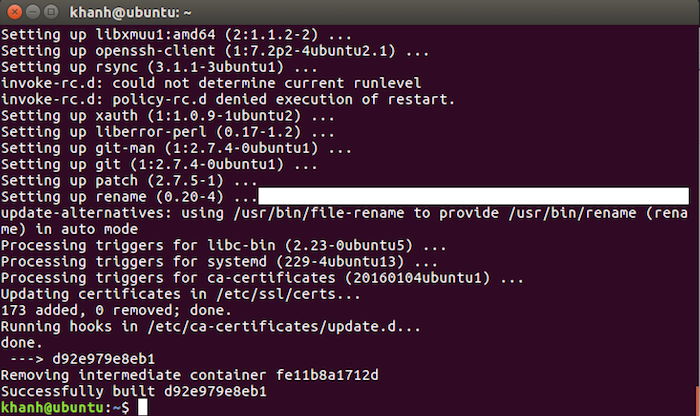
Finish

Check the Images in the Registry of the Docker, you will see the image we just created:


