We use Dockerfile to configure and build Docker images. To run Docker containers from these Docker images, you can use the command line or Docker Compose. The benefit of Docker Compose is that you can define and run multiple Docker containers at the same time. How is it in detail? I will show you how to define and run Docker containers with Docker Compose in this tutorial!
Example application
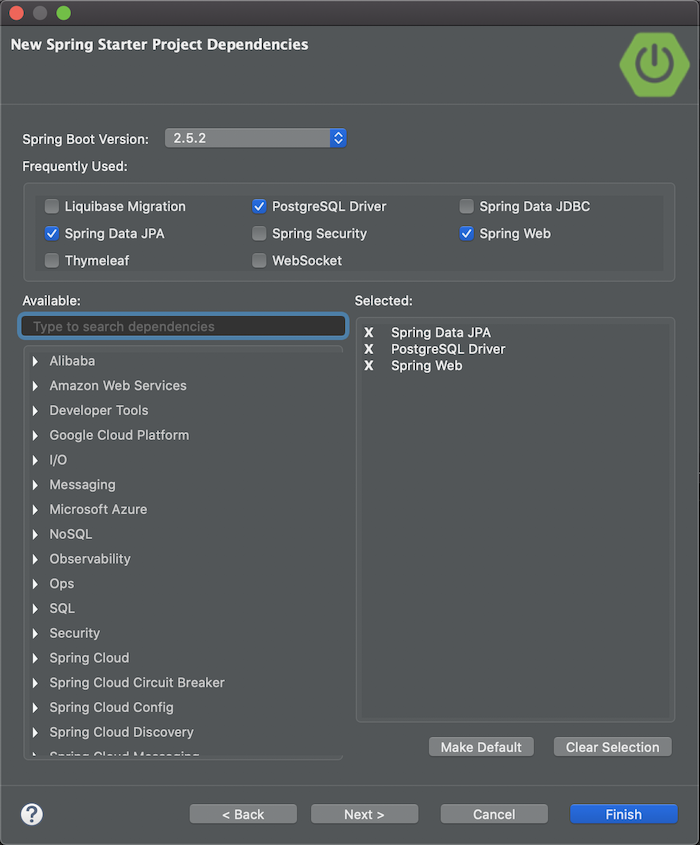
As an example for this tutorial, I will create a simple Spring Boot project with a declaration to use the database but there will be no manipulations to the database, similar to the tutorial Deploy Spring Boot application in Docker, as follows:
Result:
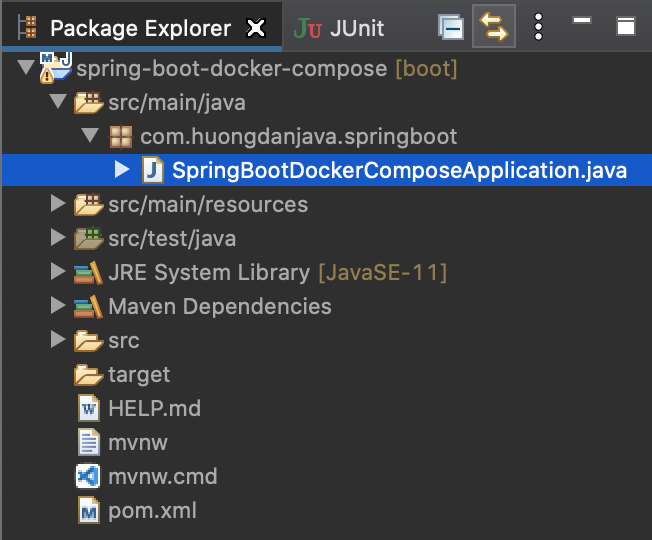
SpringBootDockerComposeApplication:
|
1 2 3 4 5 6 7 8 9 10 11 12 13 14 15 16 17 18 19 20 21 22 23 24 25 26 27 28 29 30 31 |
package com.huongdanjava.springboot; import com.zaxxer.hikari.HikariDataSource; import org.springframework.beans.factory.annotation.Autowired; import org.springframework.boot.SpringApplication; import org.springframework.boot.autoconfigure.SpringBootApplication; import org.springframework.boot.jdbc.metadata.HikariDataSourcePoolMetadata; import org.springframework.web.bind.annotation.GetMapping; import org.springframework.web.bind.annotation.RestController; import javax.sql.DataSource; @SpringBootApplication @RestController public class SpringBootDockerComposeApplication { @Autowired private DataSource dataSource; @GetMapping("/hello") public String helloDockerCompose() { Integer idleConnection = new HikariDataSourcePoolMetadata((HikariDataSource) dataSource).getIdle(); return "Hello Docker Compose! Idle connection to database is " + idleConnection; } public static void main(String[] args) { SpringApplication.run(SpringBootDockerComposeApplication.class, args); } } |
application.properties
|
1 2 3 |
spring.datasource.url=jdbc:postgresql://${DATABASE_HOST}:${DATABASE_PORT}/${DATABASE_NAME} spring.datasource.username=${DATABASE_USERNAME} spring.datasource.password=${DATABASE_PASSWORD} |
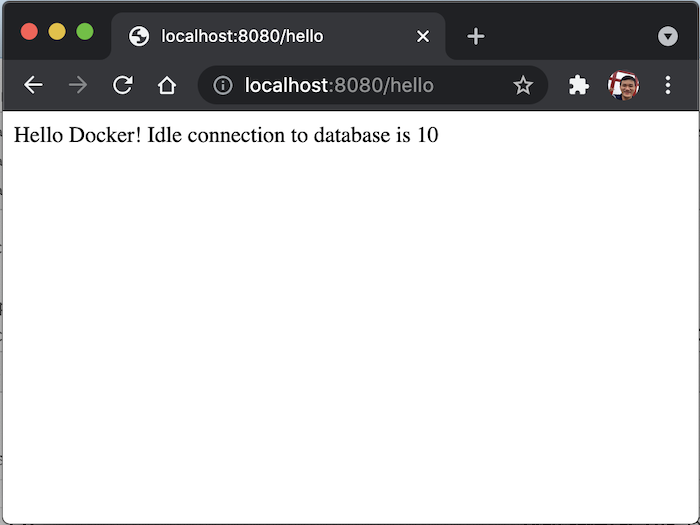
The result when running the application and requesting the address http://localhost:8080/hello, is as follows:
Build Dockerfile
To be able to use Docker Compose, we need to build a Docker Image for our application. The difference here is that we don’t need to declare the application’s environment variable in the Dockerfile, we will use Docker Compose to do this.
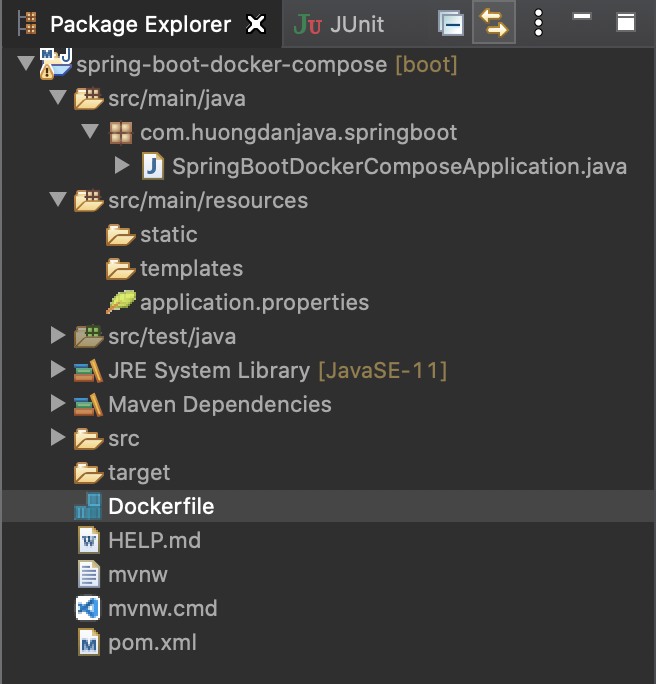
I will create a new Dockerfile in the project for example:
The content of the Dockerfile file for my application is as follows:
|
1 2 3 4 |
FROM eclipse-temurin:21.0.4_7-jre VOLUME /tmp ADD target/spring-boot-docker-compose-0.0.1-SNAPSHOT.jar app.jar ENTRYPOINT exec java -jar app.jar |
Writing Docker Compose
Once you have a Docker Image for your application, you can use Docker Compose to deploy your application. As I said, the biggest benefit of Docker Compose is that it helps us to configure and run multiple Docker images at the same time.
To illustrate this, I will no longer be using PostgreSQL on my local machine. I’m going to write a Docker Compose that can do a fresh install of PostgreSQL and then run my application. But first, let’s talk a little bit about Docker Compose!
Docker Compose normally uses .yml files for definitions.
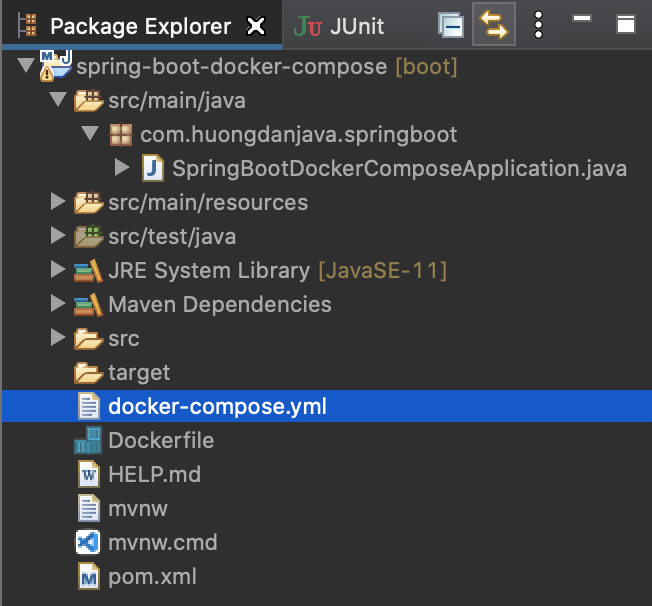
By default, Docker uses a file called docker-compose.yml to run Docker Compose, so I will create a new docker-compose.yml file in the project as follows:
Each Docker Container is a service in the Docker Compose file and we will use the services attribute along with the name of each service for our Docker Containers. I will declare the following:
|
1 2 3 4 |
services: postgresql: spring_boot_docker_compose: |
Our task is to declare information for each service. You can use some of the following common attributes to declare each service as follows:
- image: Docker Image which we will use to run the container.
- container_name: the name of the container.
- environment: declare the required environment variables for each container.
- volumes: mount the directory between the running Docker machine (host) and the container.
- ports: port mapping between the running Docker machine (host) and the container.
- depends_on: indicates the dependency of this service to another service in Docker Compose. The container with the name declared in this attribute must be available before this service can be run.
- networks: defines a shared network for containers. Usually, we will use the bridge driver for the network.
We will define the service for postgresql first. I would define it as follows:
|
1 2 3 4 5 6 7 8 9 10 11 |
postgresql: image: postgres:16.3 container_name: postgres environment: POSTGRES_PASSWORD: "123456" POSTGRES_USER: "khanh" POSTGRES_DB: "test" volumes: - /Users/khanh/data:/var/lib/postgresql/data networks: - huongdanjava |
You can refer to the tutorial Install PostgreSQL server using Docker to understand more configurations for this postgresql service.
As for the example application, I will define the following:
|
1 2 3 4 5 6 7 8 9 10 11 12 13 14 15 |
spring_boot_docker_compose: image: spring-boot-docker-compose container_name: spring_boot_docker_compose depends_on: - postgresql environment: DATABASE_USERNAME: "khanh" DATABASE_PASSWORD: "123456" DATABASE_HOST: "postgresql" DATABASE_NAME: "test" DATABASE_PORT: 5432 ports: - 8080:8080 networks: - huongdanjava |
Since there must be a database for our example application to run, I use the depends_on attribute in the spring_boot_docker_compose service to declare this dependency.
Both of the two services that I have defined above use the same networks as huongdanjava with the bridge driver. We need to define this network as follows:
|
1 2 3 |
networks: huongdanjava: driver: bridge |
The entire content of the docker-compose.yml file is as follows:
|
1 2 3 4 5 6 7 8 9 10 11 12 13 14 15 16 17 18 19 20 21 22 23 24 25 26 27 28 29 30 31 32 |
services: postgresql: image: postgres:16.3 container_name: postgres environment: POSTGRES_PASSWORD: "123456" POSTGRES_USER: "khanh" POSTGRES_DB: "test" volumes: - /Users/khanh/data:/var/lib/postgresql/data networks: - huongdanjava spring_boot_docker_compose: image: spring-boot-docker-compose container_name: spring_boot_docker_compose depends_on: - postgresql environment: DATABASE_USERNAME: "khanh" DATABASE_PASSWORD: "123456" DATABASE_HOST: "postgresql" DATABASE_NAME: "test" DATABASE_PORT: 5432 ports: - 8080:8080 networks: - huongdanjava networks: huongdanjava: driver: bridge |
OK, here we completed writing Docker Compose for the example application. Now let’s see how it runs!
I will build a Docker Image for the example application:
|
1 |
mvn clean package -DskipTests && docker build -t spring-boot-docker-compose . |
Result:

Now you can run Docker Compose. We will run the following command:
|
1 |
docker compose up |
Result:
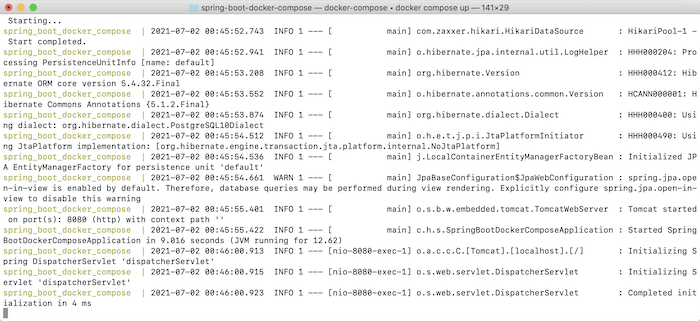
Request to http://localhost:8080/hello, you will see the result as above.