In this tutorial, I will guide you on how to deploy a Spring Boot application in Docker.
The steps, we need to take, are:
- Create a simple Spring Boot project.
- Write Dockerfile
- Deploy the application to the Docker Container.
OK, let’s get started.
Create a Spring Boot project
I will use Spring Tool Suite to create a Spring Boot project with Web, Data Jpa Starter, and PostgreSQL driver dependencies as follows:
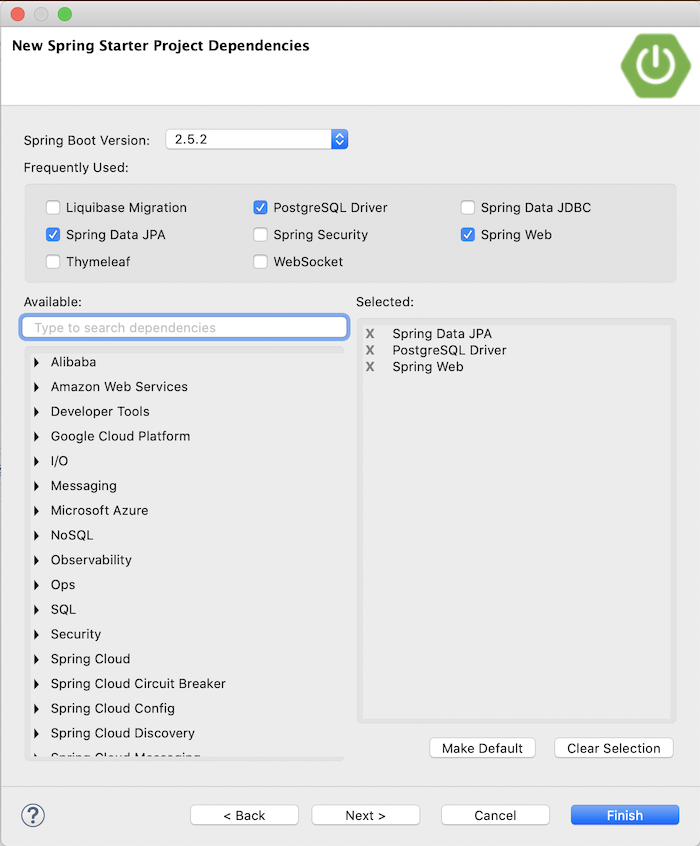
Result:
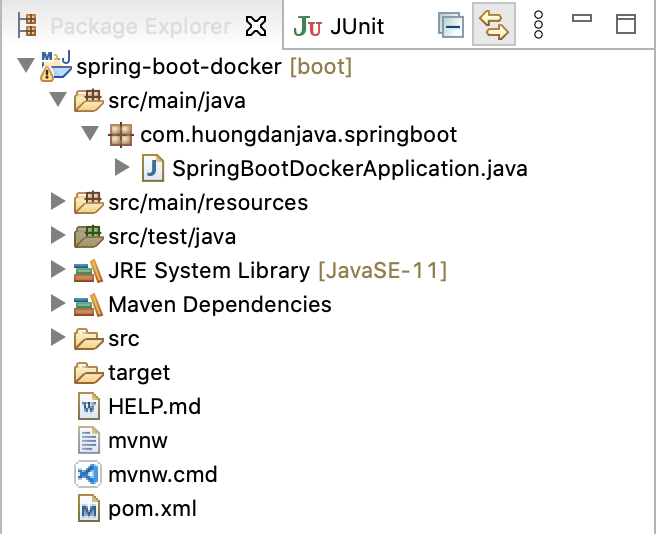
For simplicity, I will open the SpringBootDockerApplication file:
|
1 2 3 4 5 6 7 8 9 10 11 12 |
package com.huongdanjava.springbootdocker; import org.springframework.boot.SpringApplication; import org.springframework.boot.autoconfigure.SpringBootApplication; @SpringBootApplication public class SpringBootDockerApplication { public static void main(String[] args) { SpringApplication.run(SpringBootDockerApplication.class, args); } } |
And modify it a little bit to add a RESTful Web Service return the string “Hello Docker! Idle connection to database is 10” as follows:
|
1 2 3 4 5 6 7 8 9 10 11 12 13 14 15 16 17 18 19 20 21 22 23 24 25 26 27 28 29 30 31 32 |
package com.huongdanjava.springboot; import javax.sql.DataSource; import org.springframework.beans.factory.annotation.Autowired; import org.springframework.boot.SpringApplication; import org.springframework.boot.autoconfigure.SpringBootApplication; import org.springframework.boot.jdbc.metadata.HikariDataSourcePoolMetadata; import org.springframework.web.bind.annotation.RequestMapping; import org.springframework.web.bind.annotation.RestController; import com.zaxxer.hikari.HikariDataSource; @SpringBootApplication @RestController public class SpringBootDockerApplication { @Autowired private DataSource dataSource; @RequestMapping("/hello") public String helloDocker() { Integer idleConnection = new HikariDataSourcePoolMetadata((HikariDataSource) dataSource).getIdle(); return "Hello Docker! Idle connection to database is " + idleConnection; } public static void main(String[] args) { SpringApplication.run(SpringBootDockerApplication.class, args); } } |
By default, Spring Data Jpa uses Hikari for the connection pool and as you can see, I use Hikari to get the idle connection to the database.
The database configuration is configured in the application.properties file as follows:
|
1 2 3 |
spring.datasource.url=jdbc:postgresql://${DATABASE_HOST}:${DATABASE_PORT}/${DATABASE_NAME} spring.datasource.username=${DATABASE_USERNAME} spring.datasource.password=${DATABASE_PASSWORD} |
Result when I run the program with:
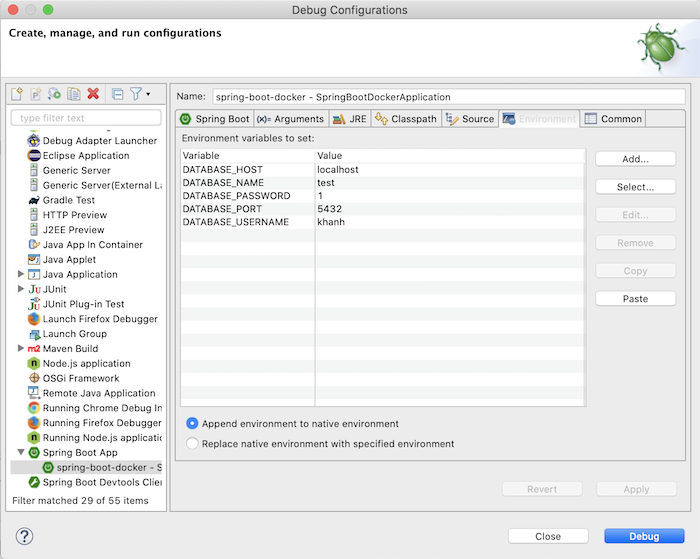
as follows:
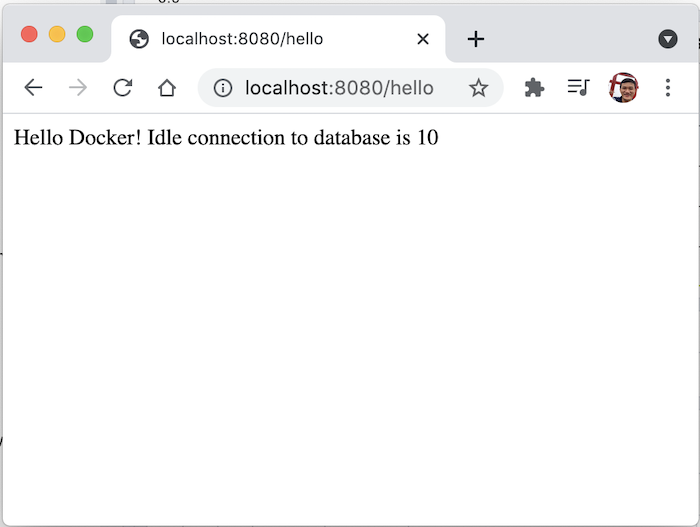
Now, I will write a Dockerfile to deploy our application to the Docker Container.
Write Dockerfile
I will create a new Dockerfile file located in the project directory:
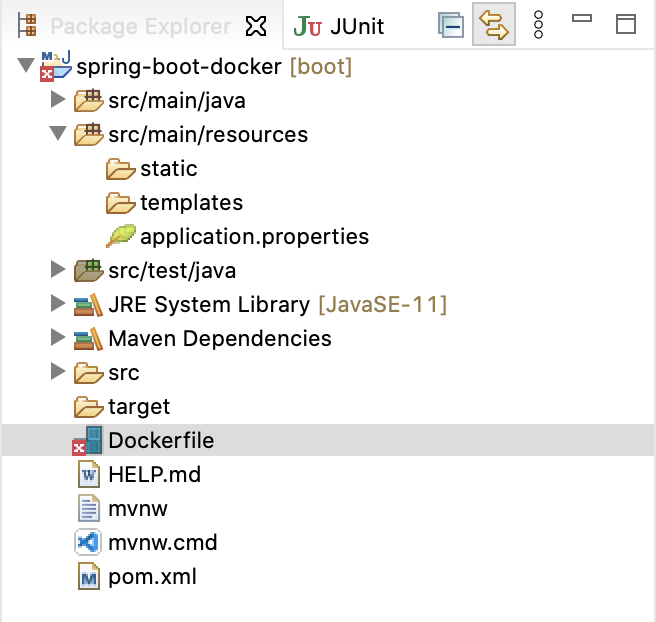
Now, we will edit this Dockerfile to build a Docker Image.
- First, I will use an Image on the Docker Hub to build a Docker Image for us.
This is called 11.0.11-jre located in the openjdk repository. Therefore, your FROM statement will have the following contents:
|
1 |
FROM openjdk:11.0.11-jre |
- Next, we will link the /tmp directory of the Docker Container to the Docker directory (/Applications/Docker.app/Contents/MacOS).
Here, we will use the VOLUME command:
|
1 |
VOLUME /tmp |
- To run the application, you need to declare some environment variables related to the database configuration as above:
|
1 2 3 4 5 |
ENV DATABASE_HOST=host.docker.internal ENV DATABASE_PORT=5432 ENV DATABASE_NAME=test ENV DATABASE_USERNAME=khanh ENV DATABASE_PASSWORD=1 |
Here, I am using a PostgreSQL database server installed on my machine, so I declare the database host as host.docker.internal.
- Now I will copy the spring-boot-docker-0.0.1-SNAPSHOT.jar file located in the target directory of the project into the Docker Container.
|
1 |
ADD target/spring-boot-docker-0.0.1-SNAPSHOT.jar app.jar |
- And finally, executing the command to run our Spring Boot application every time our Docker Container is run.
|
1 |
ENTRYPOINT exec java -jar app.jar |
The overall content of the Dockerfile is as follows:
|
1 2 3 4 5 6 7 8 9 10 11 12 13 |
FROM openjdk:11.0.11-jre VOLUME /tmp ENV DATABASE_HOST=host.docker.internal ENV DATABASE_PORT=5432 ENV DATABASE_NAME=test ENV DATABASE_USERNAME=khanh ENV DATABASE_PASSWORD=1 ADD target/spring-boot-docker-0.0.1-SNAPSHOT.jar app.jar ENTRYPOINT exec java -jar app.jar |
Deploy the application to the Docker Container
To deploy the Spring Boot application to the Docker Container from the Dockerfile, we first have to create the Docker Image from the Dockerfile.
Open the terminal and go to the project directory, then enter the following:
|
1 |
mvn clean package -DskipTests && docker build -t spring-boot-docker . |
The above statement has two parts:
- The first part is that we will use Maven to build the Spring Boot application, I skip all unit tests because it is not the goal of this tutorial.
- The next part is to use Docker to build Docker Image from Dockerfile.
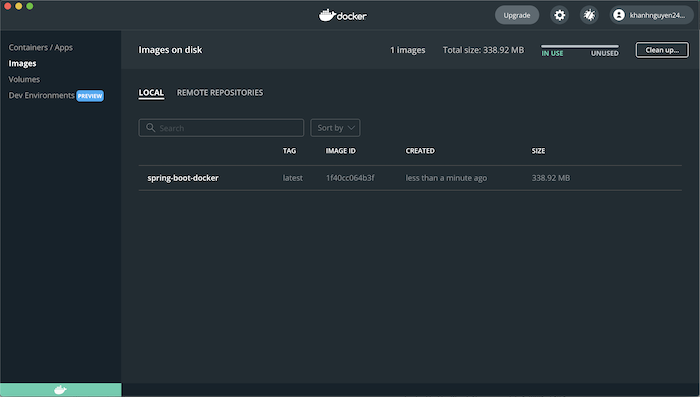
After running the above commands, if you check all Docker Images, you will see our Docker Image as follows:
And now, we can run the Docker Container from the Docker Image we just created.
|
1 |
docker run -p 8080:8080 -t spring-boot-docker |
The result will be:
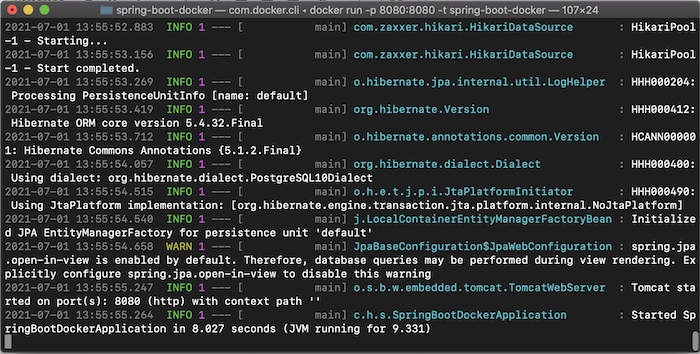
Here, I have mapped the port of our machine with port Docker Container is 8080, so to check the results, you can visit http://localhost:8080/hello.


Tomas Mockaitis
Citation:
Apache Tomcat is a servlet engine that runs Java web applications, which are packaged as web application archive files, or WARs. A WAR file is the one that’s deployed to Tomcat, not a JAR file.Why Docker cannot ADD
*.warproject package files into the Docker container? For example:ADD target/spring-boot-docker-0.0.1-SNAPSHOT.war app.warinstead of:
ADD target/spring-boot-docker-0.0.1-SNAPSHOT.jar app.jarand then launch the web app in the container:
ENTRYPOINT exec java -war app.warinstead of:
ENTRYPOINT exec java -jar app.jarMrLEE
I can’t access http://localhost:8080/hello. Although, docker ps command has shown the result as your tutorial.
Scott McCrory
Add EXPOSE 8080 to the Dockerfile; that worked for me.
Khanh Nguyen
I think, you guys forgot to run the command “docker run -p 8080:8080 -t spring-boot-docker”, right?
MrLEE
Thank you all, I run successfully.