
In this tutorial, I will guide you on how to install n8n, a platform for workflow automation, using Docker Compose!
You can find the Official Docker Image of n8n here https://hub.docker.com/r/n8nio/n8n.
To install n8n using Docker Compose, you can define a compose file with the following content:
|
1 2 3 4 5 6 7 8 9 10 11 12 |
services: n8n: image: n8nio/n8n volumes: - ./n8n_data:/home/node/.n8n ports: - 5678:5678 networks: huongdanjava: driver: bridge |
By default, n8n will save data in the /home/node/.n8n directory. To avoid losing data when the container is deleted, you can mount this data directory outside as I did above.
n8n will run on the default port 5678, so you should expose it outside to be able to access n8n!
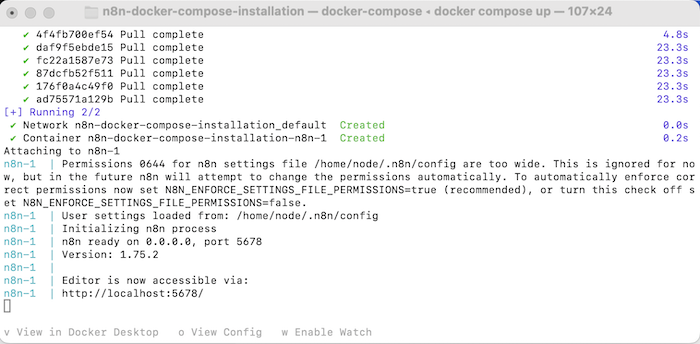
The result when I run the command “docker compose up” in the directory containing the compose file above is as follows:
Now, go to http://localhost:5678/, you will see the user information registration page will display as follows:
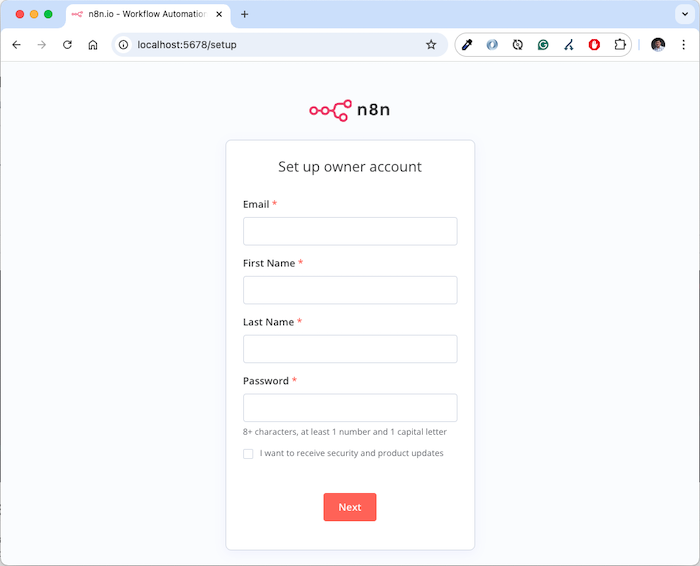
Please fill in the necessary information and click the Next button:
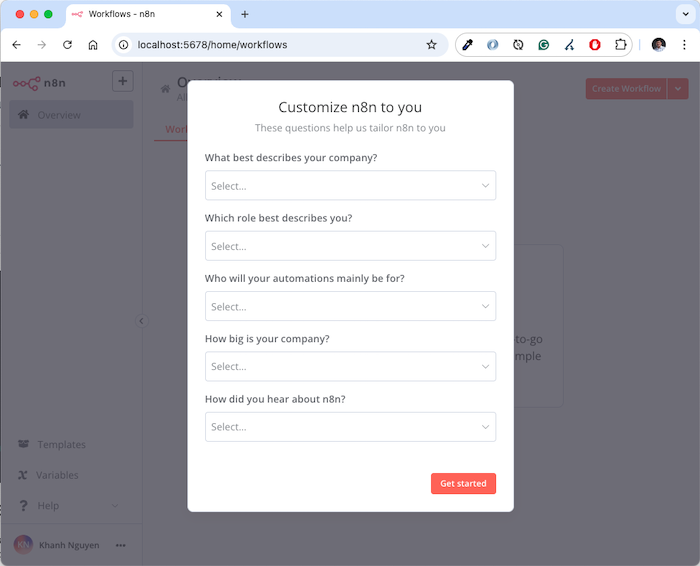
This is a window for n8n to ask you for some more information.
Please choose the appropriate answer and then click the Get started button:
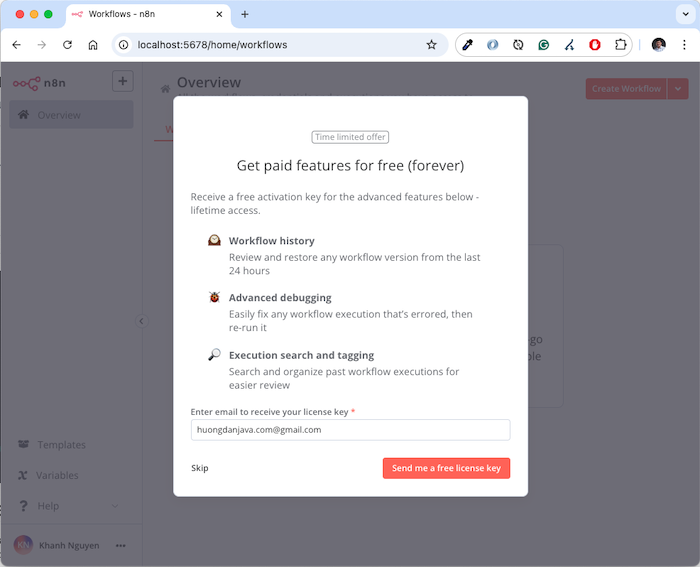
In this window, you can request n8n to send you a free license to use paid features. You can click Send me a free license key or click Skip.
I will click the Skip button.
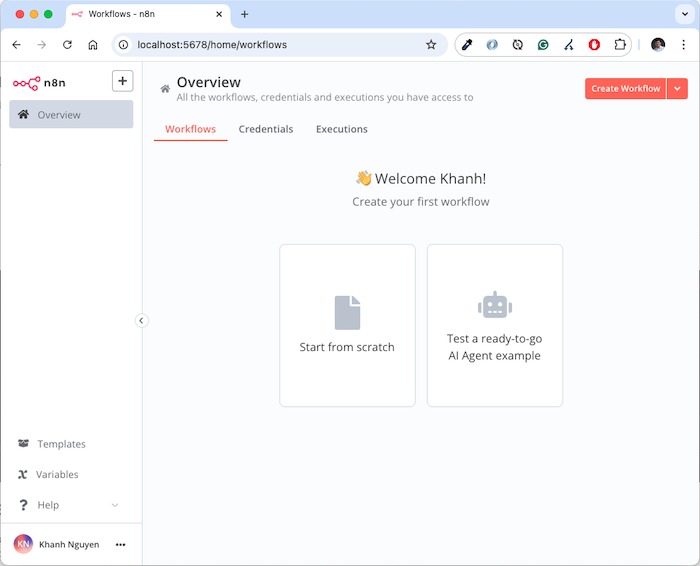
You will see the n8n Overview page displayed as follows:
Now we have completed the installation of n8n using Docker Compose!