Apart from initializing the bean in the Spring container using an XML file or using the @Configuration annotation, we can also initialize the bean using Spring’s auto component scan. How is it in detail? I will tell you in this tutorial.
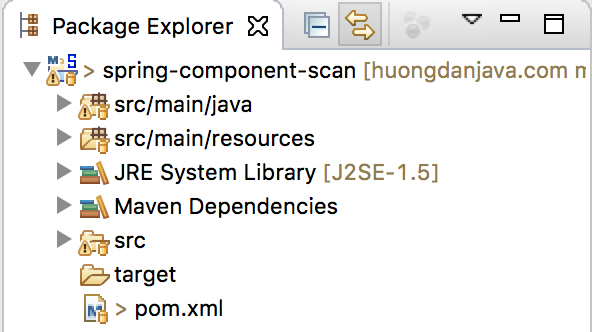
First, I will create a new Maven project as an example:

Next, I will add the Spring dependency to the pom.xml file as follows:
|
1 2 3 4 5 |
<dependency> <groupId>org.springframework</groupId> <artifactId>spring-context</artifactId> <version>6.0.2</version> </dependency> |
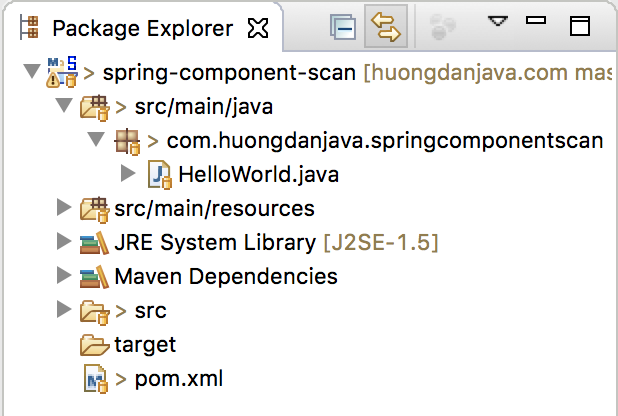
Now, I will add a new class HelloWorld in the package com.huongdanjava.springcomponentscan:

with the following content:
|
1 2 3 4 5 6 7 8 |
package com.huongdanjava.springcomponentscan; public class HelloWorld { public void print() { System.out.print("Hello World!"); } } |
To use auto component scan in Spring, there are two steps we need to do:
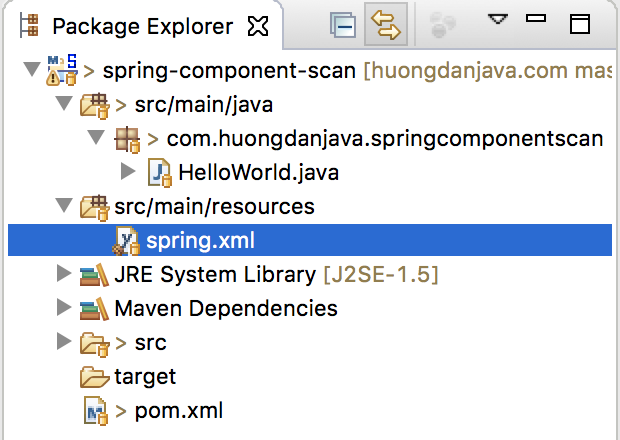
First of all, we must declare a context:component-scan tag in Spring’s configuration file.

In this tag, we have an attribute named base-package. Declaring a package name that contains the object we need to initialize the bean in Spring’s container, into this property, Spring will automatically initialize the bean for us.
In my example, I want Spring to initialize the bean for the HelloWorld object automatically, then I will declare the context:component-scan tag as follows:
|
1 2 3 4 5 6 7 8 9 |
<beans xmlns="http://www.springframework.org/schema/beans" xmlns:xsi="http://www.w3.org/2001/XMLSchema-instance" xmlns:context="http://www.springframework.org/schema/context" xsi:schemaLocation="http://www.springframework.org/schema/beans http://www.springframework.org/schema/beans/spring-beans.xsd http://www.springframework.org/schema/context http://www.springframework.org/schema/context/spring-context.xsd"> <context:component-scan base-package="com.huongdanjava.springcomponentscan" /> </beans> |
The second step, we need to do is to add one of the following annotations to the object that we want Spring to automatically initialize the bean.
The annotation is @Component, @Repository, @Service, and @Controller. Each annotation has the following meanings:
– @Component: for non-database objects, business logic, or presentation layer.
– @Repository: Used for objects related to the database layer.
– @Service: for objects related to the business logic layer.
– @Controller: for objects related to the presentation layer.
Actually, you can use the above annotation for any object. But to be more precise in terms of semantics for each object, you should use them appropriately.
In our example, the HelloWorld object is not related to the database, business logic, or presentation layer, so we will use the @Component annotation as follows:
|
1 2 3 4 5 6 7 8 9 10 11 |
package com.huongdanjava.springcomponentscan; import org.springframework.stereotype.Component; @Component public class HelloWorld { public void print() { System.out.print("Hello World!"); } } |
OK, that’s it. The id of the bean is the name of the class with the first character in lowercase.
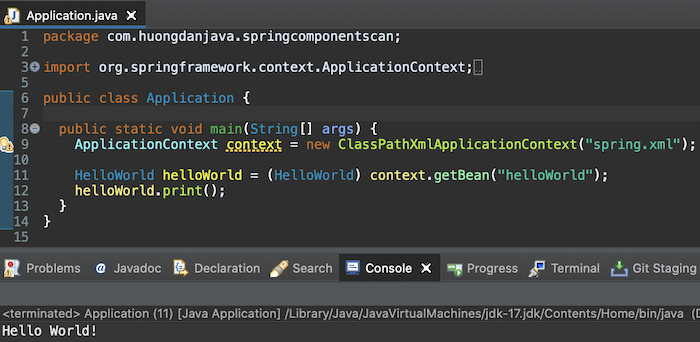
Now let’s try running this example.
|
1 2 3 4 5 6 7 8 9 10 11 12 13 14 |
package com.huongdanjava.springcomponentscan; import org.springframework.context.ApplicationContext; import org.springframework.context.support.ClassPathXmlApplicationContext; public class Application { public static void main(String[] args) { ApplicationContext context = new ClassPathXmlApplicationContext("spring.xml"); HelloWorld helloWorld = (HelloWorld) context.getBean("helloWorld"); helloWorld.print(); } } |
Result:


