In the previous tutorial, I showed you how to create a new Anypoint Connector Project to start creating a new custom Connector and use it in your Mule application. In this tutorial, I will go into details how to create Connector using Devkit in Anypoint Studio.
OK, let’s get started …
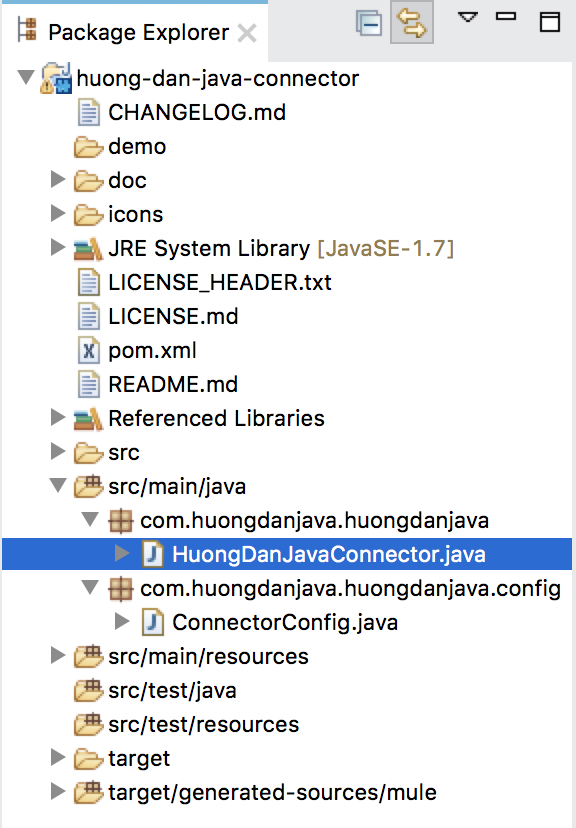
If you notice, after we created Anypoint Connector Project, Anypoint Studio has created for us an example Connector.
Now, just try to install this example Connector into Anypoint Studio.
To install a custom Connector into Anypoint Studio from an Anypoint Connector Project, just right-click on the project, select Anypoint Connector, and then select Install or Update.
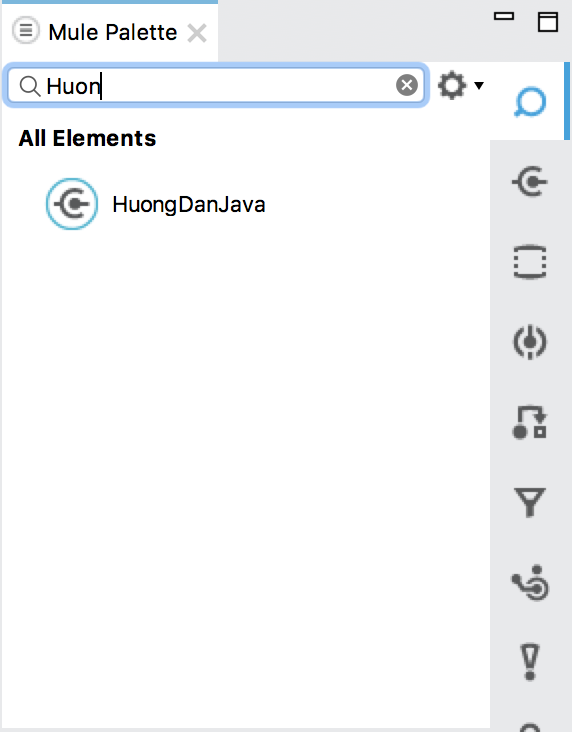
Then, check the result by looking in the Mule Palette window, using the name that we have set for the Connector at project creation.
In my example, the name of the Connector is HuongDanJava, and here is the result (note that you must create a new Mule project and open the Mule Design file, the Mule Palette will show the components and connectors):
When you drag and drop custom Connector into the Mule Flow, you will see the main configuration window for this Connector as follows:
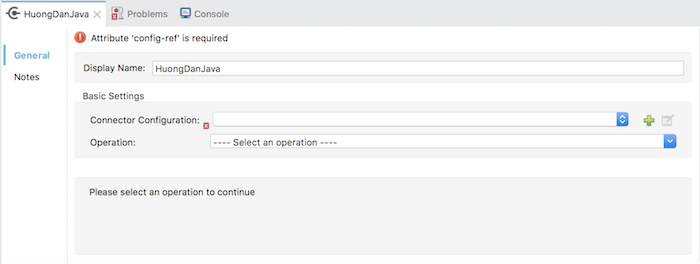
In the Connector Configuration section, clicking on the + icon will open the Global Configuration section of this Connector.
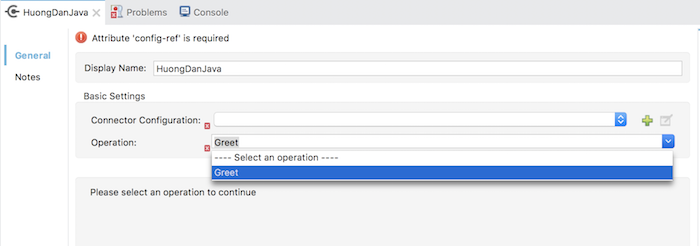
Also in the main configuration window, if you click on Operation, you will see an operation called Greet.
That are all the components of a custom Connector, how we can write code to build them, let’s learn more about it.
Main configuration of the custom Connector
Here is it!
Corresponding in code is the class that is marked with the @Connector annotation. Here, in my example that is the HuongDanJavaConnector class. The content of this class is as follows:
|
1 2 3 4 5 6 7 8 9 10 11 12 13 14 15 16 17 18 19 20 21 22 23 24 25 26 27 28 29 30 31 32 33 34 35 36 37 38 |
package com.huongdanjava.huongdanjava; import org.mule.api.annotations.Config; import org.mule.api.annotations.Connector; import org.mule.api.annotations.Processor; import com.huongdanjava.huongdanjava.config.ConnectorConfig; @Connector(name = "huong-dan-java", friendlyName = "Huong Dan Java") public class HuongDanJavaConnector { @Config ConnectorConfig config; /** * Custom processor * * @param friend * Name to be used to generate a greeting message. * @return A greeting message */ @Processor public String greet(String friend) { /* * MESSAGE PROCESSOR CODE GOES HERE */ return config.getGreeting() + " " + friend + ". " + config.getReply(); } public ConnectorConfig getConfig() { return config; } public void setConfig(ConnectorConfig config) { this.config = config; } } |
As you can see, the HuongDanJavaConnector class has been declared with the @Connector annotation.
There are two properties we need to declare for a custom Connector in the annotation @Connector, which is the “name” attribute and the “friendlyName” attribute. The “name” attribute is distinguished from any other Connector in Anypoint Studio, so it must be unique, meaning it does not match any other Connector installed in Anypoint Studio. The “friendlyName” attribute is the name of Connector that will be displayed in Mule Palete. You can set the attribute “friendlyName” to any name.
There are many other attributes in the annotation @Connector as “description” for displaying the text as we move the Connector in the Mule Palette. You can find out more about these attributes if you want, here I introduce only two required attributes.
Operation of custom Connector
In the main configuration window of the custom Connector, you will also see the Operation part.
This section shows all the operations that in the code are methods marked with the @Processor annotation.
In my example, there is an operation:
|
1 2 3 4 5 6 7 8 9 10 11 12 13 14 |
/** * Custom processor * * @param friend * Name to be used to generate a greeting message. * @return A greeting message */ @Processor public String greet(String friend) { /* * MESSAGE PROCESSOR CODE GOES HERE */ return config.getGreeting() + " " + friend + ". " + config.getReply(); } |
By default, the name of the operation will be taken from the name of the method marked with the @Processor annotation. You can change this default name by declaring the propertyName property for the @Processor annotation as follows:
|
1 2 3 4 5 6 7 8 9 10 11 12 13 14 |
/** * Custom processor * * @param friend * Name to be used to generate a greeting message. * @return A greeting message */ @Processor(friendlyName = "Hello") public String greet(String friend) { /* * MESSAGE PROCESSOR CODE GOES HERE */ return config.getGreeting() + " " + friend + ". " + config.getReply(); } |
When you click on operation Greet in your example, the following text field will appear:
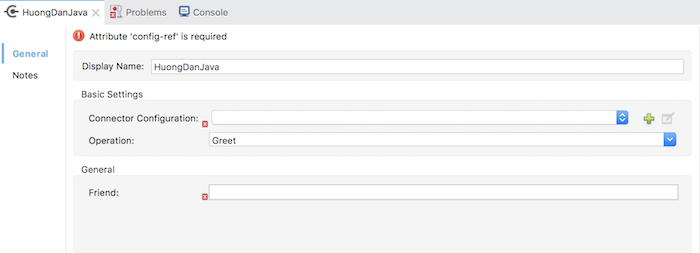
You can see that the name of this TextField is the variable name of the greet () method in our code. When we enter the value for this TextField, its value will be assigned to the friend variable in your code.
Global configuration in custom Connector
The most important part of a Connector is Global Configuration. This section will help us to reuse the configuration of the Connector in various Mule Flows. The custom Connector also allows us to create Global Configuration to meet our needs in some cases.
To add the Global Configuration component to your custom Connector, we will declare in the class that was marked with @Connector annotation, a variable reference to the processing class for the Global Configuration section and must be declared with the @Config annotation.
In the HuongDanJavaConnector class, this declaration is as follows:
|
1 2 |
@Config ConnectorConfig config; |
The class ConnectorConfig is the class that will handle the Global Configuration section.
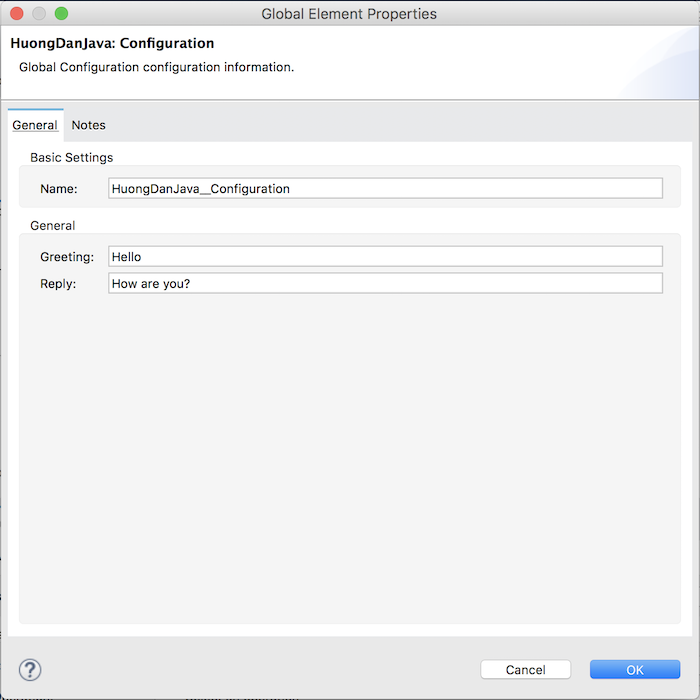
In my example, the Global Configuration section looks like below:
In the declaration of the ConnectorConfig class, we must declare it with the @Configuration annotation.
The content of this class is as follows:
|
1 2 3 4 5 6 7 8 9 10 11 12 13 14 15 16 17 18 19 20 21 22 23 24 25 26 27 28 29 30 31 32 33 34 35 36 37 38 39 40 41 42 43 44 45 46 47 48 49 50 51 52 53 54 55 56 57 58 |
package com.huongdanjava.huongdanjava.config; import org.mule.api.annotations.Configurable; import org.mule.api.annotations.components.Configuration; import org.mule.api.annotations.param.Default; @Configuration(friendlyName = "Configuration") public class ConnectorConfig { /** * Greeting message */ @Configurable @Default("Hello") private String greeting; /** * Reply message */ @Configurable @Default("How are you?") private String reply; /** * Set greeting message * * @param greeting * the greeting message */ public void setGreeting(String greeting) { this.greeting = greeting; } /** * Get greeting message */ public String getGreeting() { return this.greeting; } /** * Set reply * * @param reply * the reply */ public void setReply(String reply) { this.reply = reply; } /** * Get reply */ public String getReply() { return this.reply; } } |
As you can see, in the Global Configuration window, we have two fields, Greeting and Reply. Respectively, in the code, you also see two attributes, greeting and reply. This is the mapping between your code and the GUI. When you enter values for these two fields, the value of the two variables is assigned accordingly.
Annotation @Default in code is used to assign default values to these two fields.
You can also change the default names of these two fields by using the @FriendlyName annotation as follows:
|
1 2 3 4 5 6 7 8 9 10 11 12 13 14 15 16 17 18 19 20 21 22 23 24 25 26 27 28 29 30 31 32 33 34 35 36 37 38 39 40 41 42 43 44 45 46 47 48 49 50 51 52 53 54 55 56 57 58 59 60 61 |
package com.huongdanjava.huongdanjava.config; import org.mule.api.annotations.Configurable; import org.mule.api.annotations.components.Configuration; import org.mule.api.annotations.display.FriendlyName; import org.mule.api.annotations.param.Default; @Configuration(friendlyName = "Configuration") public class ConnectorConfig { /** * Greeting message */ @Configurable @Default("Hello") @FriendlyName("Say") private String greeting; /** * Reply message */ @Configurable @Default("How are you?") @FriendlyName("Answer") private String reply; /** * Set greeting message * * @param greeting * the greeting message */ public void setGreeting(String greeting) { this.greeting = greeting; } /** * Get greeting message */ public String getGreeting() { return this.greeting; } /** * Set reply * * @param reply * the reply */ public void setReply(String reply) { this.reply = reply; } /** * Get reply */ public String getReply() { return this.reply; } } |
After you have finished writing your code, you can update your Connector with Anypoint Studio by right-clicking on the project and selecting Anypoint Connector, then select Install or Update …
OK, so I introduced you some knowledge needed to have to create a new custom Connector in the Mule ESB application using Devkit.
Here, surely you will have many other needs when creating a new custom Connector, I will introduce to you in the other posts.