Elasticsearch, from its name, can you also guess that it is related to search? It is a search engine built from Apache Lucene that helps us to search quickly using RESTful Web Service. It was developed using Java language and is a distributed system, easily expandable. In this tutorial, I will show you how to install Elasticsearch on CentOS.
First, because the default CentOS repository does not contain the Elasticsearch installation package, we need to add the Elasticsearch repository.
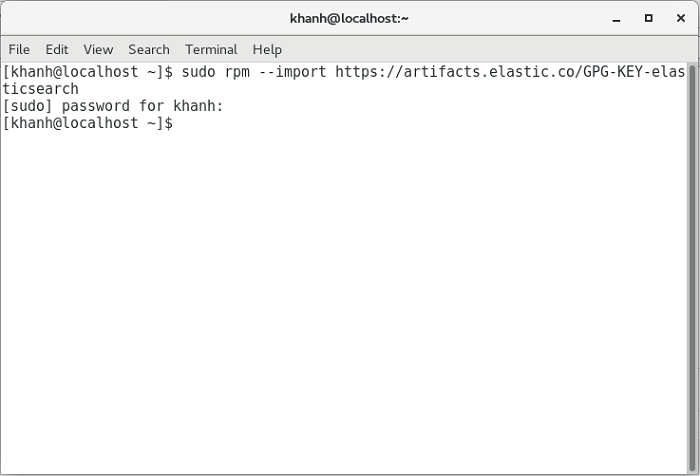
To do this, run the following command to add the Elasticsearch public signing key to your computer, to the package manager of your OS trusts package from the Elasticsearch repository:
|
1 |
sudo rpm --import https://artifacts.elastic.co/GPG-KEY-elasticsearch |
My results are as follows:
Next, you need to create a new file to add the Elasticsearch repository:
|
1 |
sudo vi /etc/yum.repos.d/elasticsearch.repo |
then add to the file the following content:
|
1 2 3 4 5 6 7 8 |
[elasticsearch-7.x] name=Elasticsearch repository for 7.x packages baseurl=https://artifacts.elastic.co/packages/7.x/yum gpgcheck=1 gpgkey=https://artifacts.elastic.co/GPG-KEY-elasticsearch enabled=1 autorefresh=1 type=rpm-md |
Now you can start installing Elasticsearch,
Please run the following command:
|
1 |
sudo yum install elasticsearch |
You will see that Elasticseach is installed as follows:
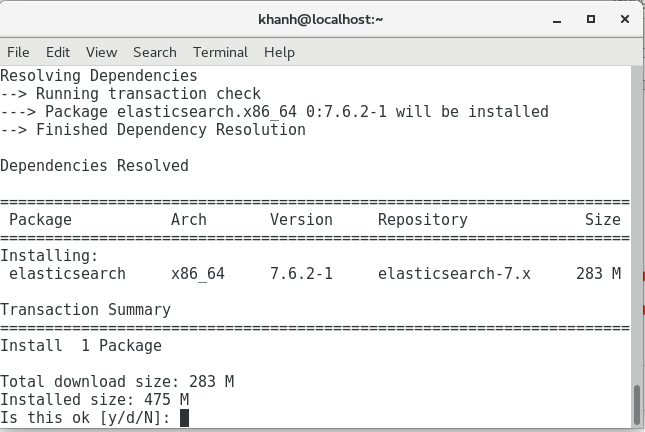
Enter “Y” to continue!
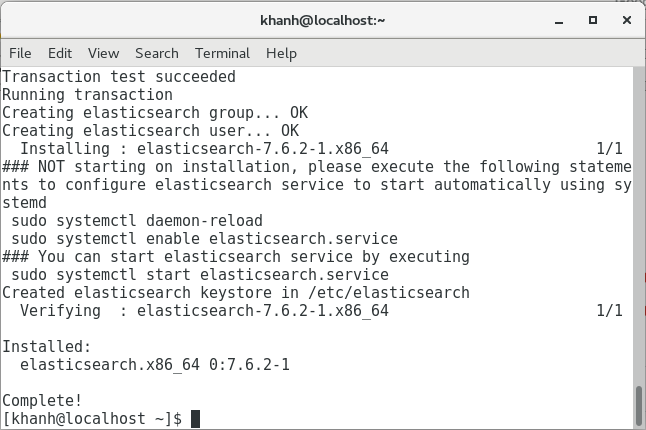
Results of installation:
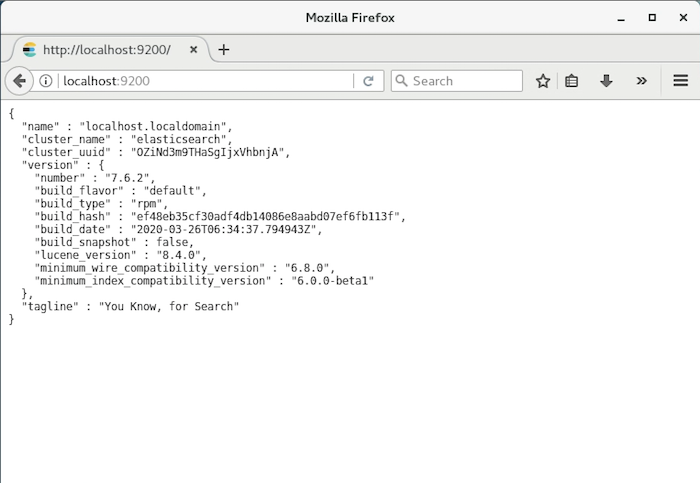
By default, Elasticsearch will run on port 9200 and can only be accessed by the localhost. You can edit the configuration of Elasticsearch at /etc/elasticsearch/elasticsearch.yml to change these.
After editing is complete, you can start the Elasticseach service using the command:
|
1 |
sudo systemctl start elasticsearch |
Run Elasticsearch at machine startup:
|
1 |
sudo systemctl enable elasticsearch |
Now, if you open your browser and go to http://localhost:9200, you will see the following result: