
Spring Session is a module of the Spring framework that helps us to manage user sessions when using our web application with another storage system instead of session management using server runtime. This other storage system could be a database system or MongoDB or Redis or Hazelcast. Using Spring Session makes it possible to solve session-related problems in deploying applications using load balancers, or the limitations of the server’s HTTP session. In this tutorial, I will show you how to use Spring Session to save session information to a certain database!
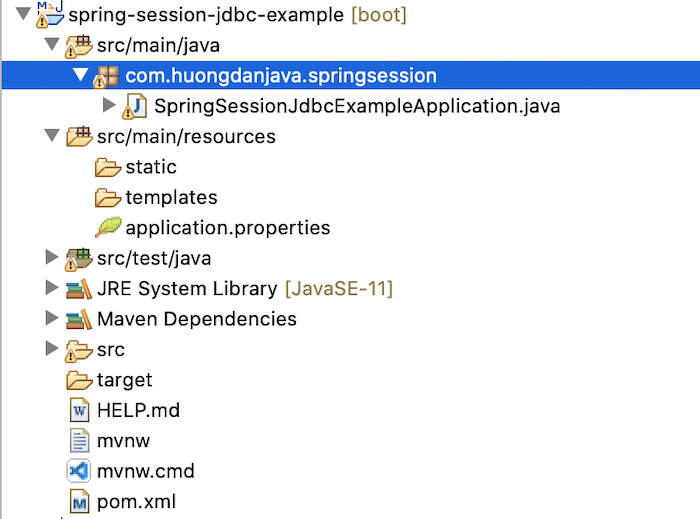
As an example for this tutorial, I will create a new Spring Boot application with Spring Security, Spring Web, and PostgreSQL JDBC Driver to store session information as follows:
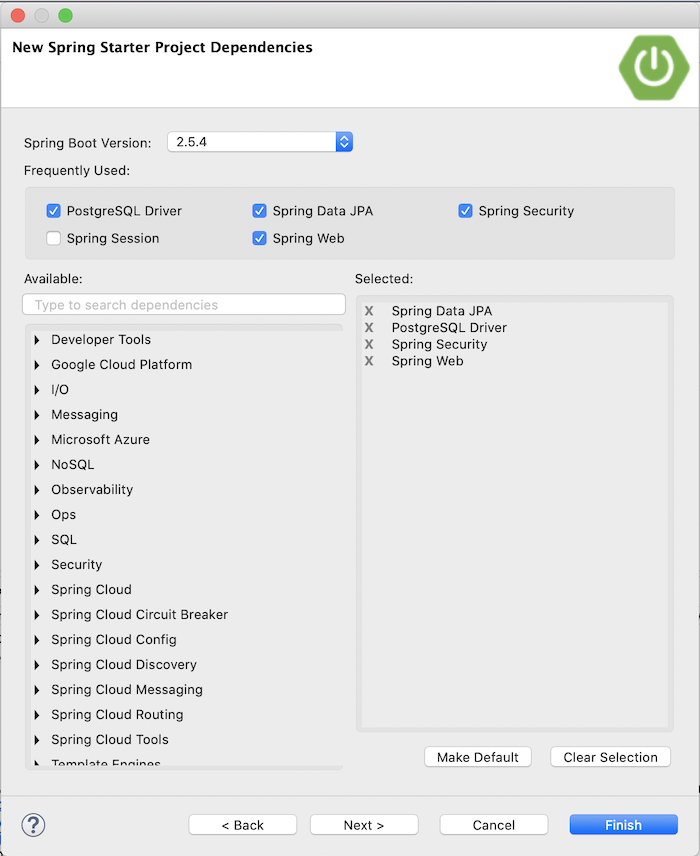
Result:
You need to add Spring Session JDBC manually to pom.xml file:
|
1 2 3 4 |
<dependency> <groupId>org.springframework.session</groupId> <artifactId>spring-session-jdbc</artifactId> </dependency> |
You don’t need to declare the version of Spring Session JDBC, it is already managed by Spring Boot Parent.
To run this application, you need to configure Datasource information in the application.properties file because we have declared to use Spring Data JPA:
|
1 2 3 |
spring.datasource.url=jdbc:postgresql://localhost:5432/spring_session_example spring.datasource.username=khanh spring.datasource.password=1 |
If you run the application now, you can log in to the application with Spring Security’s default user information “user” and the password printed in the IDE’s console log.
Information about the user’s session will be saved in the server’s HTTP session!
Now, we will configure Spring Session JDBC to transfer this session information to the database!
As I said, Spring Session supports many different storage systems, in this tutorial, we are using the database system. To declare this, please open the application.properties file and declare the following:
|
1 |
spring.session.store-type=jdbc |
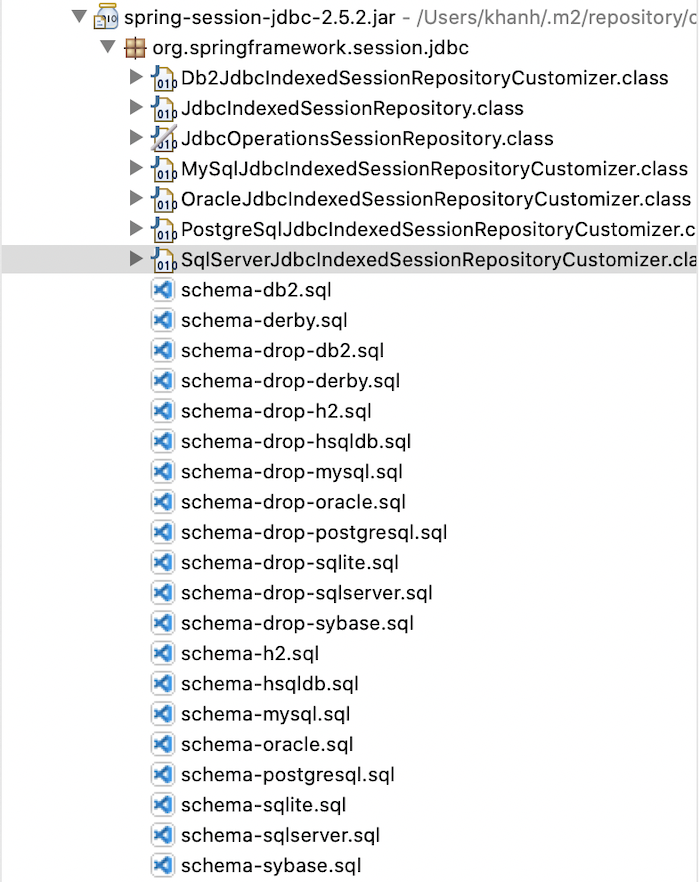
There will be some tables created by Spring Session by default to store session information. The names of these tables are SPRING_SESSION to contain user session information and SPRING_SESSION_ATTRIBUTES to contain details of each session. You can open the spring-session-jdbc jar file to see the definitions of these tables:
To initialize these tables automatically, you can add a property to do this as follows:
|
1 |
spring.session.jdbc.initialize-schema=always |
Run the application and check the database, you will see the following results:
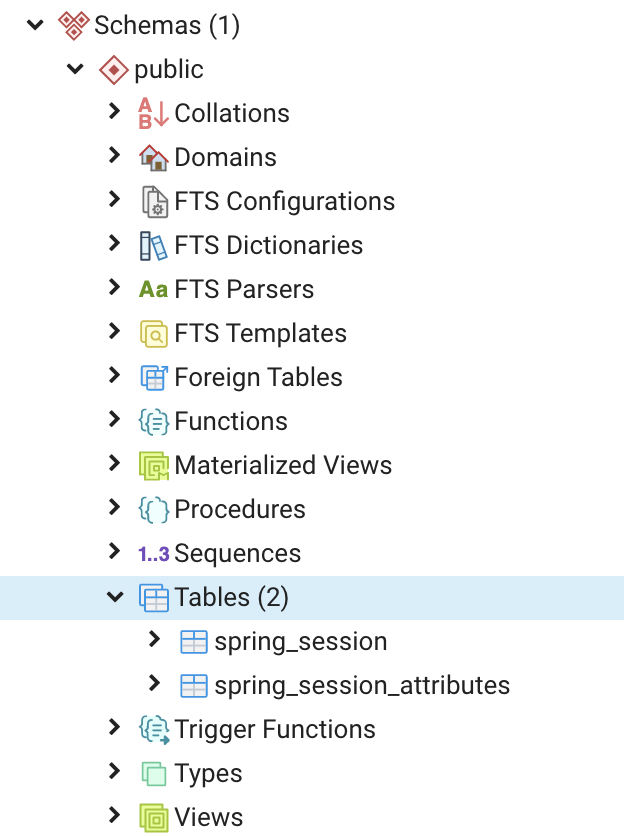
Now just go to the application using http://localhost:8080, you will see these 2 tables generate the following records:
spring_session

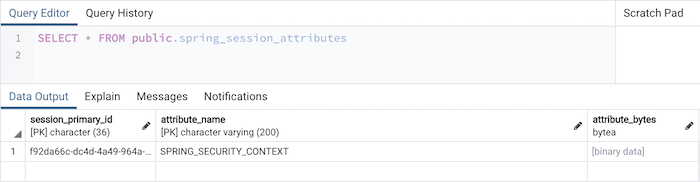
spring_session_attributes:
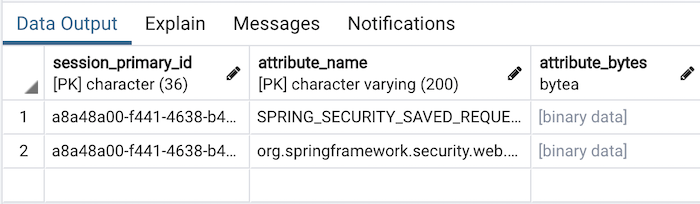
This is the information about the session that we have just requested to that application. If now, you log in to the application with the default information of Spring Security, you will see the data in the spring_session table as follows:
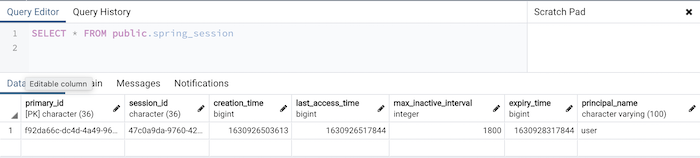
and:
The Principal name has now been updated to be the username we used to log in to the application.
You can change the name of this default table using the property:
|
1 |
spring.session.jdbc.table-name=user_session |
where user_session is the name of the main table containing user session information, equivalent to the default spring_session table.
A session will have a timeout if the user is no longer active on that session. By default, Spring Session configures this timeout to be 30 minutes. You can change this configuration using the property:
|
1 |
spring.session.timeout=180 |
After this period, the session in the table above will be deleted.
How Spring Session works
If you want to know how Spring Session works, open the SessionRepositoryFilter class. This filter class is responsible for intercepting all requests to the application and replacing the default HttpServletRequest and HttpServletResponse of the HTTP servlet with custom classes SessionRepositoryRequestWrapper and SessionRepositoryResponseWrapper in the doFilterInternal() method.
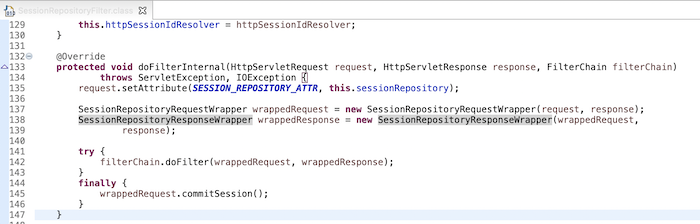
SessionRepositoryRequestWrapper will perform commitSession() for the purpose of inserting session information into the database.
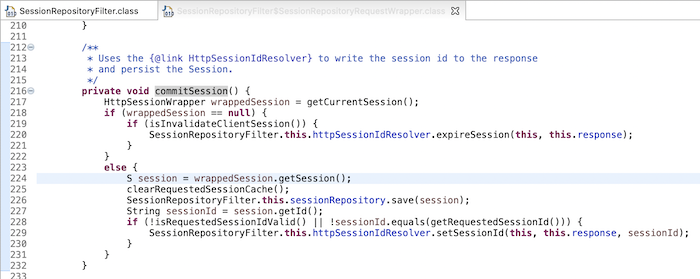
You can read more code to understand them!