I showed you how to Setting up Eclipse IDE for first time, for those of you who want to use IntelliJ as your main IDE, you can also refer to this tutorial to configure the necessary things to be able to code Java better!
Formatter configuration
To configure Formatter for IntelliJ, go to Preference, select Editor -> Code Style -> Java:
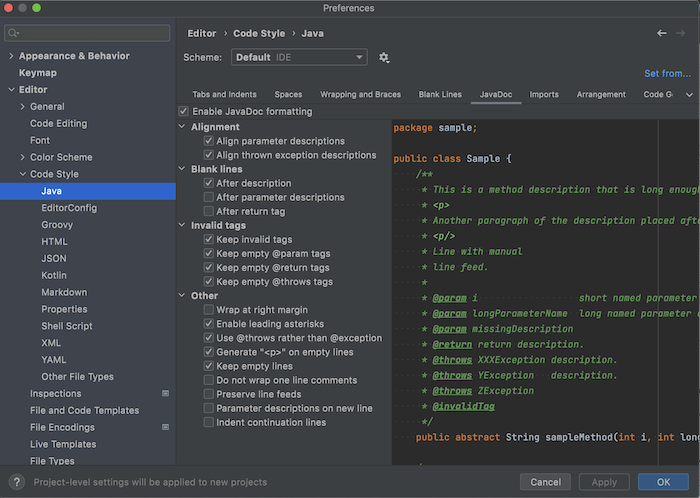
By default, IntelliJ also has its own formatter for Java. But as a best practice, you can also use Google’s formatter for IntelliJ.
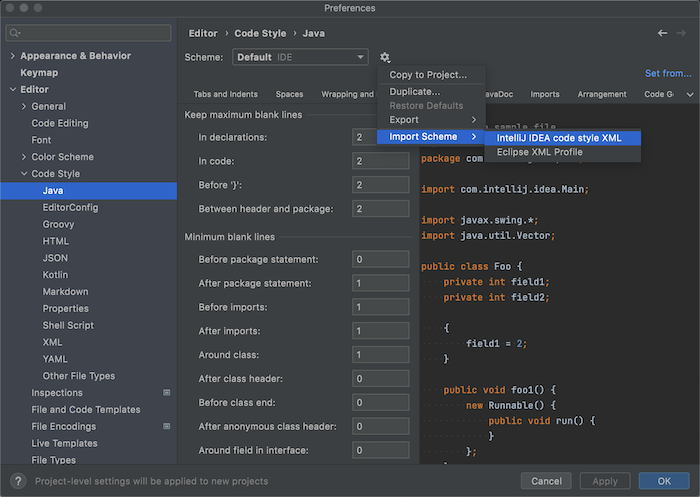
You can download IntelliJ Java Google Style at https://raw.githubusercontent.com/google/styleguide/gh-pages/intellij-java-google-style.xml, then in the above window, click on the Schema settings button, select Import Schema -> IntelliJ IDEA code style XML:
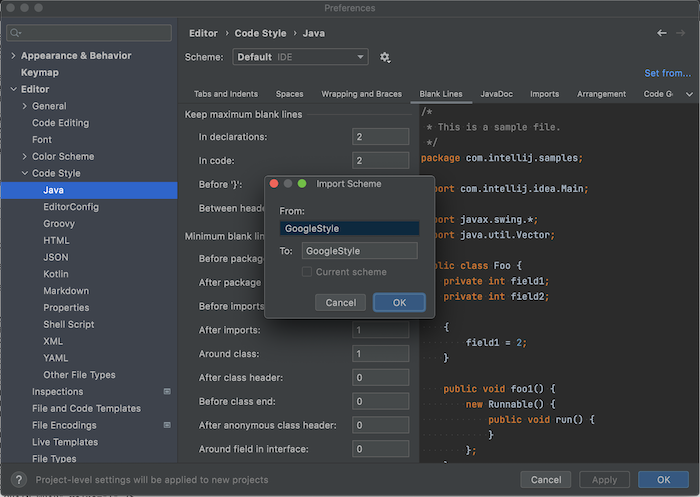
Select the file you just downloaded to import IntelliJ Java Google Style into.
Result:
Click OK and then Appy!
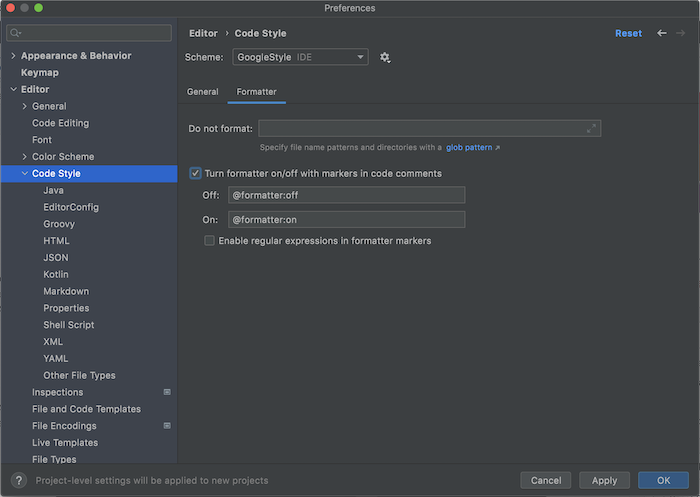
By default, Eclipse enables support for // @formatter:off and // @formatter:on pairs. In IntelliJ, you need to enable it by going to Preference, selecting Editor -> Code Style, selecting the Formatter tab, and then clicking Turn formatter on/off with marker in the code comments:
Install Save Action plugin
IntelliJ’s Save Action plugin does not have as many functions as Eclipse’s Save Action function, but it does help us with some operations.
Go to Preference, select Plugin, then search for “save action”, then install this Save Action plugin:

After restarting IntelliJ IDE, you can configure the Save Action as follows:
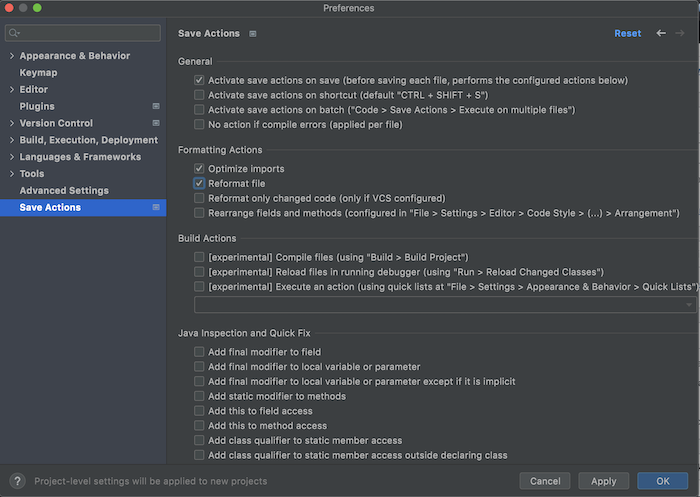
and:
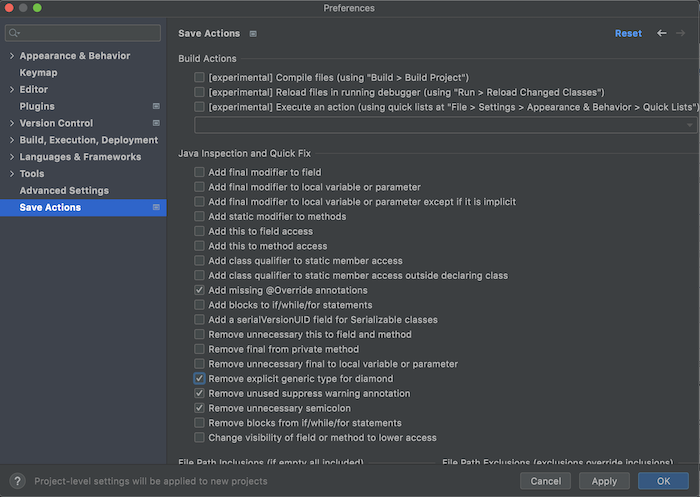
Click Apply to save the configuration!
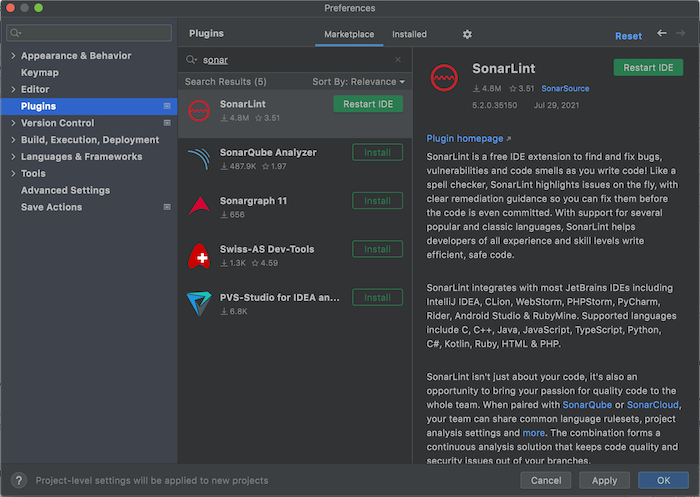
Install SonarLint plugin
The SonarLint plugin makes it possible to see the issues of our Java code right in IntelliJ and fix them instantly.
You also go to Preference, select Plugin and search “sonar”, then install this SonarLint plugin: