I have worked with Eclipse IDE for a long time and I really like it. It helps me deal with a lot of problems in Java programming. In this tutorial, I will share with you all what I did to set up the Eclipse IDE for the first time.
Setup Formatter
We need to format our code to follow a standard then another one can read and maintain your code easily.
To setup formatter in Eclipse IDE, you should go to Preferences -> Java -> Code Style -> Formatter.
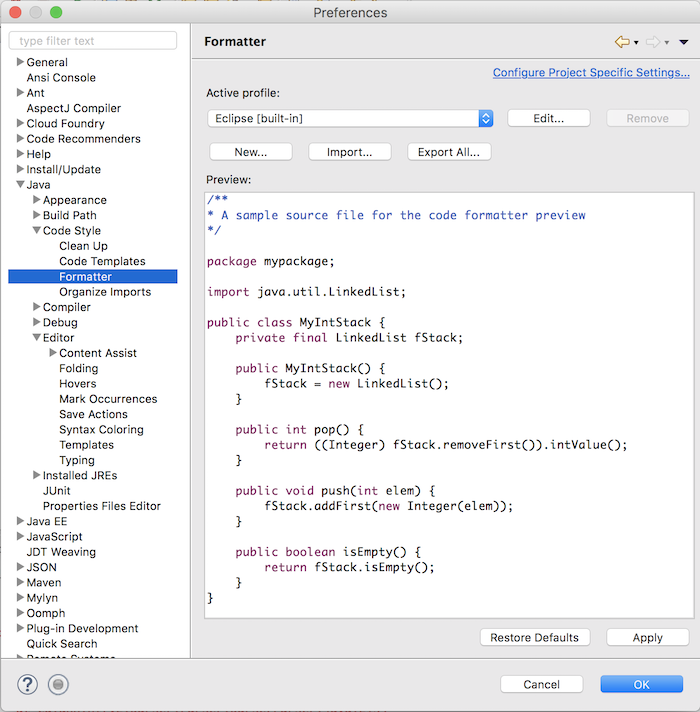
By default, Eclipse has its own formatter. You can use the default formatter configuration provided by Eclipse or you can build your formatter configuration.
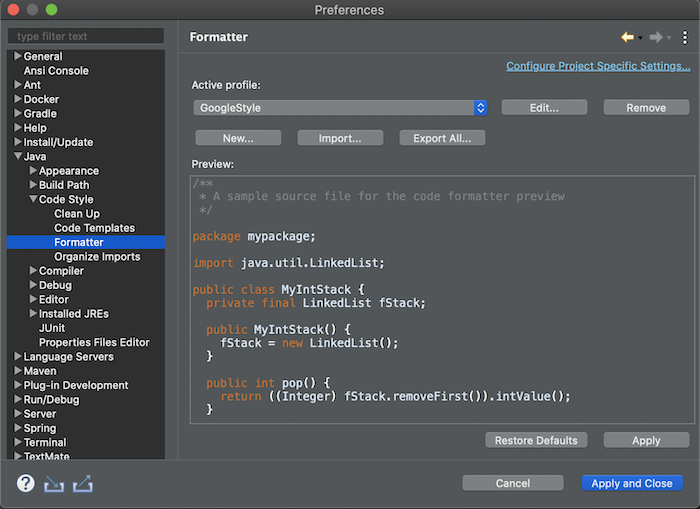
The best practice is: you can also use Eclipse Java Google Style to standardize your Java code according to Google.
Please save the content of the file https://github.com/google/styleguide/blob/gh-pages/eclipse-java-google-style.xml, then go to Preferences -> Java -> Code Style -> Formatter. In this window, please click the Import button to choose to import the Eclipse Java Google Style file into:

Click Apply and Close to use Eclipse Java Google Style!
Note that with this option, our code will automatically format according to the standard Java Google Style. For any code that you don’t want to format according to Google’s standards, use the // @formatter:off and // @formatter:on pair!
Setup Save Actions
This is one of the great features of Eclipse. It helps us do something when we press the Save button to save a file, for example: remove unnecessary import commands for unused imports, format the source code, remove unnecessary casts.
To setup it, go to Preferences -> Java -> Editor -> Save Actions.
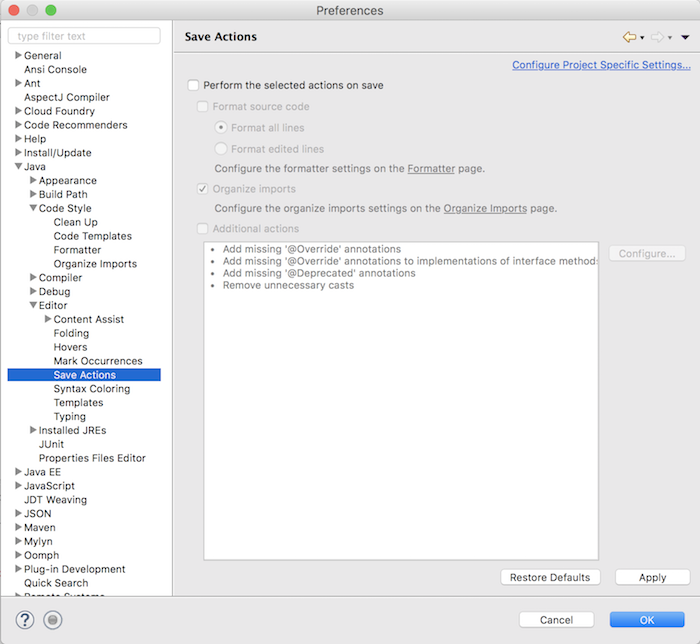
By default, the option “Perform the selected actions on save” is un-checked. We need to check it.
Here, we have 3 options as follows:
- Format source code
By default, this option is disabled. You can enable it by checking.
Format all lines: that means when we save our source code, Eclipse will re-format all code in the current file.
Format edited lines: only re-format the code which was added or modified.
Both will use the Eclipse formatter configuration as I was mentioned in the previous section.
- Organize imports
In Eclipse, we can order the import commands by using Organize Imports feature.
This option allows us re-order our import commands using the Organize Imports configuration.
- Additional actions
By default, this option is disabled too and it configures some actions like: remove unnecessary casts, add some missing annotations. You can enable it by checking.
You can edit or add more actions which are allowed by clicking Configure… button.
Below is my Save Actions configuration:
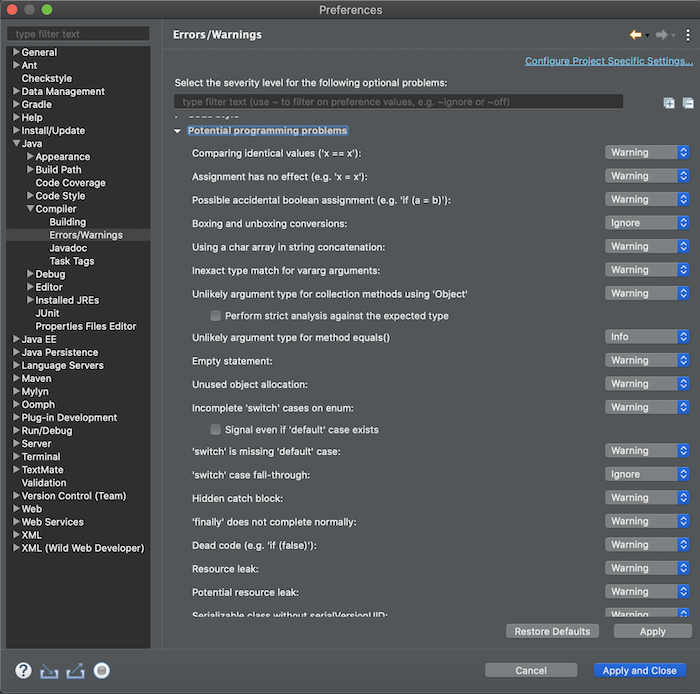
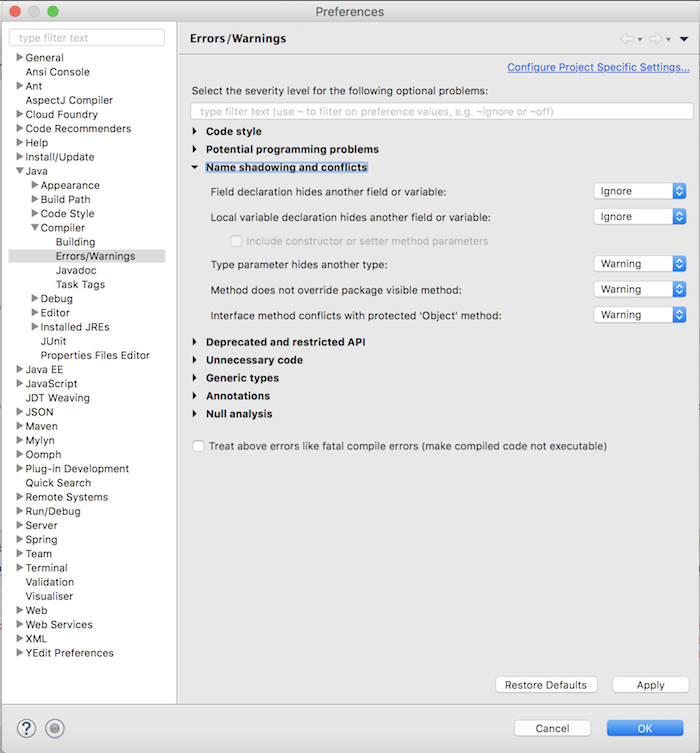
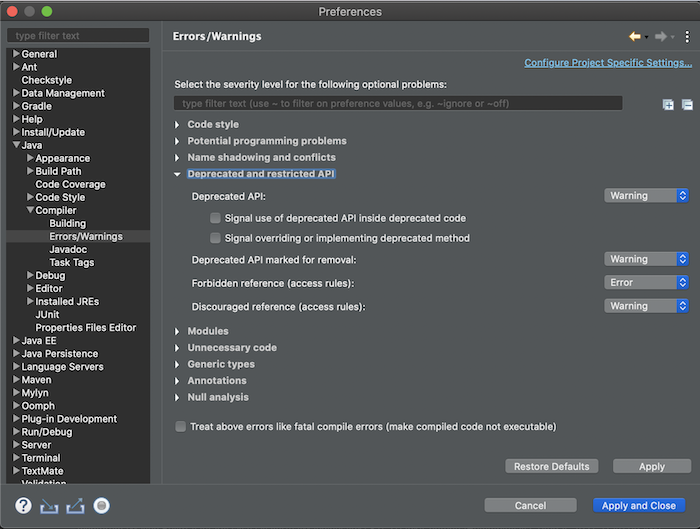
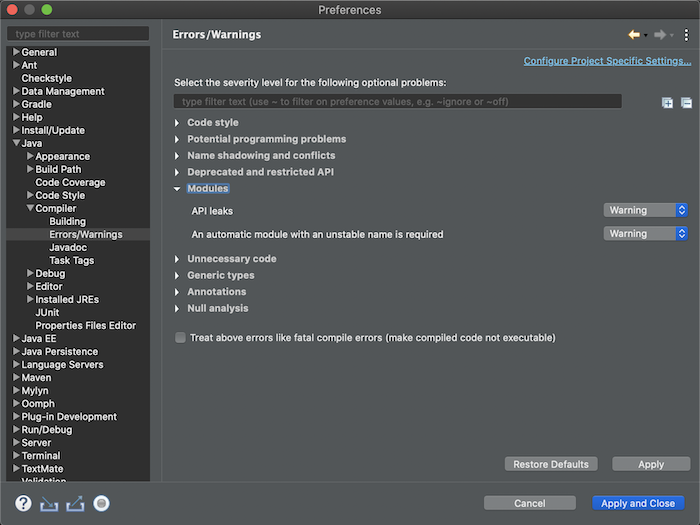
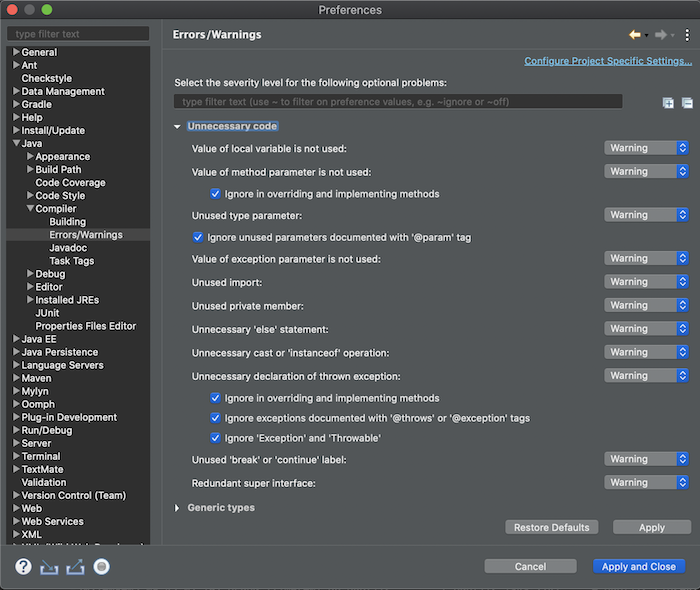
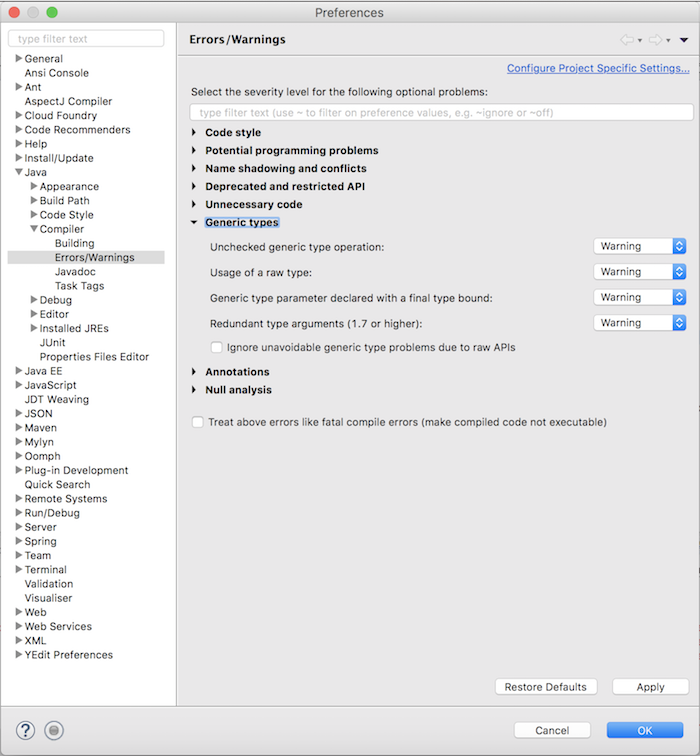
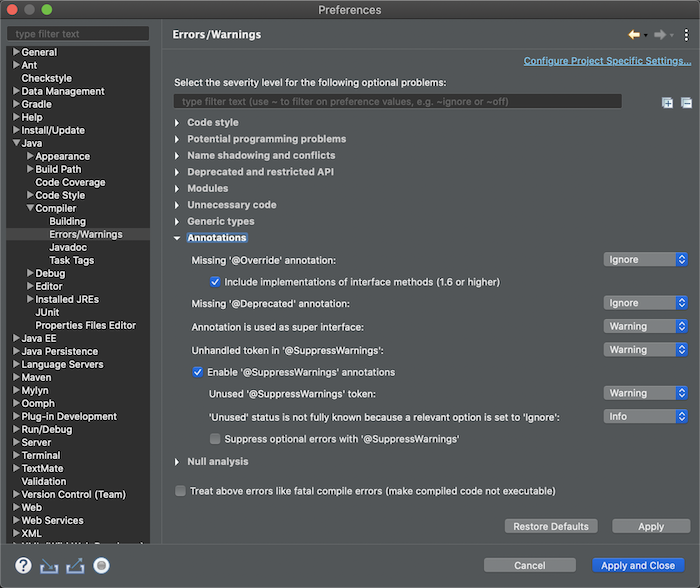
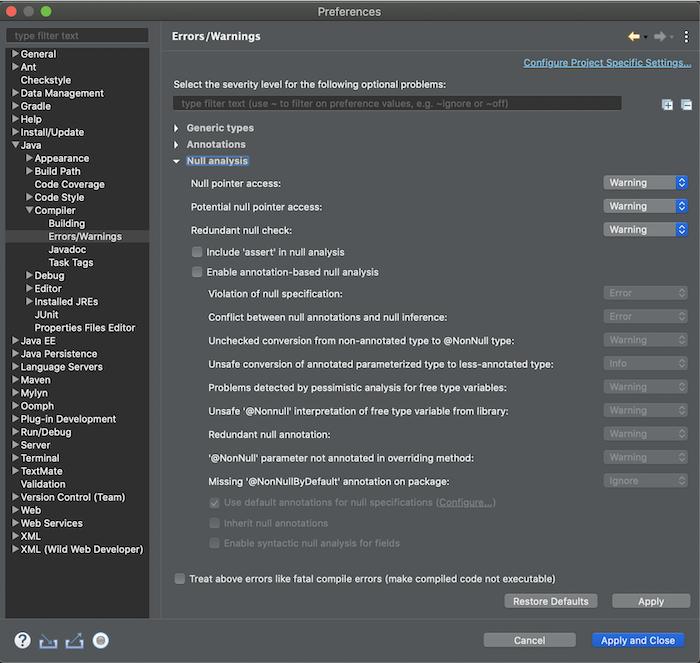
Setup Errors/Warnings
This setup is very helpful for us to detect some problems we may have when programming with Java.
To setup it, go to Preferences -> Java -> Compiler -> Errors/Warnings.
- Code style

- Potential programming problems
- Name shadowing and conflicts
- Deprecated and restricted API
- Modules
- Unnecessary code
- Generic types
- Annotations
- Null analysis
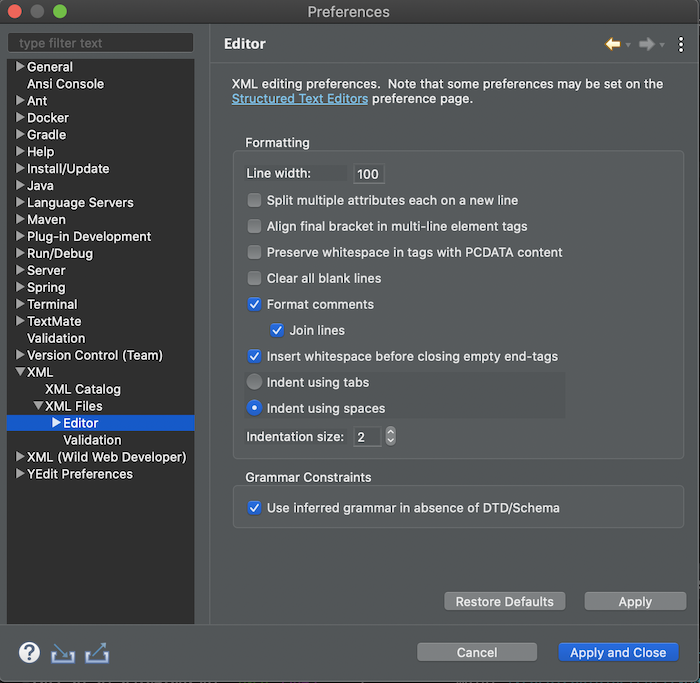
Setup XML
You can use indentation for XML files with 2 spaces and the line-width of 100: