In this tutorial, I will show you the way to create a new Maven project in Eclipse.
First of all, you need to open your Eclipse IDE. Go to File, select New and then select Maven Project:
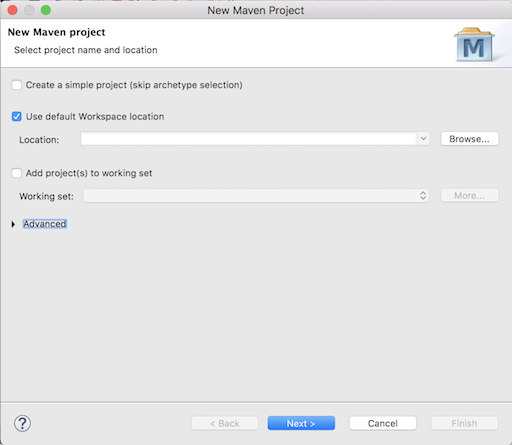
Here, we have two options to create a Maven project, using Maven Archetype or not. Maven Archetype, it’s like a template, which helps us to create Maven projects with structures that include files and directories. If you want to use Maven Archetype, you can leave the checkbox “Create a simple project (skip archetype selection)” blank by default, otherwise, check this checkbox. Then, a Maven project with the pom.xml file will be created.
I would choose “Create a simple project (skip archetype selection)” and click the Next button.
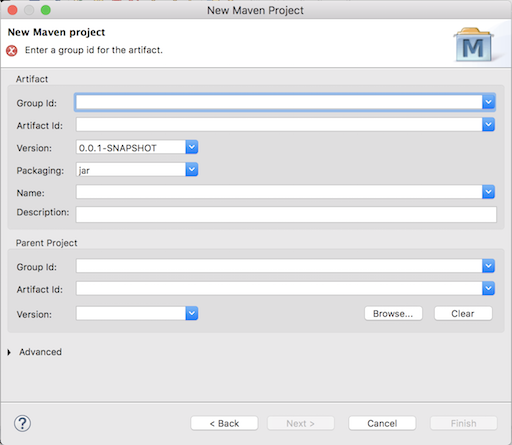
In this dialog, you should enter the Group Id and the Artifact Id. Other fields are optional, you can use them if necessary or leave them by default.
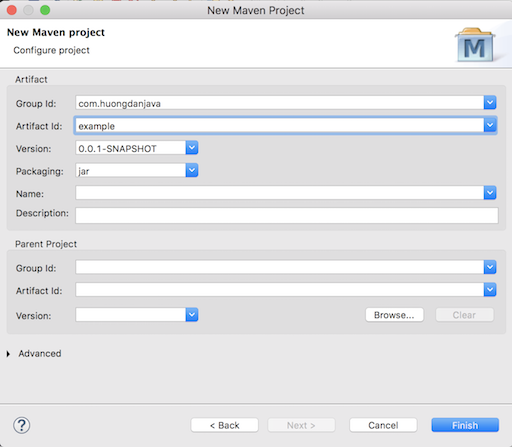
Click the Finish button to complete creating a new Maven project in Eclipse.
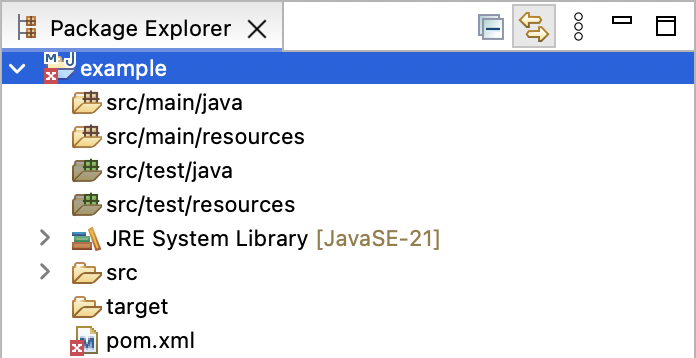
By default, this project will use Java Runtime Environment version 1.5. You can change it, depending on which version of Java you are installing on your machine, using the Maven Compiler Plugin in the pom.xml file as follows:
|
1 2 3 4 5 6 7 8 9 10 11 12 13 |
<project xmlns="http://maven.apache.org/POM/4.0.0" xmlns:xsi="http://www.w3.org/2001/XMLSchema-instance" xsi:schemaLocation="http://maven.apache.org/POM/4.0.0 https://maven.apache.org/xsd/maven-4.0.0.xsd"> <modelVersion>4.0.0</modelVersion> <groupId>com.huongdanjava</groupId> <artifactId>example</artifactId> <version>0.0.1-SNAPSHOT</version> <properties> <maven.compiler.target>21</maven.compiler.target> <maven.compiler.source>21</maven.compiler.source> </properties> </project> |
Result: