In this tutorial, I will show you all how we can install MongoDB on macOS.
First of all, we need to download the MongoDB binary file. To do that, you can go to the download page of MongoDB at https://www.mongodb.com/download-center/community and choose the latest version of MongoDB for macOS.
This is .tgz file, so you can use the tar command to extract this file.
After extracting, you should see the folder mongodb-osx-x86_64-3.6.3 with the content as below:
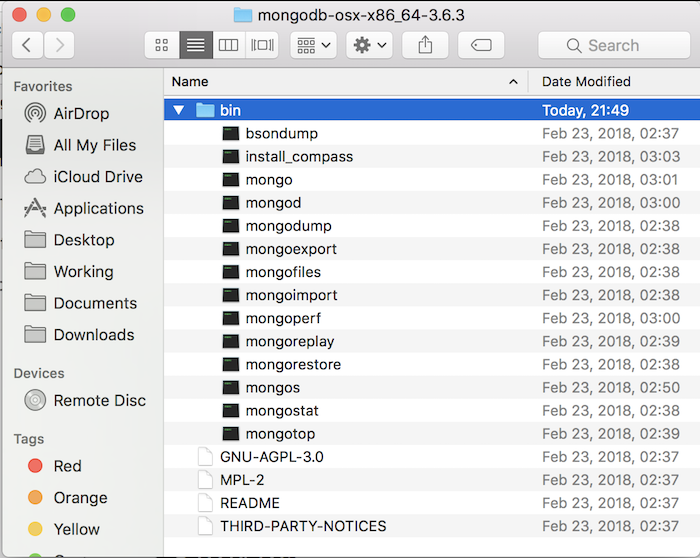
All necessary files of MongoDB are contained in the bin folder. Here, we have mongo file to connect to MongoDB server, and mongod file to start a MongoDB server.
When running, MongoDB needs a folder to store the data. By default, this folder will be located at /data/db. You should create this folder before starting the MongoDB.
You can change this default folder to another folder by using the –dbpath option to pass the path of the folder when starting the MongoDB server.
Make sure the folder, which will be used by MongoDB, has all permission to read, write.
In this tutorial, I will use the custom folder to start the MongoDB server. I created the folder at /Users/Khanh/MongoDB/data/db.
So, the command to start MongoDB will be:
|
1 |
./mongod --dbpath=/Users/Khanh/MongoDB/data/db |
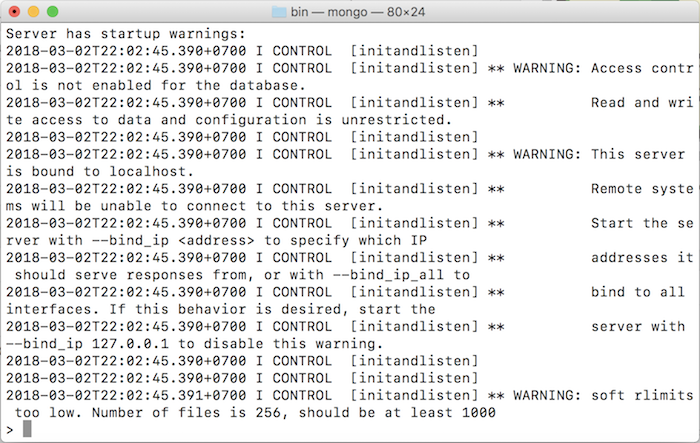
Result:
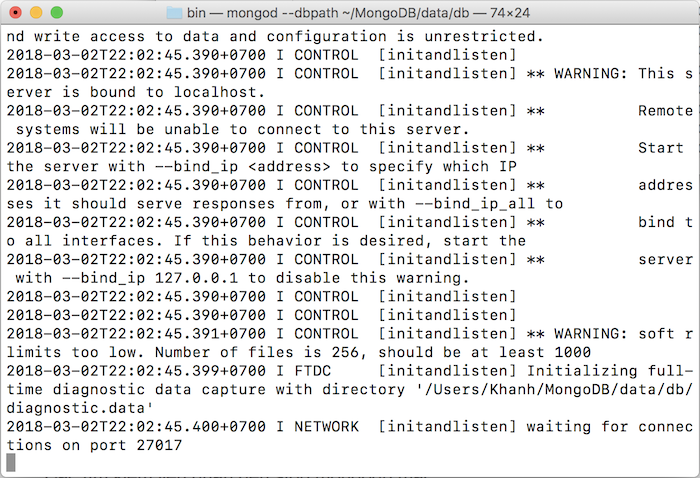
If you see the text as above, that means you started MongoDB successfully.
To connect to this MongoDB server, you can open another Terminal and use mongo file to connect.
|
1 |
./mongo |
Result: