
The Spring Boot Actuator is a Spring tool that allows us to monitor our application on a production environment without any code at all. It will expose the information about the application, its status, how the data relates to the application, etc. How is it in detail? Let’s find out in this tutorial!
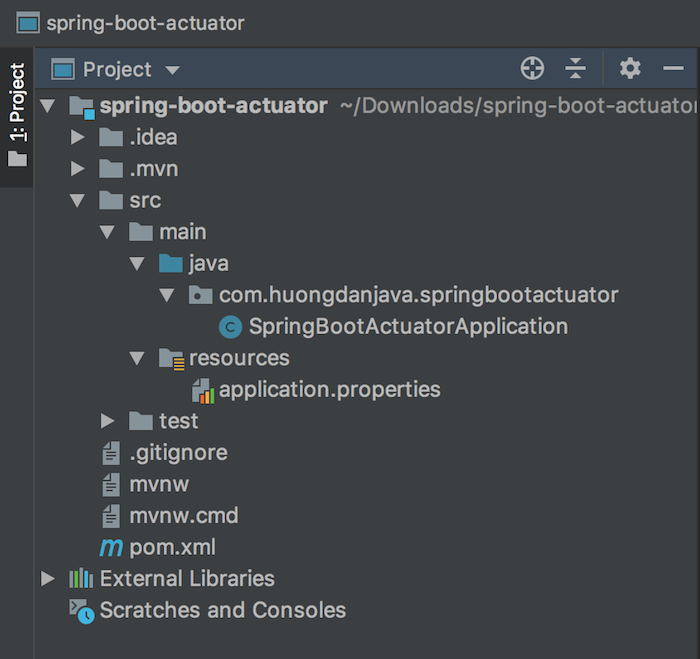
First, I will create a Spring Boot project with the Actuator and Web dependencies as follows:
Now, I will start the Spring Boot project and go to http://localhost:8080/actuator, and you will see the following result:
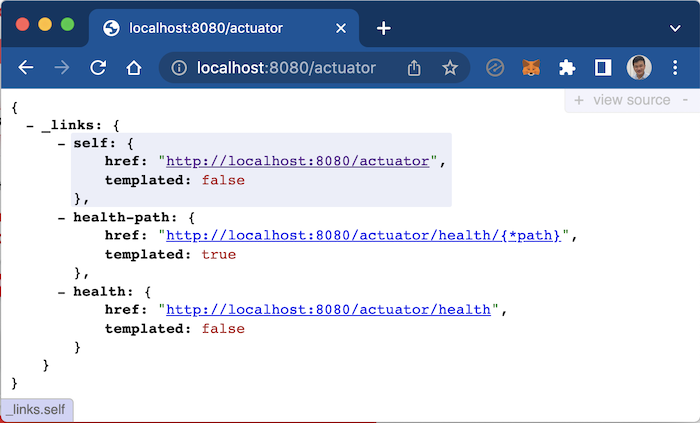
As you can see, although I didn’t do anything, my application still exposes some APIs starting with “/actuator”, which will allow us to get information about our application.
For the old version 1.x, Actuator also exposes many other APIs, but from version 2.x, they have been disabled a lot. You can enable these APIs by declaring a property called management.endpoints.web.exposure.include in the application’s application.properties file with the value of the API name we need to enable. The list of these APIs, you can find here https://docs.spring.io/spring-boot/reference/actuator/endpoints.html#actuator.endpoints
To enable all of them, you can configure the property management.endpoints.web.exposure.include with the value as follows:
|
1 |
management.endpoints.web.exposure.include=* |
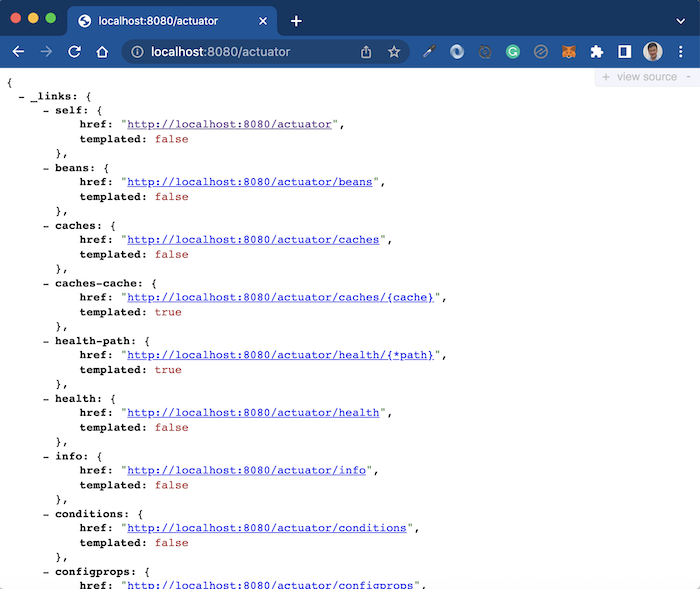
Run the application again and access http://localhost:8080/actuator, and you will see all the APIs that Actuator exposes, are displayed as follows:
Here, I will tell you some more information about the API “/actuator/health”, which by default, Actuator enables from version 2.x, and the API “/actuator/info”. With other APIs, you can learn more according to your needs!
The first is the “/actuator/health” API.
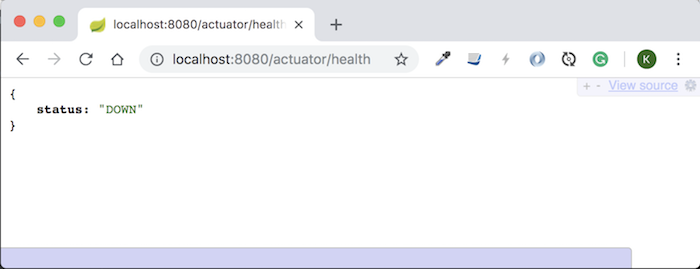
This API is used to allow other applications to check if the status of our application is running normally or stopped. You can click on the “/actuator/health” API to see what information it provides to us.
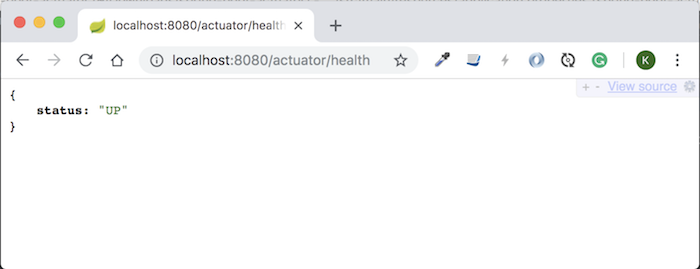
By default, it only displays status information with the value of UP if our application is still running normally; otherwise, if there is any problem, the status will be DOWN.
We can implement the HealthIndicator interface to specify when our application is DOWN and when it is UP. For example, I have the AppHealthIndicator class that implements the HealthIndicator interface:
|
1 2 3 4 5 6 7 8 9 10 11 12 13 14 |
package com.huongdanjava.springbootactuator; import org.springframework.boot.actuate.health.Health; import org.springframework.boot.actuate.health.HealthIndicator; import org.springframework.stereotype.Component; @Component public class AppHealthIndicator implements HealthIndicator { @Override public Health health() { return Health.down().build(); } } |
When running again and accessing the “/actuator/health” API, my application will always return the status as DOWN.
Next, we’ll talk about the “/actuator/info” API.
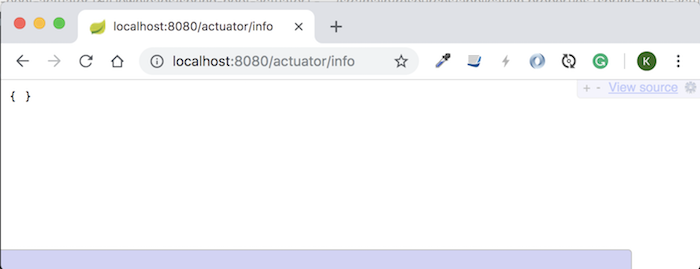
By default, if you do not enable environment variable information using property management.info.env.enabled and declare information about our application using some property names starting with “info”, then when accessing this API, no information is returned at all.
But if I now enable to display the environment variable information:
|
1 |
management.info.env.enabled=true |
and configure some information for our example:
|
1 2 3 |
info.app.name=Spring Boot Actuator info.app.description=An explanation about Spring Boot Actuator info.app.version=1.0.0 |
then when you run the application again and access the API “/actuator/info”, you will see the following results:

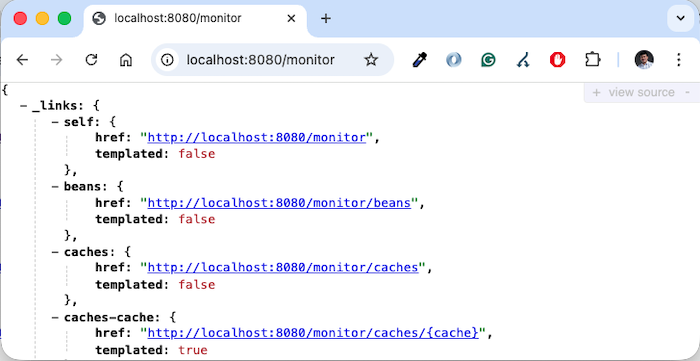
By default, the base path of Actuator is “/actuator”, you can change this base path using the property “management.endpoints.web.base-path”, for example, as follows:
|
1 |
management.endpoints.web.base-path=/monitor |
My results are as follows:

Shani
I wrote a tool that connects to Spring Actuator, providing a simple and intuitive UI for all its functions. Ostara, it runs locally, you just need to plug in the Actuator Endpoint URL. Any feedback would help,it’s free and open source: https://ostara.dev