By default, when we create a Spring Boot project, it will run as a web application with an embedded web container such as Tomcat, Jetty… So in case we want to run the Spring Boot project as a normal Java console, how do we do it? In this tutorial, I will guide you on how to create a Java application console with your Spring Boot project.
First of all, you also create a normal Spring Boot project using the Spring Tool Suite IDE or the Spring Initializr Web, but note that in the dependencies section, you do not select anything.
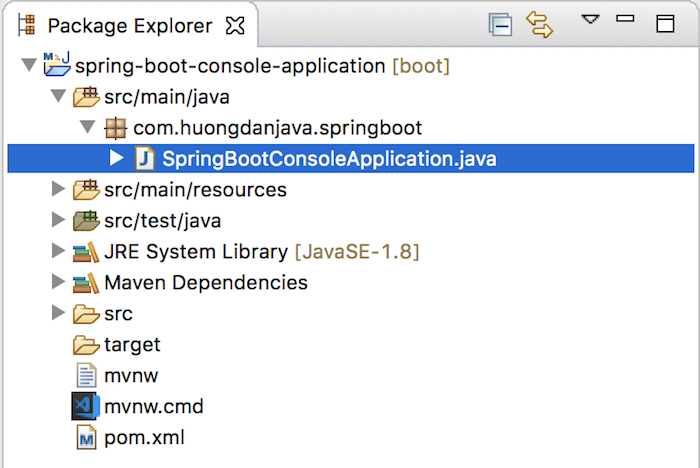
My example is as follows:

To run this example as a Java console application, add an implementation for the CommandLineRunner interface to the main class of the Spring Boot application.
In my example SpringBootConsoleApplication class:
|
1 2 3 4 5 6 7 8 9 10 11 12 13 |
package com.huongdanjava.springboot; import org.springframework.boot.CommandLineRunner; import org.springframework.boot.SpringApplication; import org.springframework.boot.autoconfigure.SpringBootApplication; @SpringBootApplication public class SpringBootConsoleApplication implements CommandLineRunner { public static void main(String[] args) { SpringApplication.run(SpringBootConsoleApplication.class, args); } } |
This CommandLineRunner interface has a method that we must implement, which is the run() method. This is also the method that allows us to execute code under the console.
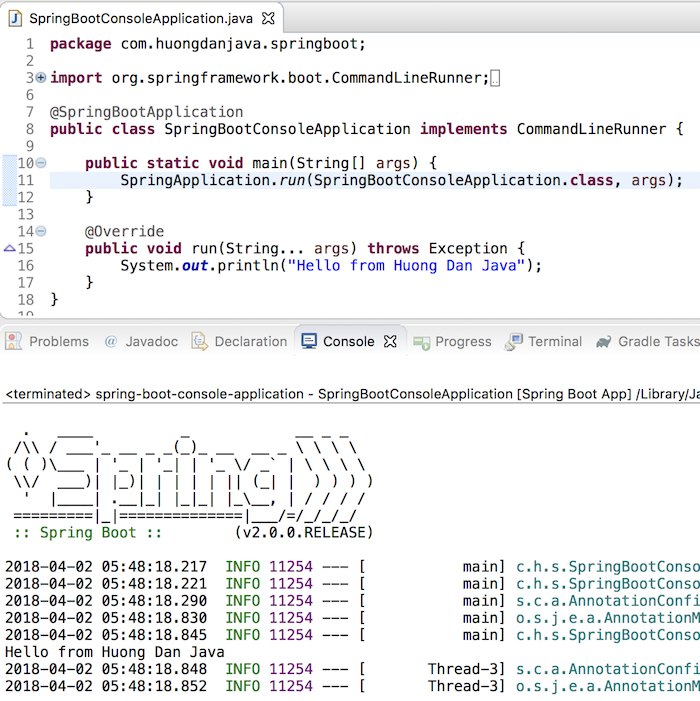
For example, if I want to print a message in the console, I will code as follows:
|
1 2 3 4 5 6 7 8 9 10 11 12 13 14 15 16 17 18 |
package com.huongdanjava.springboot; import org.springframework.boot.CommandLineRunner; import org.springframework.boot.SpringApplication; import org.springframework.boot.autoconfigure.SpringBootApplication; @SpringBootApplication public class SpringBootConsoleApplication implements CommandLineRunner { public static void main(String[] args) { SpringApplication.run(SpringBootConsoleApplication.class, args); } @Override public void run(String... args) throws Exception { System.out.println("Hello from Huong Dan Java"); } } |
Result:

Let’s say we now have a HelloWorld bean with the following content:
|
1 2 3 4 5 6 7 8 9 10 11 |
package com.huongdanjava.springboot; import org.springframework.stereotype.Component; @Component public class HelloWorld { public void say() { System.out.println("Hello, Khanh"); } } |
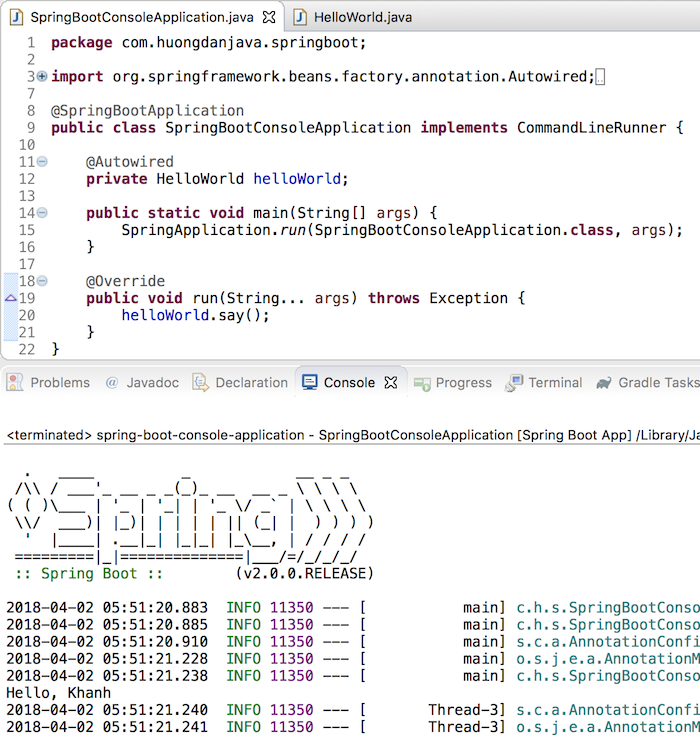
Then, we can use the HelloWorld bean as follows:
|
1 2 3 4 5 6 7 8 9 10 11 12 13 14 15 16 17 18 19 20 21 22 |
package com.huongdanjava.springboot; import org.springframework.beans.factory.annotation.Autowired; import org.springframework.boot.CommandLineRunner; import org.springframework.boot.SpringApplication; import org.springframework.boot.autoconfigure.SpringBootApplication; @SpringBootApplication public class SpringBootConsoleApplication implements CommandLineRunner { @Autowired private HelloWorld helloWorld; public static void main(String[] args) { SpringApplication.run(SpringBootConsoleApplication.class, args); } @Override public void run(String... args) throws Exception { helloWorld.say(); } } |
Result:

In addition to the above implementation declaration, there is another way that you can also define a Bean for the CommandLinerRunner interface.
For example:
|
1 2 3 4 5 6 7 8 9 10 11 12 13 14 15 16 17 18 19 20 21 22 23 24 25 26 |
package com.huongdanjava.springboot; import org.springframework.beans.factory.annotation.Autowired; import org.springframework.boot.CommandLineRunner; import org.springframework.boot.SpringApplication; import org.springframework.boot.autoconfigure.SpringBootApplication; import org.springframework.context.ApplicationContext; import org.springframework.context.annotation.Bean; @SpringBootApplication public class SpringBootConsoleApplication { @Autowired private HelloWorld helloWorld; public static void main(String[] args) { SpringApplication.run(SpringBootConsoleApplication.class, args); } @Bean public CommandLineRunner commandLineRunner(ApplicationContext ctx) { return args -> { helloWorld.say(); }; } } |
The result will be the same as above!


