In the previous tutorial, I showed you how to type Query in GraphQL and also used Spring GraphQL together with Spring Data R2DBC to implement GraphQL request to query student information. To add, edit, or delete student information with GraphQL, we need to use type Mutation. How to implement type Mutation with Spring GraphQL? Let’s find out together with me in this tutorial!
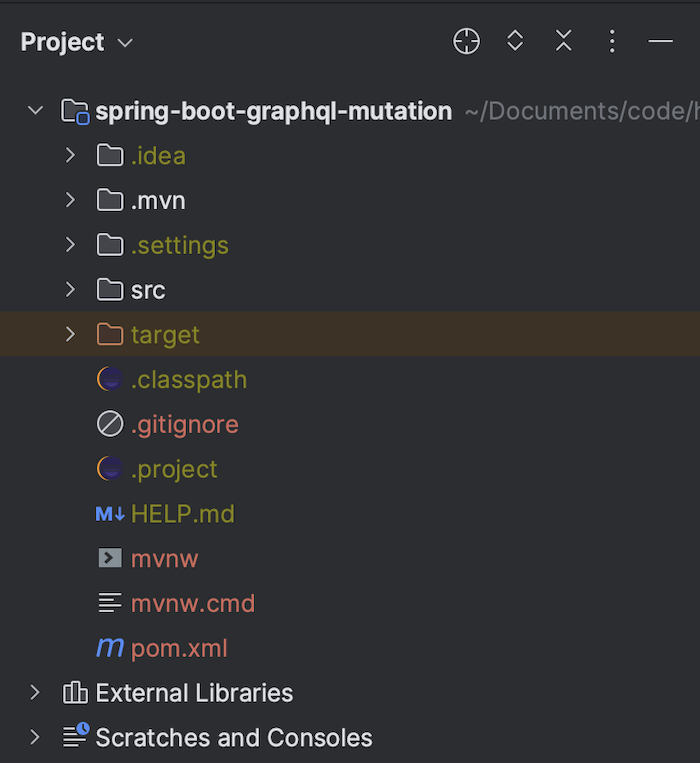
First, I will also create a Spring Boot project with Spring Web, Spring for GraphQL, Spring Data R2DBC and PostgreSQL Driver as an example.
Result:
I will define the Repository class for the “student” table:
|
1 2 3 4 5 |
CREATE TABLE student ( id uuid DEFAULT uuid_generate_v4() NOT NULL, name varchar(50) NOT NULL, PRIMARY KEY (id) ) |
as follows:
|
1 2 3 4 5 6 7 8 |
package com.huongdanjava.graphql; import java.util.UUID; import org.springframework.data.r2dbc.repository.R2dbcRepository; public interface StudentRepository extends R2dbcRepository<Student, UUID> { } |
with Student model with the following content:
|
1 2 3 4 5 6 7 8 9 10 11 12 13 14 15 16 17 18 19 20 21 22 23 24 25 26 27 28 29 30 |
package com.huongdanjava.graphql; import java.util.UUID; import org.springframework.data.annotation.Id; import org.springframework.data.relational.core.mapping.Table; @Table public class Student { @Id private UUID id; private String name; public UUID getId() { return id; } public void setId(UUID id) { this.id = id; } public String getName() { return name; } public void setName(String name) { this.name = name; } } |
As an example, I created a new schema.graphqls file that defines the Mutation type to add new student information in the database as follows:
|
1 2 3 4 5 6 7 8 9 10 11 12 13 14 15 16 17 18 |
type Query { students: [Student] } type Mutation { addStudent(student: StudentInput!): Student! updateStudent(student: StudentInput!): Student! deleteStudent(studentId: ID!): String! } type Student { id: ID, name: String } input StudentInput { name: String } |
According to the GraphQL specification, a Query type is required to be defined in each GraphQL Schema. Here, I simply define a field to get the information of all students.
With the Mutation type, you can only use scalar types such as Int, Float, String, Boolean, and ID in the input parameters of the fields. To use informative inputs, you need to define the input type as I did above with the StudentInput input. The remaining information such as return type, “!” to specify required information, is the same as the definition of Query type!
To implement the Mutation type we defined above with Spring GraphQL, you can add a new Controller with the following content:
|
1 2 3 4 5 6 7 8 9 10 11 12 13 14 15 16 17 18 19 20 21 22 23 24 25 26 27 28 29 30 31 32 33 34 35 36 37 38 39 40 |
package com.huongdanjava.graphql; import java.util.UUID; import org.springframework.beans.factory.annotation.Autowired; import org.springframework.graphql.data.method.annotation.Argument; import org.springframework.graphql.data.method.annotation.MutationMapping; import org.springframework.graphql.data.method.annotation.QueryMapping; import org.springframework.stereotype.Controller; import reactor.core.publisher.Flux; import reactor.core.publisher.Mono; @Controller public class GraphQLController { @Autowired private StudentRepository studentRepository; @QueryMapping public Flux<Student> students() { return studentRepository.findAll(); } @MutationMapping public Mono<Student> addStudent(@Argument("student") Student student) { return studentRepository.save(student); } @MutationMapping public Mono<Student> updateStudent(@Argument("studentId") String id, @Argument("student") Student student) { student.setId(UUID.fromString(id)); return studentRepository.save(student); } @MutationMapping public Mono<String> deleteStudent(@Argument("studentId") String id) { return studentRepository.deleteById(UUID.fromString(id)) .then(Mono.just("Deleted!")); } } |
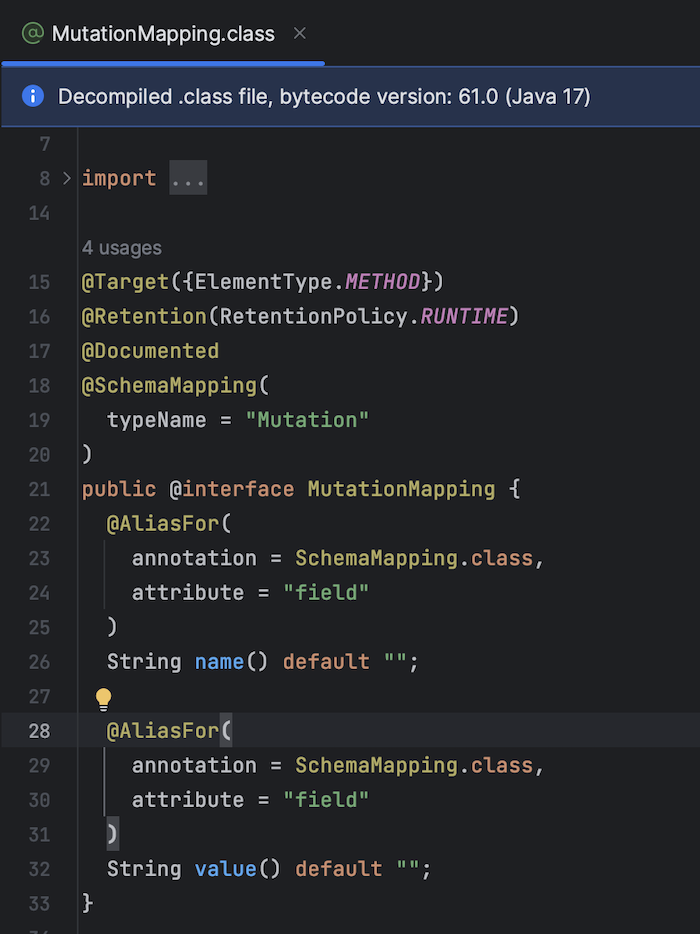
Similar to the QueryMapping type using the @QueryMapping annotation, you can use the @MutationMapping annotation to implement the Mutation type. This annotation is also built from the @SchemaMapping annotation with the typeName of “Mutation”, guys:
By default, Spring also scans and maps the method name in the controller with the field of Mutation type to process requests from users.
We will use the annotation @Argument to bind the parameters defined in the field of the Mutation with the parameter in the handle request controller method as you can see.
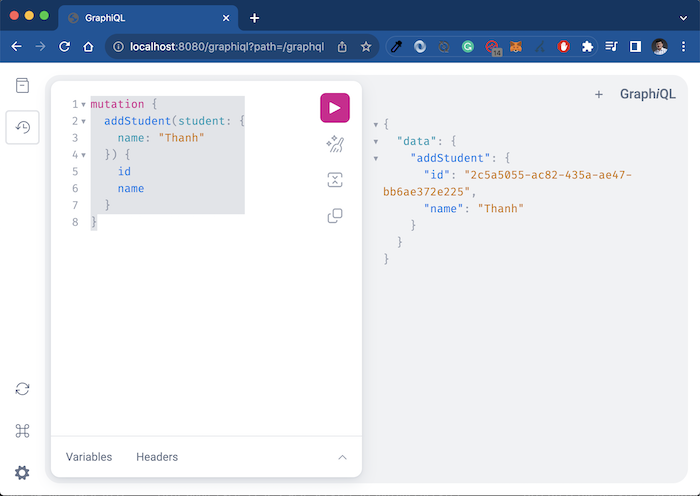
Now, if you run the application and then try to add a new student:
|
1 2 3 4 5 6 7 8 |
mutation { addStudent(student: { name: "Thanh" }) { id name } } |
You will see the following result:
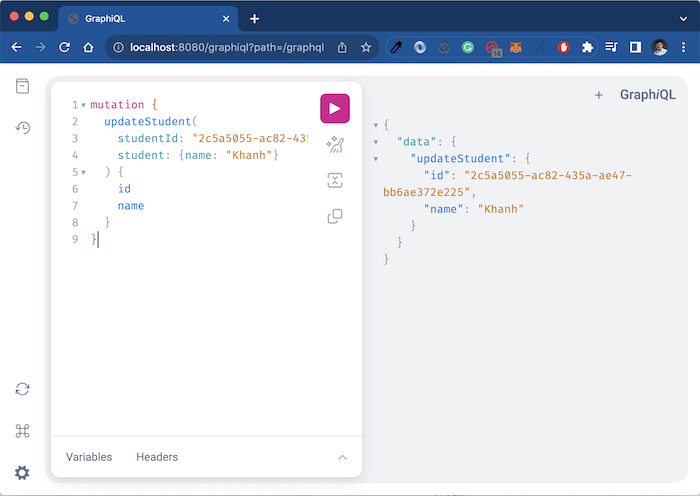
Get the id value of the newly added student then call the request to update the information for this student:
|
1 2 3 4 5 6 7 8 9 |
mutation { updateStudent( studentId: "2c5a5055-ac82-435a-ae47-bb6ae372e225" student: {name: "Khanh"} ) { id name } } |
you will see the following result:
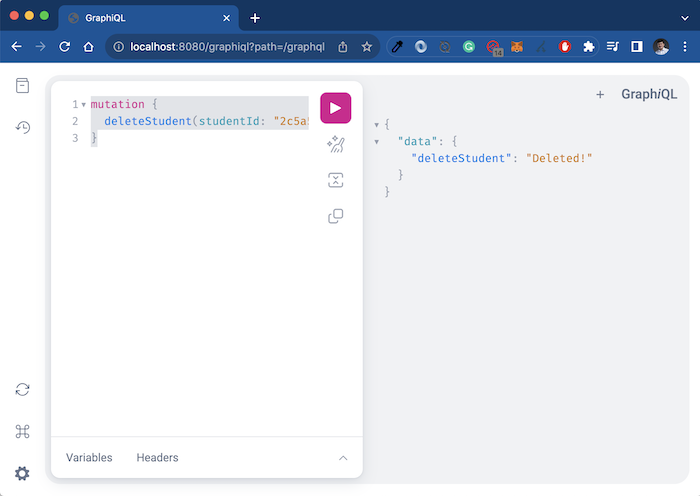
Now, if you delete this student information:
|
1 2 3 |
mutation { deleteStudent(studentId: "2c5a5055-ac82-435a-ae47-bb6ae372e225") } |
you will see the following result: