After installing SonarQube server, you need to install SonarQube Scanner. This is a tool used to analyze our code and report the result to the SonarQube server, then SonarQube server will use this report to display to the user. In this tutorial, I will guide you to install this tool.
First, you need to download the installation file of SonarQube Scanner.
Its installation file can be downloaded here. SonarQube Scanner has many different versions support for Window, Linux, MacOS environment. Currently, I am using macOS so I will download the installation file of SonarQube Scanner support for this environment.
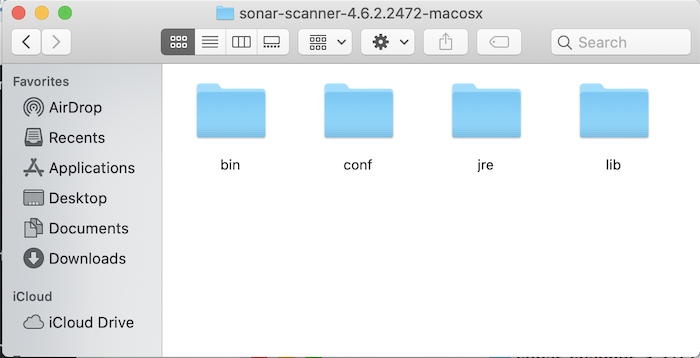
After downloading, please unzip this file:
Next, you need to configure the SonarQube server information, which SonarQube Scanner will report the results to.
Open the sonar-scanner.properties file located in the /conf directory of the unpack directory and edit the “sonar.host.url” property. By default, this value will be “http: // localhost: 9000”.
|
1 2 |
#----- Default SonarQube server #sonar.host.url=http://localhost:9000 |
If your SonarQube server information is different from this one, then uncomment the property and revise it accordingly.
Finally, to be able to use the SonarQube Scanner anywhere in your machine, you need to set the environment variable pointing to the bin directory of the SonarQube Scanner directory.
I am currently using macOS so I will configure the following in the .bash_profile file in the user directory as follows:
|
1 |
export PATH=/Users/Khanh/Downloads/sonar-scanner-4.6.2.2472-macosx/bin:$PATH |
If you are using macOS Catalina or later, you need to run the following command to remove the checking software of macOS:
|
1 |
sudo xattr -r -d com.apple.quarantine <path_to_sonar_scanner_folder> |
For example, mine is as follows:
|
1 |
sudo xattr -r -d com.apple.quarantine /Users/Khanh/Downloads/sonar-scanner-4.6.2.2472-macosx/ |
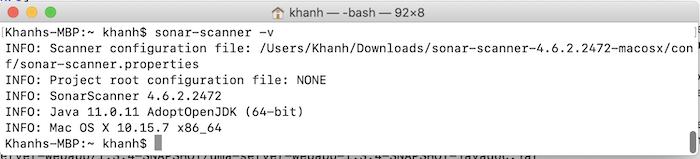
OK, now I can check the results.
To check the result, you can run the following statement:
|
1 |
sonar-scanner -v |