SonarQube is a tool for analyzing your code to produce quality reports that help us identify what code needs to be improved. It also helps us to know the amount of code coverage we have covered in our code. In this tutorial, I instruct you how to install it to start improving your code.
First, you need to download the installation file of SonarQube from https://www.sonarqube.org/#downloads. Currently, it has two versions: a stable version of Long Term Supported and a continuously updated version. Depending on the needs that you download the installation file of SonarQube to fit. In this tutorial, I will install the latest version, the current version is 7.1 and the download file named sonarqube-7.1.zip.
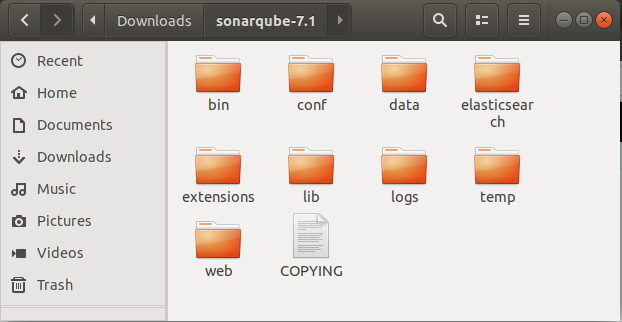
After downloading the installation file, please unzip it!
To install SonarQube, you need to do the following:
First, you need to prepare a database for SonarQube.
SonarQube supports many different database systems, such as MSSQL Server, Oracle, PostgreSQL, MySQL. Each database will have certain requirements, you can see more here. In this tutorial, I will use MSSQL Server.
I created a database called sonar. With MSSQL Server, you must ensure that the collation of the database used by SonarQube must be case-sensitive (accent-sensitive) and accent-sensitive. As of now, my database is not supported so I have to change its collation as follows:
|
1 2 3 4 |
USE master; GO ALTER DATABASE sonar COLLATE SQL_Latin1_General_CP1_CS_AS; GO |
Next, we will declare the database information for using by SonarQube.
To do this, in the unpacked directory of the SonarQube, go to the conf directory. In this directory, there will be a file named sonar.properties. We need to declare the database information for SonarQube in the following properties:
|
1 2 3 |
sonar.jdbc.username sonar.jdbc.password sonar.jdbc.url |
All of these properties are already declared but are commented. You need to uncomment these properties to use them. For the username and password properties of the database are only 1, you just need to uncomment and then declare the information. For the url property of the database, you will see it is declared many places for many different types of database. Depend on the database system which you are using, let uncomment property for that database system.
Here, I use MSSQL Server so I will uncomment property sonar.jdbc.url for MSSQL Server. For MSSQL Server, we can connect to it with or without usernames and passwords, so you will see two lines declaring sonar.jdbc.url for the MSSQL Server in the sonar.properties file.
|
1 2 |
sonar.jdbc.url=jdbc:sqlserver://localhost;databaseName=sonar;integratedSecurity=true sonar.jdbc.url=jdbc:sqlserver://localhost;databaseName=sonar |
I use the username, password to connect to MSSQL Server so I will uncomment the following line:
|
1 |
sonar.jdbc.url=jdbc:sqlserver://localhost;databaseName=sonar |
Properties for username and password will be as follows:
|
1 2 |
sonar.jdbc.username=sa sonar.jdbc.password=abcxyz1T |
Here we have completed the preparation steps, now let’s start to install.
In the unpacked directory of the SonarQube, you go to bin directory, you will see many subdirectories in this directory for many different operating systems: linux-x86-32, linux-x86-64, macosx-universal-64, windows-x86-32, windows-x86-64. I’m using Ubuntu 64 bit so I’m going to the linux-x86-64 directory. Open Terminal in this directory, run the following command:
|
1 |
./sonar.sh start |
then go to http://localhost:9000 to start installing SonarQube.

In the window above, please click the Login button to login to the administrator account of SonarQube.
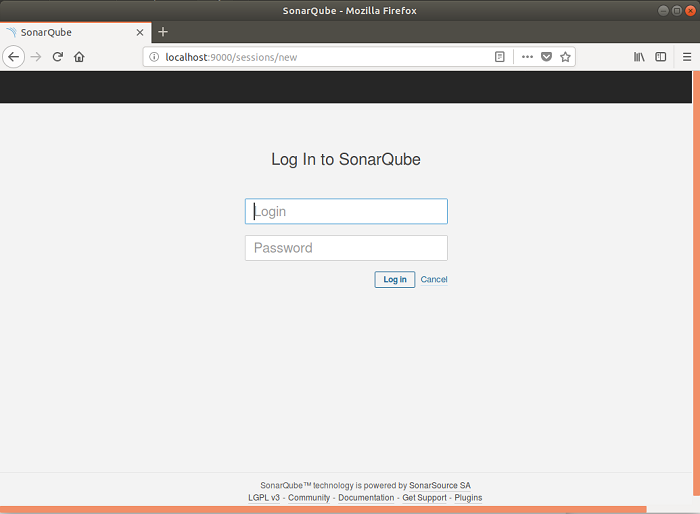
By default, this account is admin and password is also admin.
After the login is complete, you will see the following window:

This is a window that allows you to configure a new project with SonarQube. If this is not necessary at this time then you can click Skip this tutorial to skip this window also.
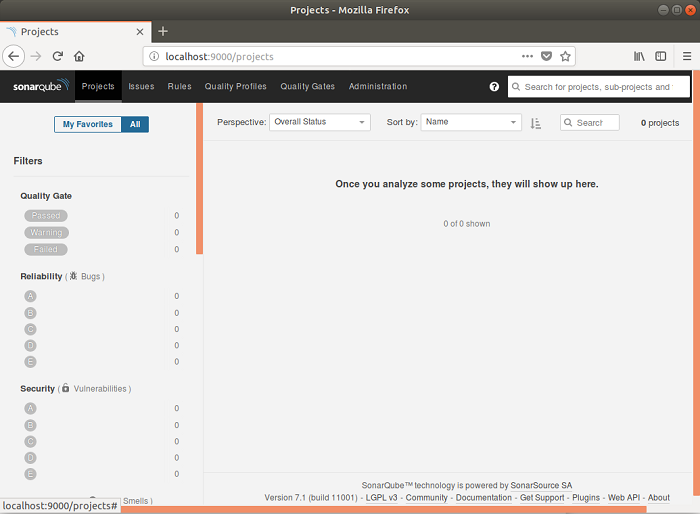
Here we have completed the installation of SonarQube.