Currently, Microsoft has enabled us to install MSSQL Server on a Linux environment. In this tutorial, I will guide you all how to install it on Ubuntu!
Because the default Ubuntu repository does not have the MSSQL Server installation file, so to install the MSSQL server on Ubuntu, we need to add the MSSQL Server Ubuntu repository from Microsoft first.
First, you need to add the Microsoft certificate to your machine, using the following command:
|
1 |
wget -qO- https://packages.microsoft.com/keys/microsoft.asc | sudo apt-key add - |
then add the MSSQL Server Ubuntu repository:
|
1 |
sudo add-apt-repository "$(wget -qO- https://packages.microsoft.com/config/ubuntu/16.04/mssql-server-2017.list)" |
Although as in the URL repository above, you can see: it is for Ubuntu version 16.04 but you can install MSSQL Server in higher versions of Ubuntu also. As my own, is using version 17.10 of Ubuntu.
After adding the MSSQL Server repository, you need to run the following command:
|
1 |
sudo apt-get update |
to update all the software available in your Ubuntu machine’s repository.
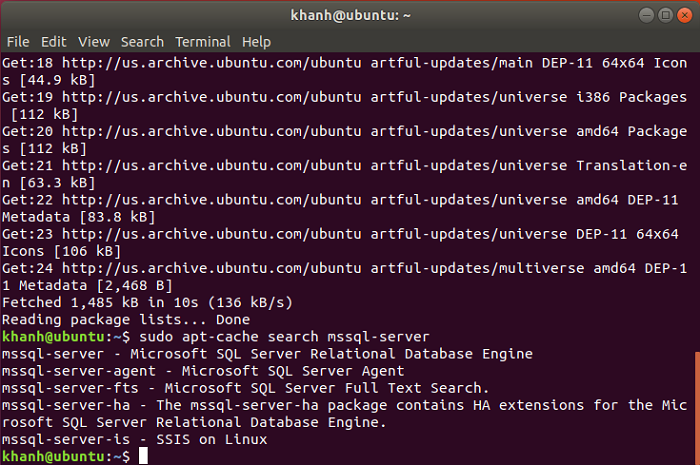
At this point, if you use the apt-cache command to search MSSQL Server will see the results as follows:
Now you can start installing MSSQL Server:
|
1 |
sudo apt-get install -y mssql-server |
Result:
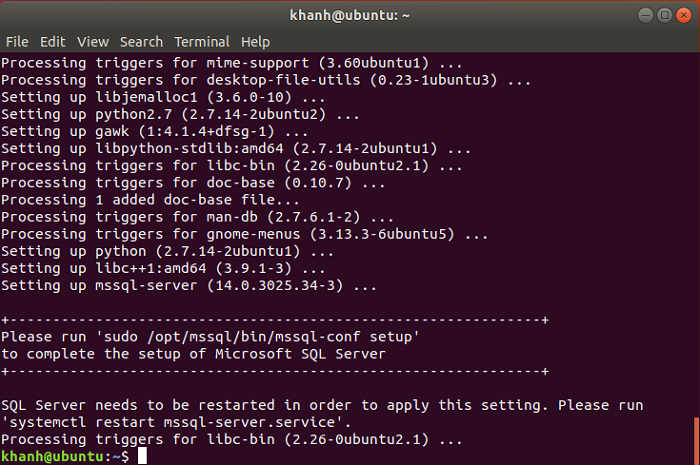
As you can see in the above window, we need to run the following command:
|
1 |
sudo /opt/mssql/bin/mssql-conf setup |
to complete the installation: select the version of MSSQL Server that you need to use and set the password for the account “sa”.
Select the MSSQL Server version:
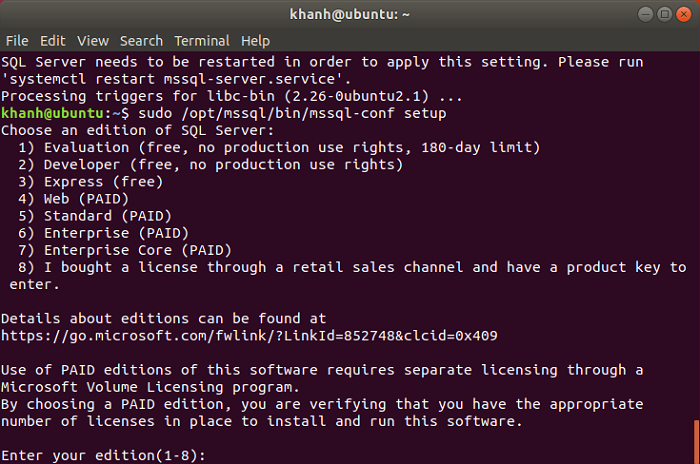
Here, I will enter 3 to install the Express version of MSSQL Server. You can choose according to your needs.
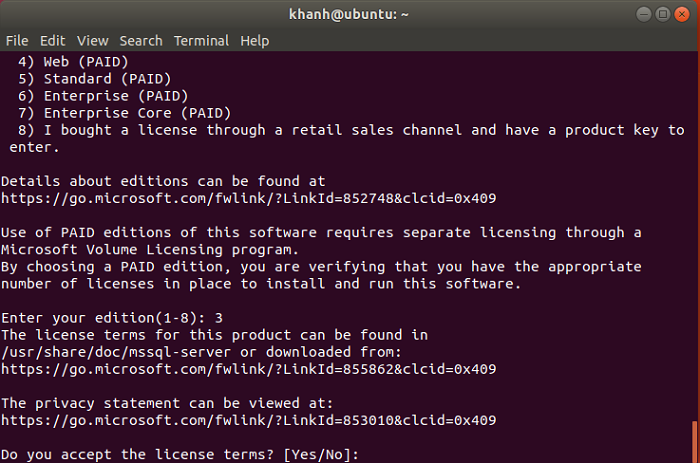
Agree to terms of use: enter Yes then press Enter.
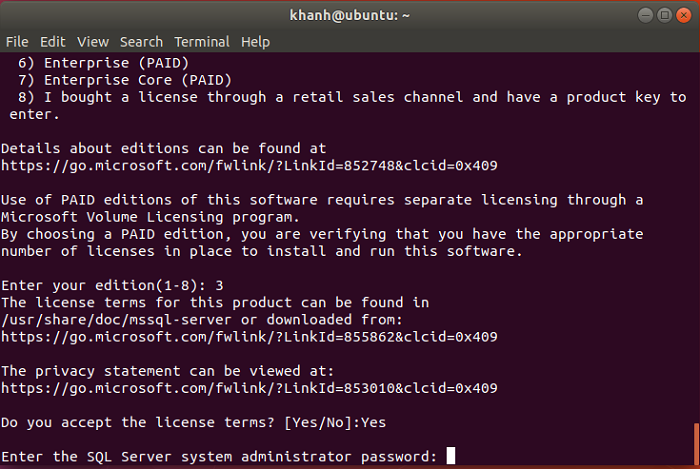
The window above allows us to enter the password of the “sa” account. Please set the password and then confirm your own.
Finish:
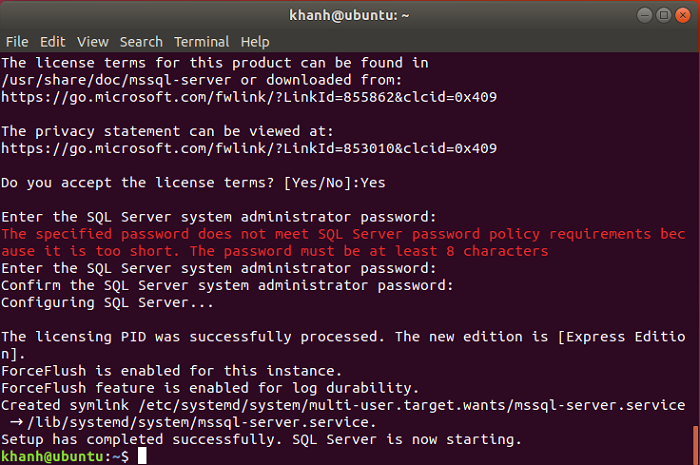
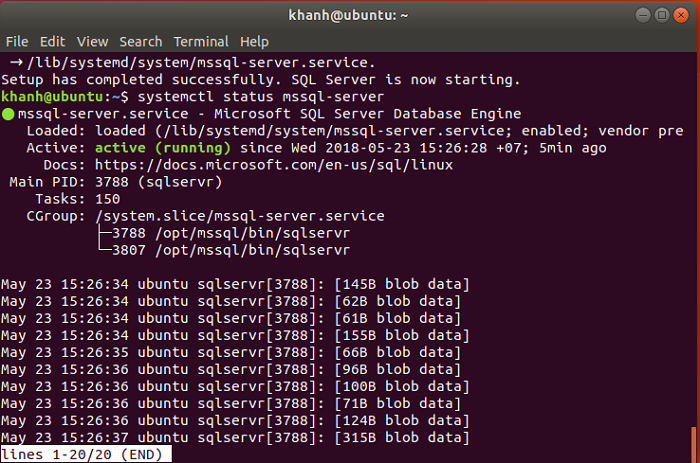
You can check the result by running the following command:
|
1 |
systemctl status mssql-server |
Result:
