In the article An introduction to GraphQL, I gave you a brief introduction to how to build a GraphQL server using Spring Boot. In essence, Spring Boot already uses the GraphQL Java library and wraps everything behind the scenes related to processing a GraphQL query of this library. In this tutorial, I will show you some basic knowledge about GraphQL and how the GraphQL Java library handles a query.
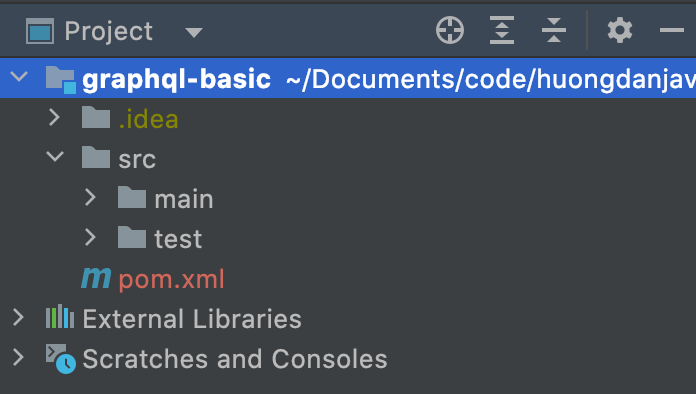
First, I will create a new Maven project as an example:

The GraphQL Java dependency is as follows:
|
1 2 3 4 5 |
<dependency> <groupId>com.graphql-java</groupId> <artifactId>graphql-java</artifactId> <version>20.4</version> </dependency> |
Talking about GraphQL, as I mentioned in the previous post, we have to talk about types. In addition to the types defined for the data objects that we will provide to the client, for example:
|
1 2 3 4 5 6 7 8 |
type Student { id: ID code: String name: String age: Int address: String clazz: String } |
GraphQL also has 3 special types: Query, Mutation, and Subscription. In each type, we will define fields, and in each field, we will have sub-fields. To define data types for fields or sub-fields, you can use the built-in scalar types https://graphql.org/learn/schema/#scalar-types, define enum types https:/ /graphql.org/learn/schema/#enumeration-types or define object types like the example above.
We can define a field as non-null using an exclamation point, declared after the data type of the field or sub-field, for example:
|
1 2 3 4 5 6 7 8 |
type Student { id: ID! code: String! name: String! age: Int address: String clazz: String } |
Sub-fields id, code, and name of the above Student type are non-null!
We will define the value of the field, the sub-field is a list using 2 square brackets as follows:
|
1 2 3 4 5 6 7 8 9 10 11 |
type Student { id: ID code: String name: String } type Clazz { id: ID name: String students: [Student] } |
GraphQL supports many different programming languages https://graphql.org/code/ so depending on your needs, you can use it accordingly. For Java, as I said above, we use GraphQL Java https://github.com/graphql-java/graphql-java.
Now, I will make an example to see how GraphQL Java works.
I will create a new main class to run the application:
|
1 2 3 4 5 6 7 8 |
package com.huongdanjava.graphql; public class Application { public static void main(String[] args) { } } |
Now, I will define a schema using Query type with simple content as follows:
|
1 2 3 4 5 |
String schema = """ type Query { hello: String } """; |
With this schema, I have defined a simple field “hello”, the returned data will have a data type of String.
We will use the object of class SchemaParser and TypeDefinitionRegistry of GraphQL Java to read the content of this schema:
|
1 2 |
SchemaParser schemaParser = new SchemaParser(); TypeDefinitionRegistry typeDefinitionRegistry = schemaParser.parse(schema); |
The TypeDefinitionRegistry class will hold information for all types defined in the schema.
To handle each request to these types, we will use the object of the RuntimeWiring class. We will instantiate a new RuntimeWiring object and for each GraphQL type, we will process each field as follows:
|
1 2 3 |
RuntimeWiring runtimeWiring = RuntimeWiring.newRuntimeWiring() .type("Query", builder -> builder.dataFetcher("hello", new StaticDataFetcher("world"))) .build(); |
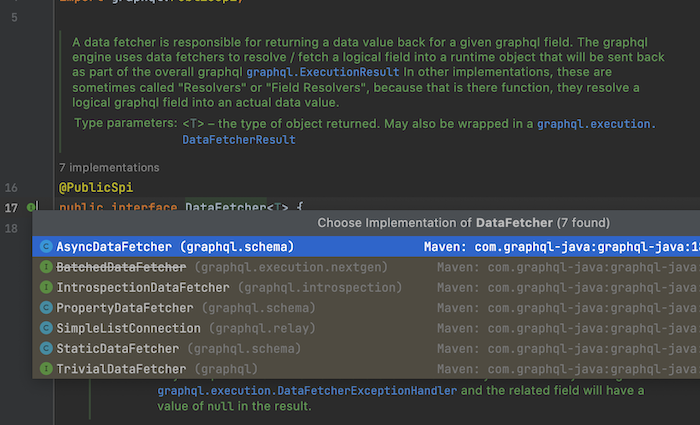
As you can see, for the Query type in our example, we will use the TypeRuntimeWiring object to handle the returned data. StaticDataFetcher implements the DataFetcher interface that will take care of what data is returned. The DataFetcher interface has many different implementations:

Depending on your needs, please use the appropriate implementation! Here, I use SimpleDataFetcher to return the value that I declared when initializing this object.
After we have the TypeDefinitionRegistry and RuntimeWiring objects, we need to combine them so that the GraphQL engine can use and execute the query for you:
|
1 2 |
SchemaGenerator schemaGenerator = new SchemaGenerator(); GraphQLSchema graphQLSchema = schemaGenerator.makeExecutableSchema(typeDefinitionRegistry, runtimeWiring); |
The GraphQLSchema class will contain information about the query and how our GraphQL application should return the results.
Now it’s time for the GraphQL engine to execute the query for us:
|
1 2 3 4 |
GraphQL build = GraphQL.newGraphQL(graphQLSchema).build(); ExecutionResult executionResult = build.execute("{hello}"); System.out.println(executionResult.getData().toString()); |
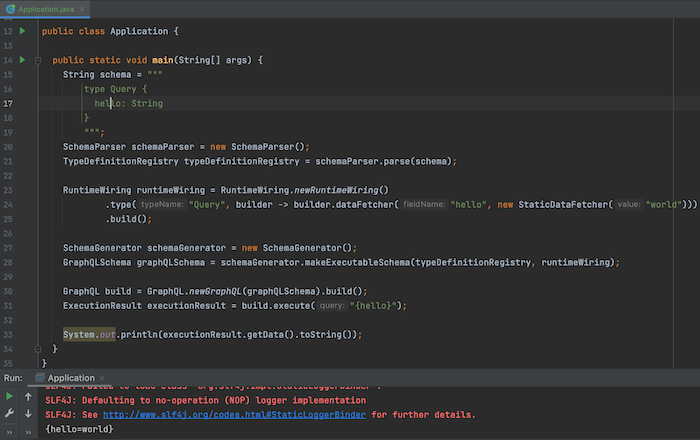
As you can see we will use the object of the GraphQL class initialized from the GraphQLSchema object to execute the query, the result will be as follows:


