Jakarta EE RESTful Web Services define the required specification of a RESTful Web Service in Java. Make it possible for us to implement RESTful Web Services applications with Java. In this tutorial, I will introduce the basics of Jakarta EE RESTful Web Services that you need to know!
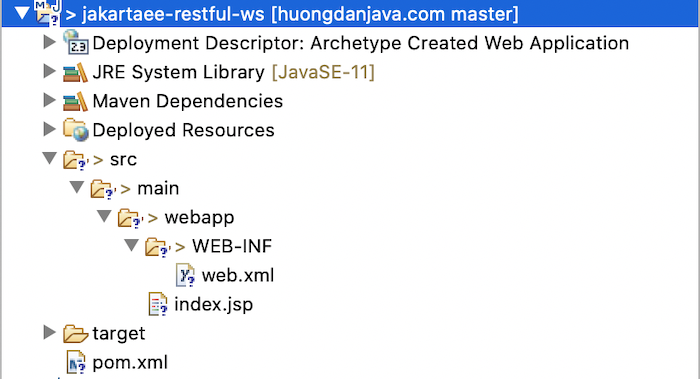
First, I will create a new Jakarta EE Maven project as an example:

There are two implementations for Jakarta EE RESTful Web Services, Eclipse Jersey and JBoss RESTEasy. I will use Jersey as the main implementation for the Huong Dan Java tutorials about Jakarta EE RESTful Web Services.
I will declare Jersey dependencies as follows:
|
1 2 3 4 5 6 7 8 9 10 |
<dependency> <groupId>org.glassfish.jersey.containers</groupId> <artifactId>jersey-container-servlet</artifactId> <version>3.0.3</version> </dependency> <dependency> <groupId>org.glassfish.jersey.inject</groupId> <artifactId>jersey-hk2</artifactId> <version>3.0.3</version> </dependency> |
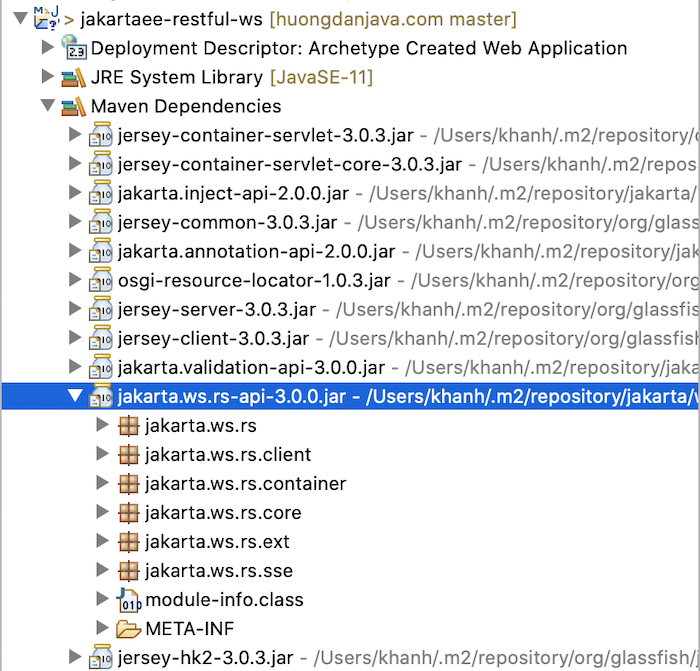
You can remove the dependency jakarta.jakartaee-api in the Maven project that you have created according to my instruction, because for each module of Jakarta EE, there will be a corresponding dependency. For example, for Jakarta EE RESTful Web Services, the dependency name is jakarta.jaxrs-api. And this dependency, when we declare Jersey, is automatically included:

Now, I will create a RESTful Web Services application that contains a GET request and when the user requests to this GET request, it will return a simple text “Hello World!”!
To do this, first, I will create a new class that exposes the request “/hello” and returns the text “Hello World” when the user requests it. The content of this class is as follows:
|
1 2 3 4 5 6 7 8 9 10 11 12 13 14 |
package com.huongdanjava.jaxrs; import jakarta.ws.rs.GET; import jakarta.ws.rs.Path; @Path("/") public class HelloResource { @GET @Path("hello") public String hello() { return "Hello World!"; } } |
If you have worked on the Spring framework to expose RESTful APIs, you can imagine that the @Path annotation in the above example corresponds to Spring’s @RequestMapping annotation.
The @Path annotation is used to declare a request URL. This annotation has only one attribute, value() for us to define the request URL. If you declare it at the class level like the above example, the value of the attribute value() in this annotation will be the prefix for all the requests that we define at the method level. Therefore, the request URL in our example will be “/hello” as we want.
Annotation @GET to define the HTTP GET method for the “/hello” request. Jakarta EE RESTful Web Services supports all HTTP methods, depending on the purpose you can use.
Next step, we need to declare Jersey Servlet Container with Server Runtime so that Jersey Servlet can be used by Server Runtime to handle all requests from users.
I will use the web.xml file to do this as follows:
|
1 2 3 4 5 6 7 8 9 10 11 12 13 14 15 16 17 18 19 20 21 |
<?xml version="1.0" encoding="UTF-8"?> <web-app version="5.0" xmlns="https://jakarta.ee/xml/ns/jakartaee" xmlns:xsi="http://www.w3.org/2001/XMLSchema-instance" xsi:schemaLocation="https://jakarta.ee/xml/ns/jakartaee https://jakarta.ee/xml/ns/jakartaee/web-app_5_0.xsd"> <servlet> <servlet-name>appServlet</servlet-name> <servlet-class>org.glassfish.jersey.servlet.ServletContainer</servlet-class> <init-param> <param-name>jersey.config.server.provider.packages</param-name> <param-value>com.huongdanjava.jaxrs</param-value> </init-param> <load-on-startup>1</load-on-startup> </servlet> <servlet-mapping> <servlet-name>appServlet</servlet-name> <url-pattern>/*</url-pattern> </servlet-mapping> </web-app> |
When declaring Jersey’s HttpServlet ServletContainer, we need to specify the packages that we are exposing the RESTful APIs to in our application.
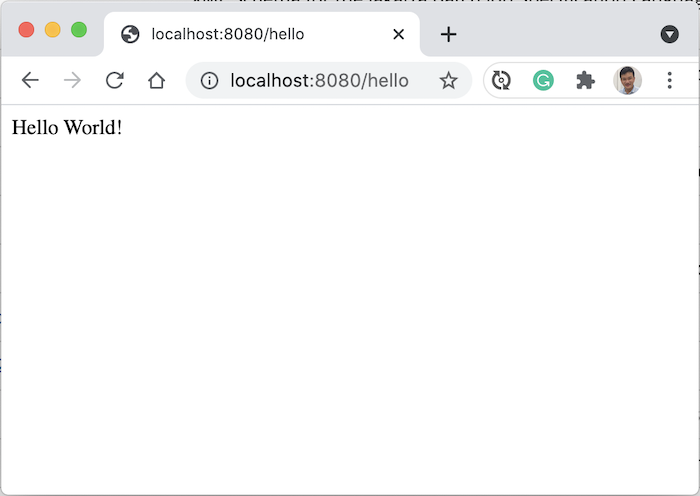
Now, if you run the application with the Maven Jetty Plugin defined in the project and request to the URL http://localhost:8080/hello, you will see the following result:


