I showed you all how to configure JMS Endpoint in the previous tutorial. In this tutorial, I will do an example of using JMS Endpoint for ActiveMQ in the Mule ESB application to see how it works.
So what is our problem?
Suppose, we have a system with many applications and there is an application A needs to send a message to other applications via HTTP protocol.
Prior to the concept of ESB, in order to solve this problem, we would typically create services in other applications to receive the message from application A. And so, application A could pass the message to other applications directly and easily.
But with this approach, application A will have to call multiple times through the services of those applications to transmit the same message. Imagine, what is the problem if the number of applications increases? We need to modify the code of application A to meet our needs.
The ESB approach helps us to solve this difficult problem. Other applications will now listen to a Queue or a Topic of a JMS server managed by the ESB, the ESB will receive a message from application A via the HTTP protocol and then it will convert the HTTP message to in the form of JMS message and sent to the Queue or Topic that other applications are listening to.
This solution will allow our system to be easily editable without having to re-edit the running system.
OK, the theory is so. How will we implement this Mule ESB application? Let’s go in details!
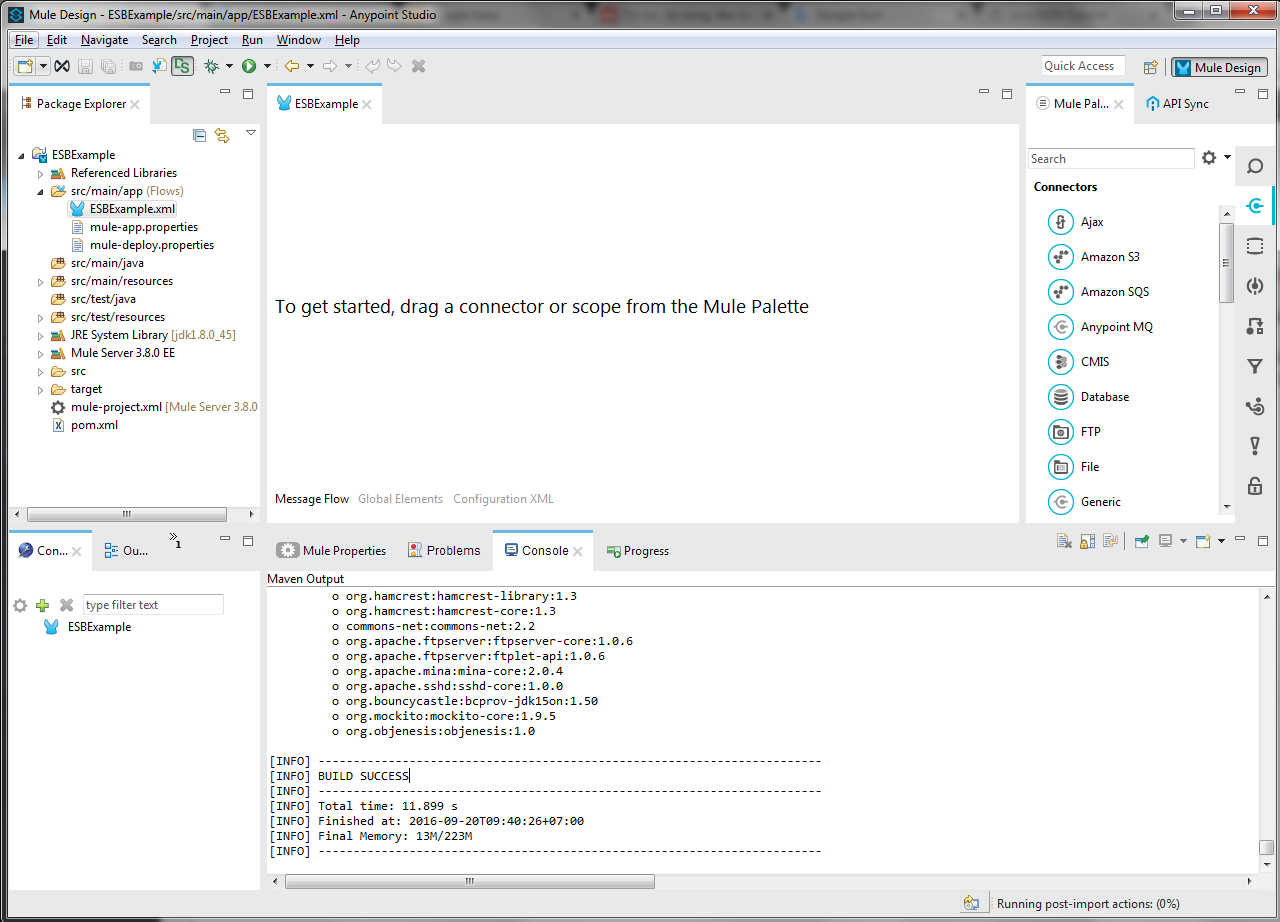
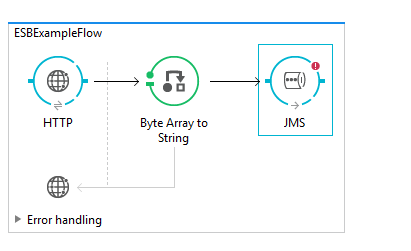
– First, I will create a Mule project named ESBExample using Anypoint Studio.
If you do not know how to create a Mule ESB project, you can refer to this tutorial.
– Next, we will implement the receiving message request from application A for the Mule ESB application.
Mule ESB has a connector as HTTP Connector to implement a service that allows the Mule ESB application can receive HTTP requests from other applications.
Now, looking for the HTTP Connector in the Mule Palette toolbar:

then drag and drop it into Anypoint Studio Editor:
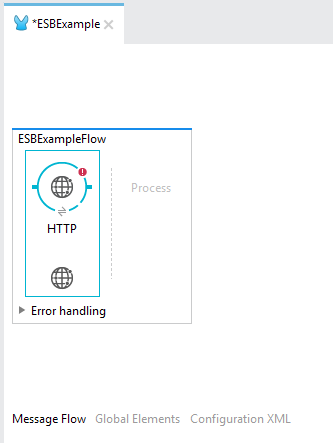
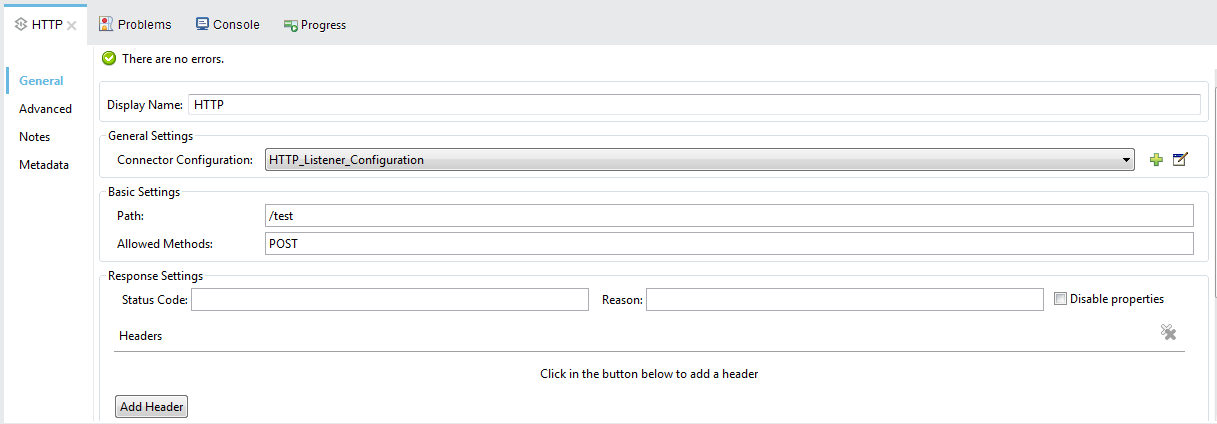
To configure the HTTP Listener Connector, please refer to this tutorial.
Here, I configured it as follows:
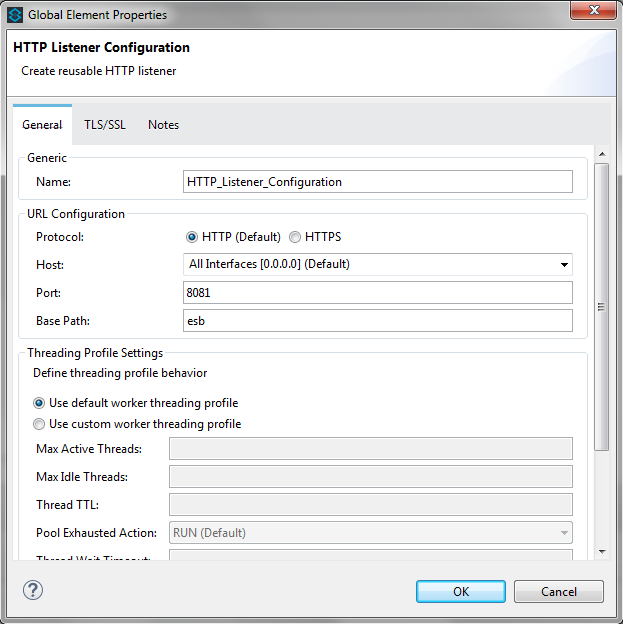
Global HTTP Listener Configuration
– After receiving the request from application A, we will use a Mule ESB Transformer called “Byte Array to String” to convert the HTTP body request data into String.
To do this, in the Mule Palette, find Transformer “Byte Array to String”.
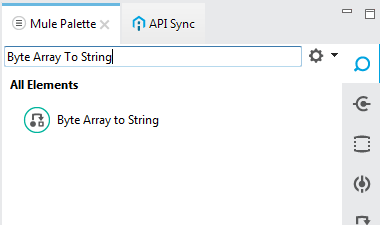
then drag and drop it into the Process section of Anypoint Studio Editor.

With this transformer, we do not need to configure anything.
– Now, we will go to the last part of adding a JMS Endpoint to send a String request to a Topic of the ActiveMQ server.
Look for the JMS Endpoint in the Mule Palette,
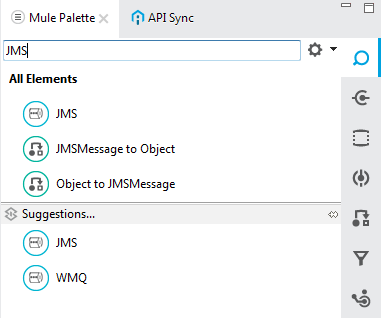
then drag and drop it into Editor’s Process after Transformer “Byte Array To String”:
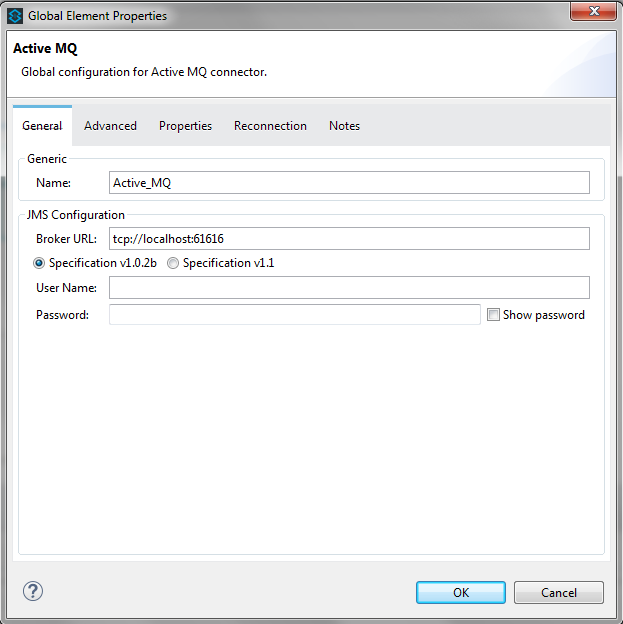
To configure JMS Endpoint, please refer to this tutorial!
Here, I configured as follows:
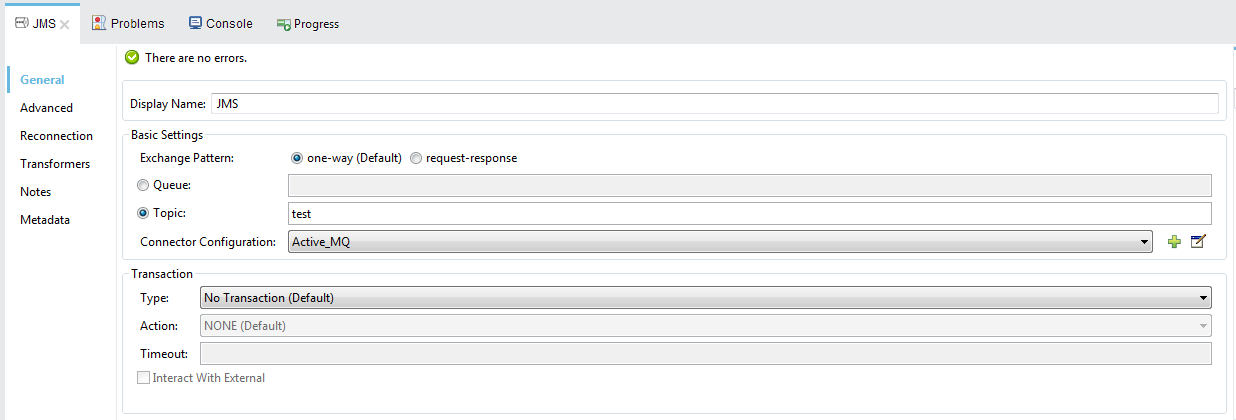
Global JMS Endpoint for ActiveMQ:
In this step, we need to add ActiveMQ dependency to our Mule ESB application.
|
1 2 3 4 5 |
<dependency> <groupId>org.apache.activemq</groupId> <artifactId>activemq-core</artifactId> <version>5.7.0</version> </dependency> |
Please open the pom.xml file in our project to add this dependency.
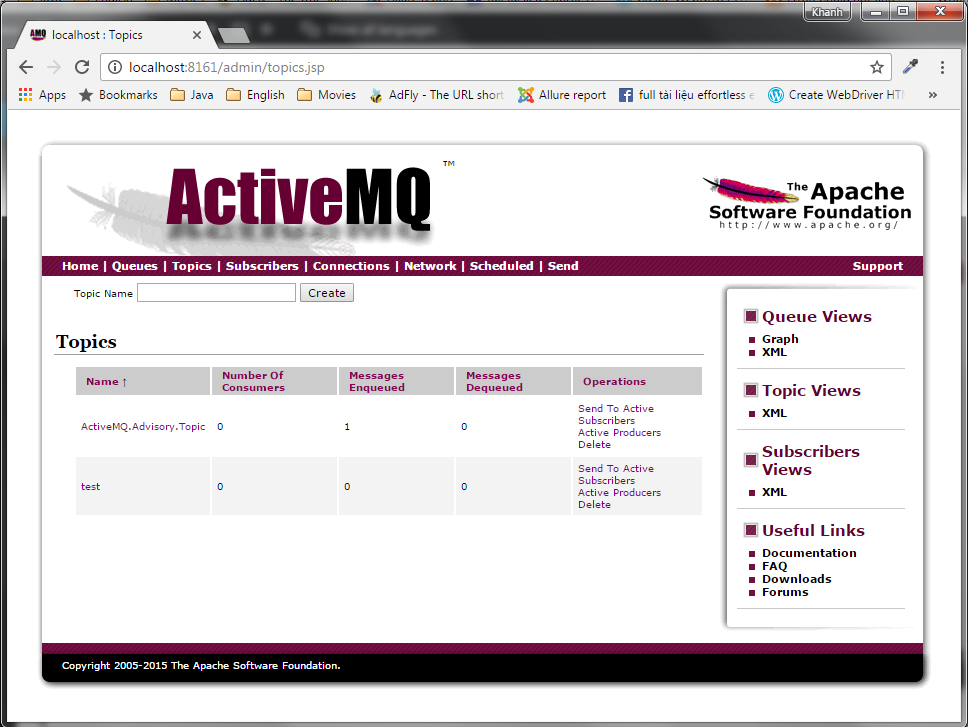
– The last step is: we need to run an ActiveMQ server so that our Mule ESB application can connect and send the message.
If you do not know how to install and add a Topic in ActiveMQ server, you can refer to the following tutorials:
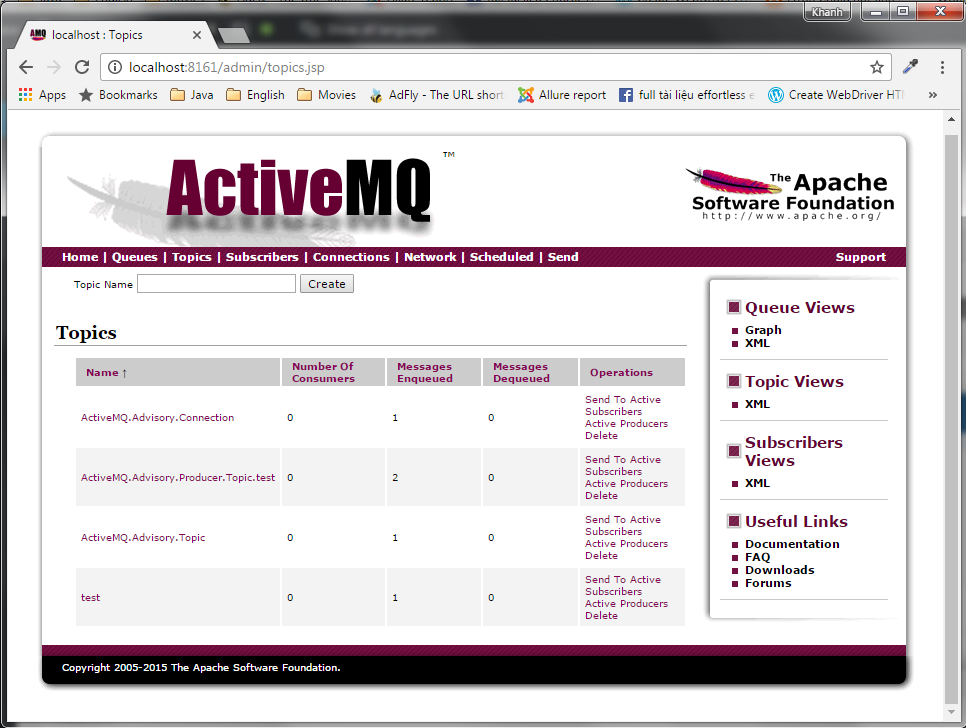
Here, I added a new Topic named “test”:
OK, so everything is finished, now let run your Mule ESB application in Anypoint Studio to test and check the result!
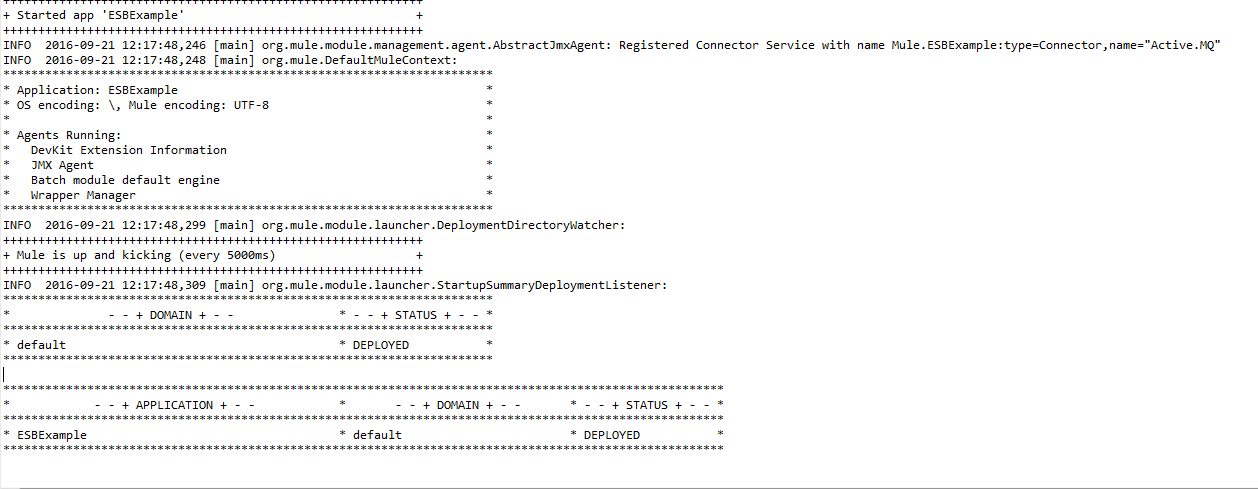
To run the Mule ESB application in Anypoint Studio, right-click on the project and select Run As …, then select Mule Application with Maven.
Result:
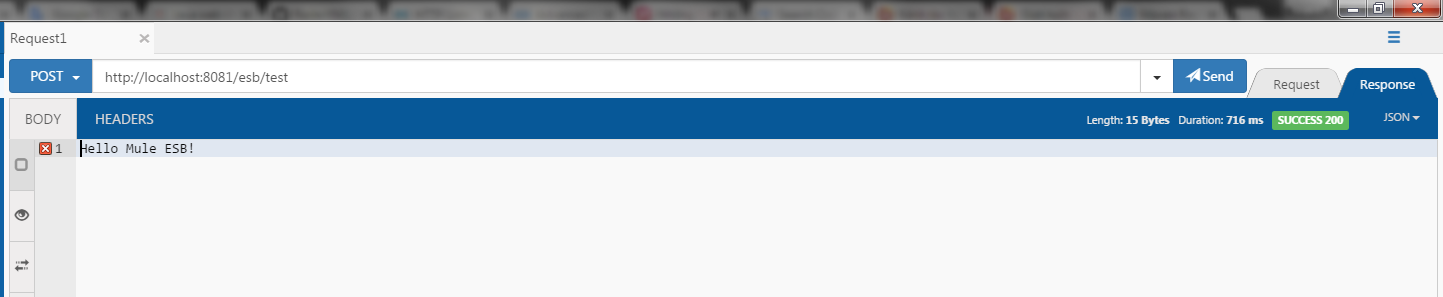
To test, you use a REST Client to send an HTTP request to our Mule ESB application and check the result in Topic in the ActiveMQ server.
For example, I’m going to send to a Mule ESB application with an address:
http://localhost:8081/esb/test
with the content “Hello Mule ESB” as below:
And this is the result in the ActiveMQ server:
Logging message:
|
1 2 3 4 5 |
INFO 2016-09-21 12:21:12,156 [[ESBExample].HTTP_Listener_Configuration.worker.01] org.mule.transport.service.DefaultTransportServiceDescriptor: Loading default outbound transformer: org.mule.transport.jms.transformers.ObjectToJMSMessage INFO 2016-09-21 12:21:12,157 [[ESBExample].HTTP_Listener_Configuration.worker.01] org.mule.transport.service.DefaultTransportServiceDescriptor: Loading default response transformer: org.mule.transport.jms.transformers.ObjectToJMSMessage WARN 2016-09-21 12:21:12,158 [[ESBExample].HTTP_Listener_Configuration.worker.01] com.mulesoft.mule.transport.jms.EeJmsMessageDispatcher: Starting patched JmsMessageReceiver INFO 2016-09-21 12:21:12,158 [[ESBExample].HTTP_Listener_Configuration.worker.01] org.mule.lifecycle.AbstractLifecycleManager: Initialising: 'Active_MQ.dispatcher.696038923'. Object is: EeJmsMessageDispatcher INFO 2016-09-21 12:21:12,162 [[ESBExample].HTTP_Listener_Configuration.worker.01] org.mule.lifecycle.AbstractLifecycleManager: Starting: 'Active_MQ.dispatcher.696038923'. Object is: EeJmsMessageDispatcher |