JMS Endpoint in Mule ESB makes us easy to send or receive messages from Queues, Topics of the libraries that implement the JMS specifications. In this tutorial, we will learn how to configure JMS Endpoint for ActiveMQ in Anypoint Studio.
Suppose, you have dragged JMS Endpoint into the Anypoint Studio Editor.
We can drop JMS Endpoint into the Editor’s Source section:
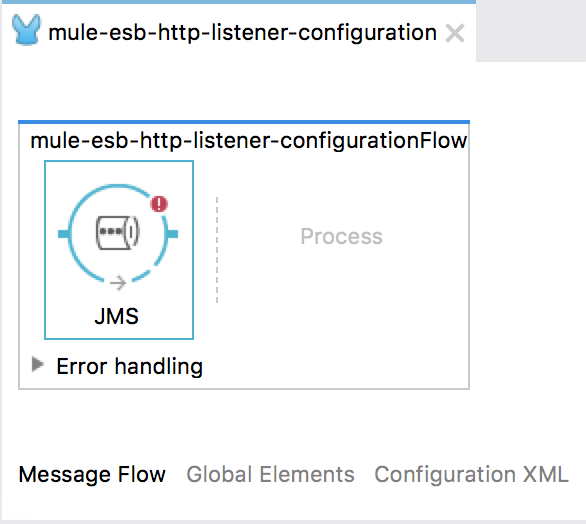
At this moment, our JMS Endpoint plays the role of receiving messages from Topic or Queue.
If it is in the Process section:
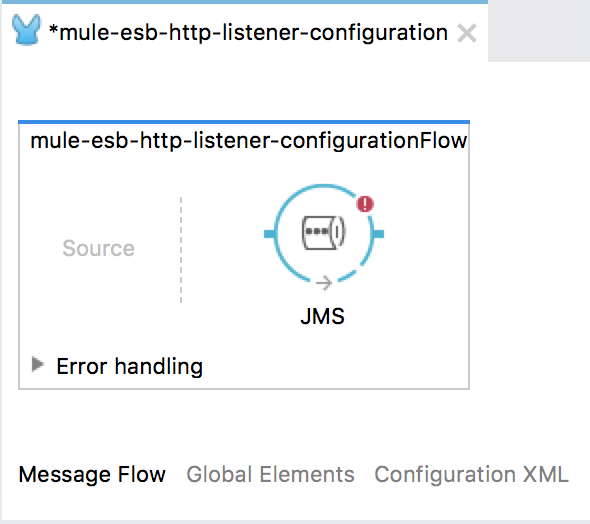
It is responsible for sending the message to the Topic or Queue of the ActiveMQ server.
At the bottom of the Editor, you will see the configuration tab for JMS Endpoint.
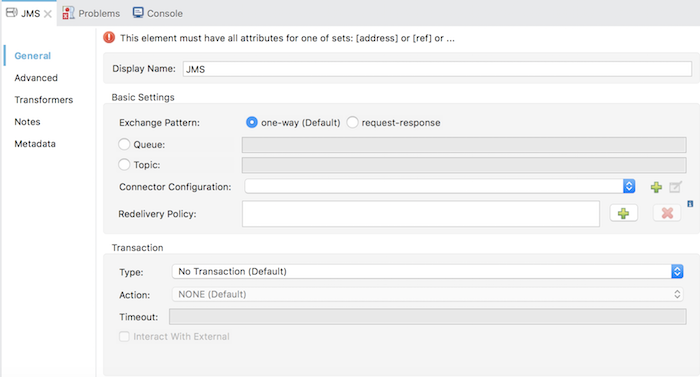
Here, we have three parts that need to be configured for JMS Transport: the Topic or Queue name that our Mule ESB application will send or receive messages, the ActiveMQ server, and the way we will send or receive messages(one way or having a request and response).
– First, to configure the ActiveMQ server, in the Connector Configuration section of the Basic Settings, let click the Add button, the following window will appear:
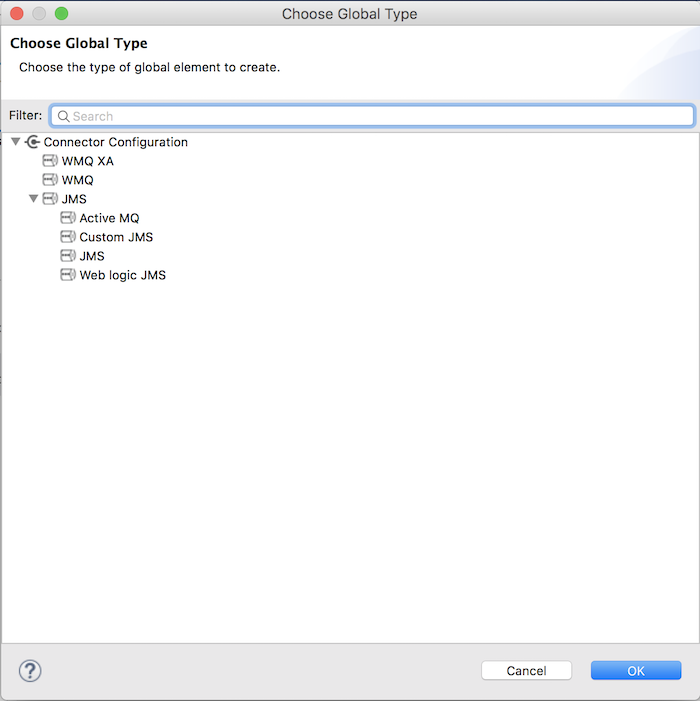
Here, we will select Active MQ and click the OK button.
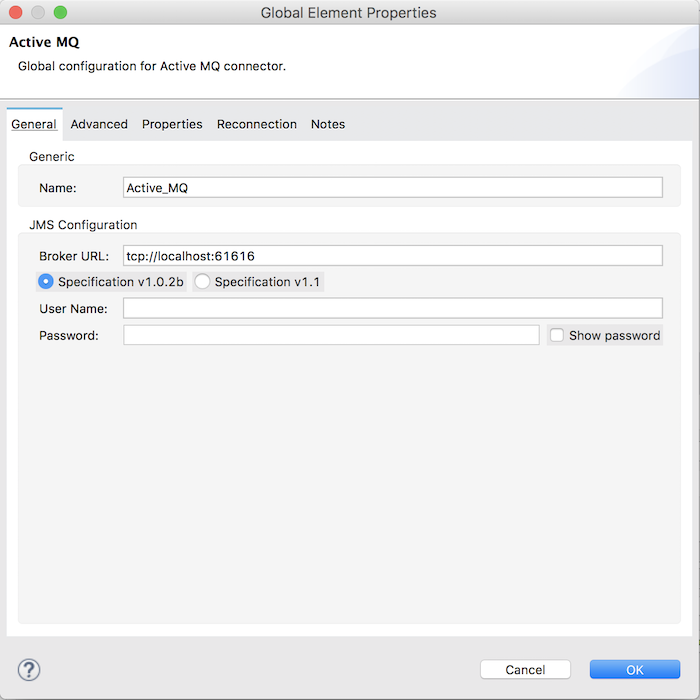
If you do not modify any configurations in ActiveMQ then you can set all the values in this window by default and click OK.
Here, I do not edit anything so I will let them as default.
At this time, configuration tab for JMS Endpoint will have the following content:
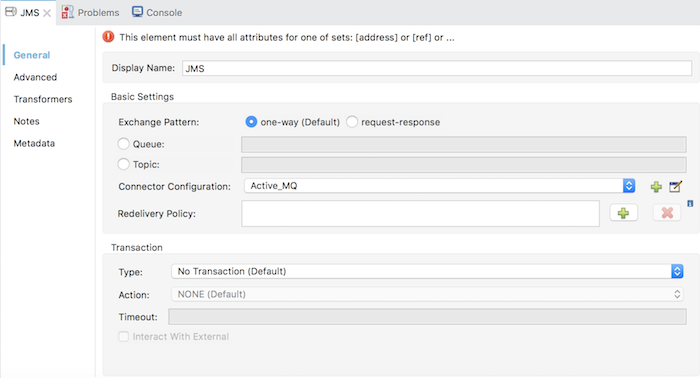
– Next, we will configure the Topic or Queue name of the ActiveMQ server. If you choose to send or receive from a Topic, then click on Topic and then enter the name of the Topic which you want, and the same with Queue.
For example, I chose Topic as “test” and configured as follows:
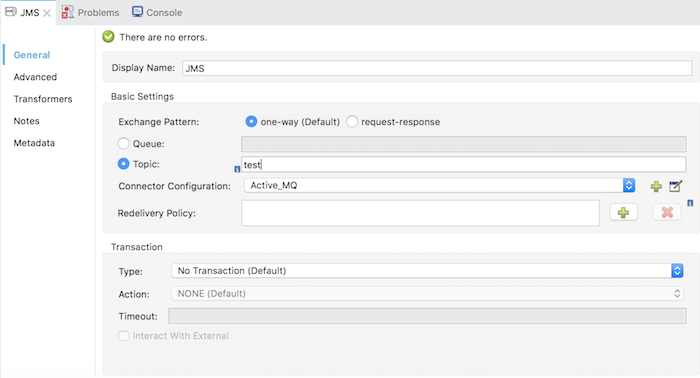
– To choose how to send or receive messages in one way or with a request response, in the Basic Settings section, you select “one-way” or “request-response” in the Exchange Pattern.
Here, I will set default to “one-way”.
Press Ctrl + S to save this configuration!


