In the previous tutorial, I showed you how to add a new client in Keycloak and also showed you how to configure a client that supports grant type Authorization Code with PKCE of OAuth2. In this tutorial, I will show you how to add and configure the client to support OAuth2 grant type Authorization Code in Keycloak!
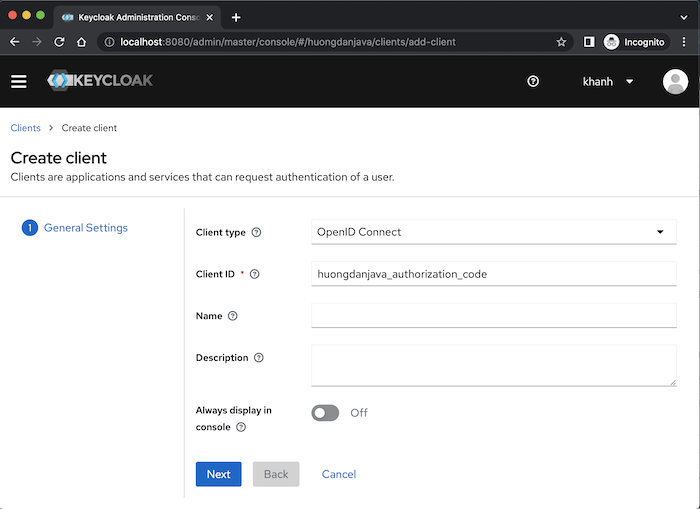
Suppose I have created a new client named huongdanjava_authorization_code in Keycloak as follows:
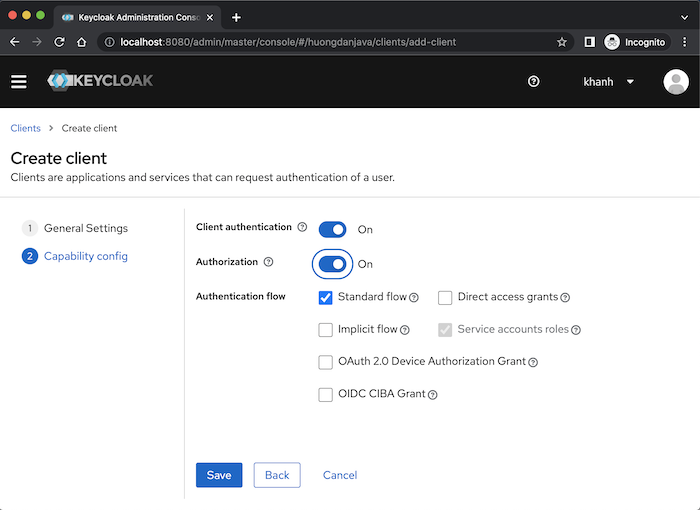
By default, as I said in the previous post, this client will support the Authorization Code and Resource Owner Password Credentials grant type of OAuth2, so you will see the Standard flow and Direct access grants fields selected. We will disable the Resource Owner Password Credentials grant type and turn on 2 fields Client authentication and Authorization so that our client is Confidential and we can use its access token for authorization:
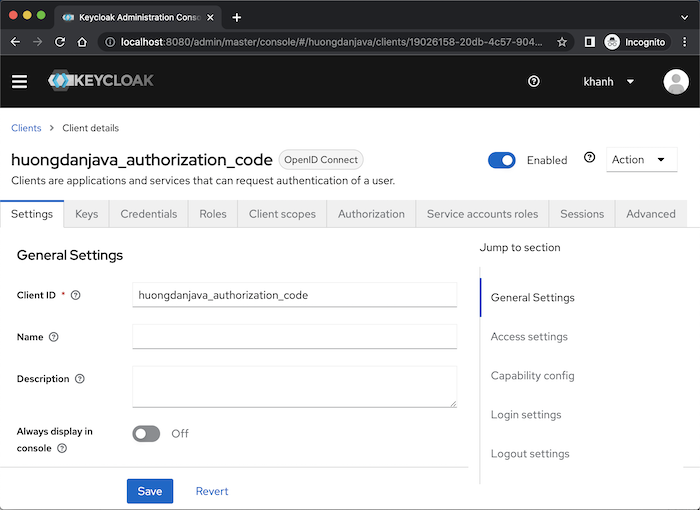
Click the Save button, you will see the following results:
Because in the Authorization Code grant type, after the user logs in, the access grant page, consent screen, will be displayed, you can turn on or turn off this consent screen page with the Consent required field in the Login settings section. I will turn on this field as an example:
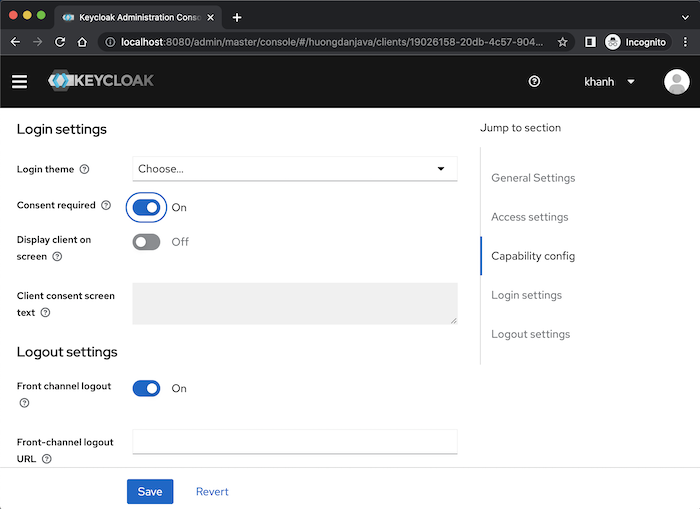
We can change the theme for the user’s login page with the Login theme field also in this Login settings section. Tell you more that Keycloak supports us to customize Keycloak’s default login theme and many other things, you can learn more online!
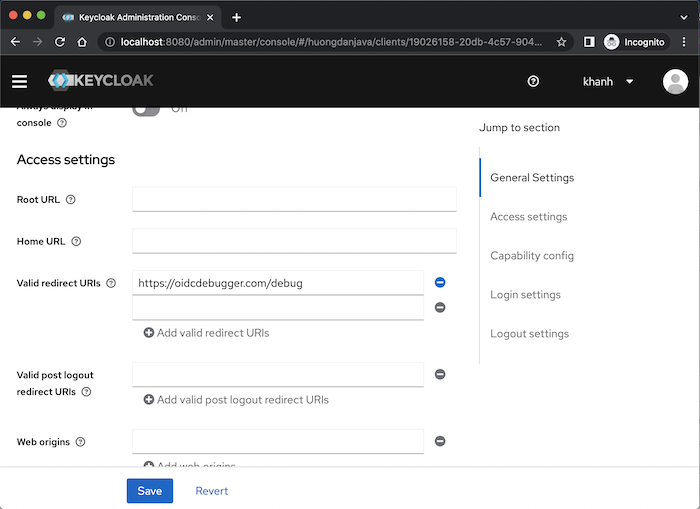
Another required information for the Authorization Code grant type that we need to configure is the Redirect URIs using the Valid redirect URIs field. These Redirect URIs will be valid URIs that Keycloak can use for this client to return the authorization code after the user logs in and grants access to the Client Application. I will use https://oidcdebugger.com/ as an example for this tutorial, so I will configure the Redirect URI to be https://oidcdebugger.com/debug as follows:
Click the Save button guys!
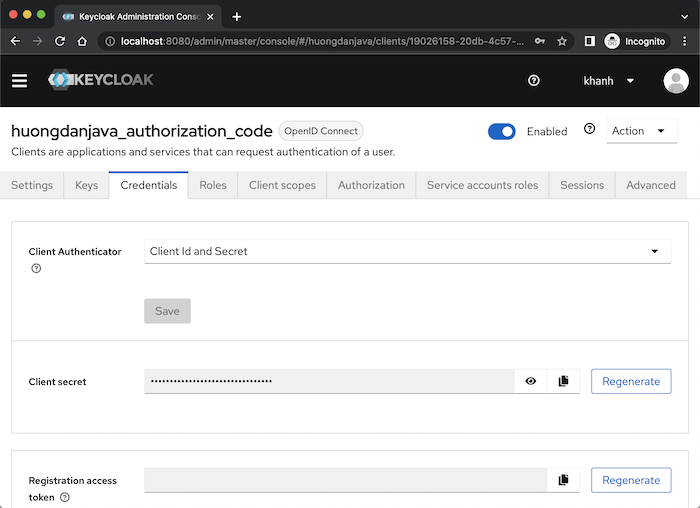
This client’s secret information will be in the Credentials tab:
At this point, we have completed the basic configuration for the client with the Authorization Code grant type!
To check the results, you can first use https://oidcdebugger.com/ as a Client Application to get the authorization code with the following configuration:

Authorize URI of Keycloak is http://localhost:8080/realms/huongdanjava/protocol/openid-connect/auth where http://localhost:8080 is the server name and port number that Keycloak, we are using, running. huongdanjava is the realm name in which your client is defined.
We will not change the default Redirect URI of https://oidcdebugger.com/!
Client ID is the client that I just created above.
After entering the above information, please click the Send Request button at the bottom of this page. User information login page will display as follows:

Use user and password information to log in (refer to the tutorial Create new user in Keycloak!), you will see Keycloak’s default consent screen page displayed as follows:
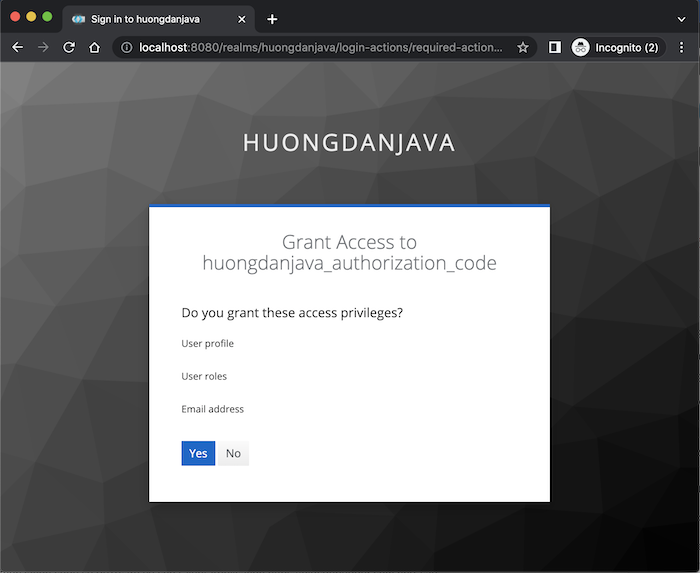
Yes means that you agree to the Client Application to access the information displayed on this page, otherwise, if you change your mind, you can press the No button!
After clicking the Yes button, the authorization code will be returned to Client Application https://oidcdebugger.com as follows:
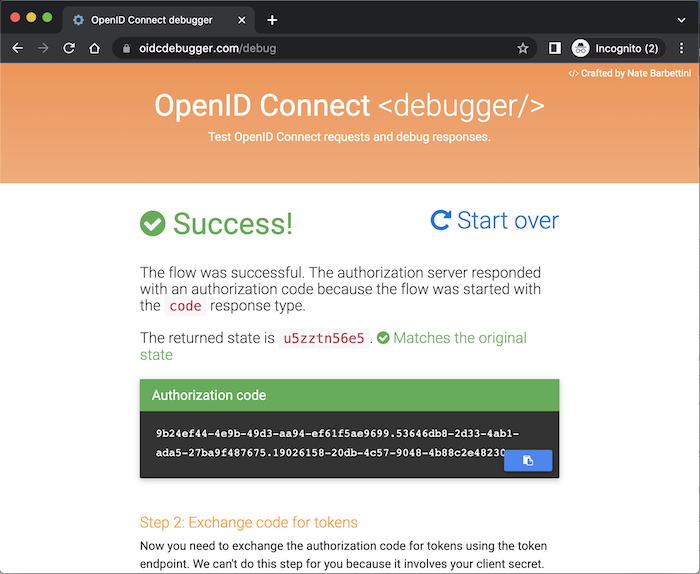
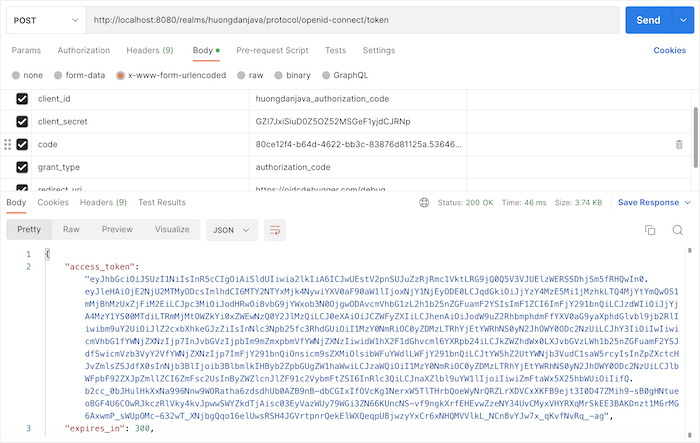
You can use this authorization code together with the client secret of the client to request to Keycloak to get the access token as follows: