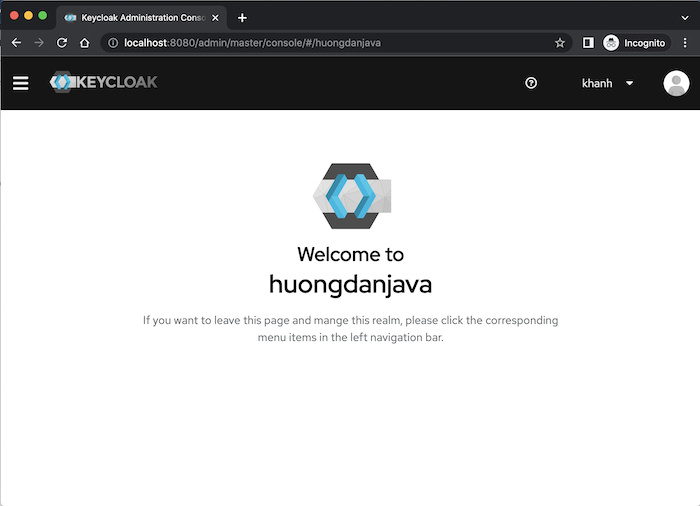
Clients in Keycloak are applications that interact with it for authentication and authorization. Adding a new client in Keycloak is letting it manage all clients that will connect to it, according to which protocol, which standard authentication and authorization. In this tutorial, I will show you how to add a new client in Keycloak with basic information.
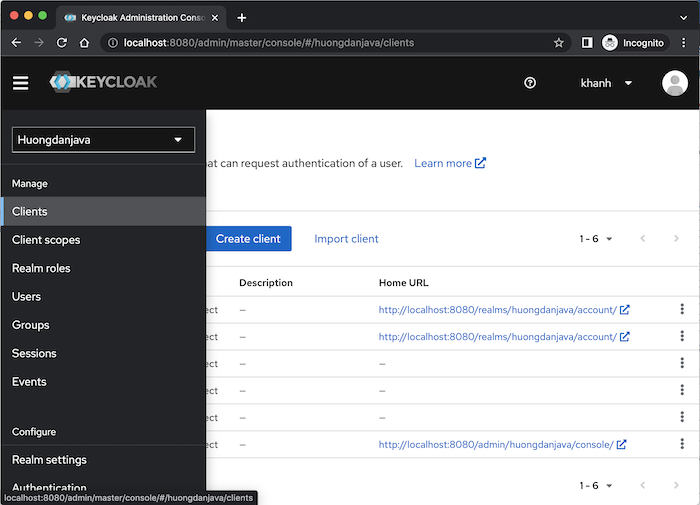
First, you need to log in to the realm you want to add a new client for, as follows:
then on the left menu, click on the menu item Clients.
To add a new client, please click the Create client button on this page. A Create Client General Settings page will display as follows:
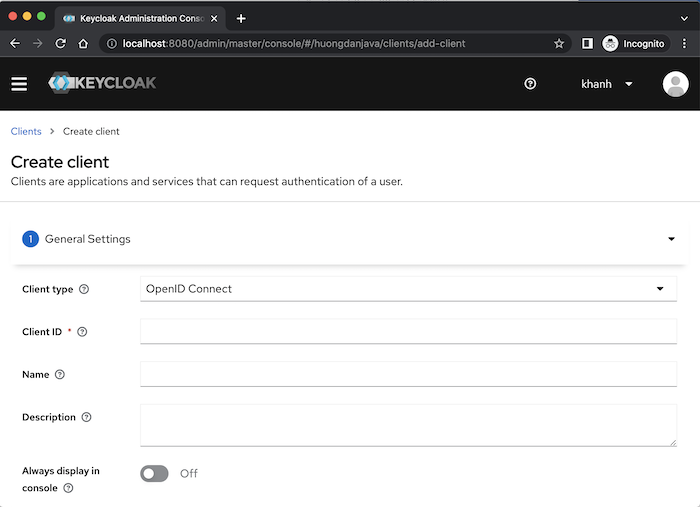
Please fill in client information using the Client type, Client ID, Name and Description fields.
In the Client type field, we have 2 types that Keycloak supports: OpenID Connect (an extension of the OAuth standard) and SAML (Security Assertion Markup Language), depending on your purpose that you choose to be reasonable!
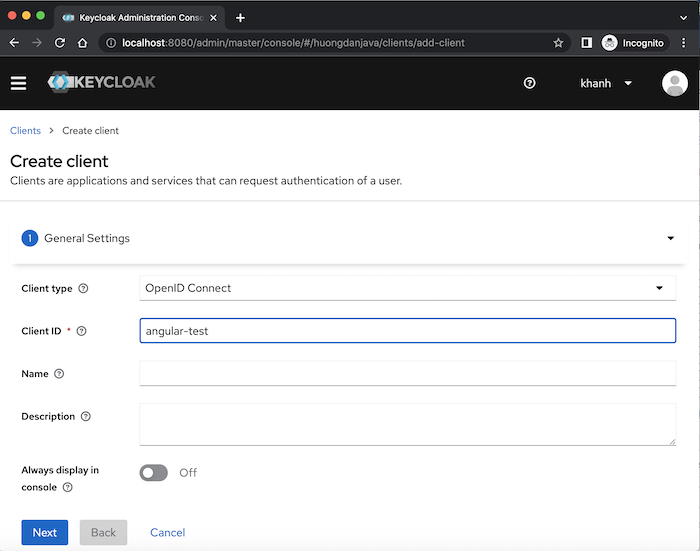
Suppose now that I have an Angular application named angular-test, I want to use Keycloak to manage authentication and authorization according to the OAuth2 standard. For the Angular application, we will use grant type Authorization Code with PKCE of OAuth2.
To declare the client for this Angular application in Keycloak, I will fill in its information as follows:
Depending on the type that you use for your application, we may need to declare additional information related to that type. For the OpenID Connect type, we will need to declare more information, using the Next button.
Click the Next button, you will see Keycloak display the Capability config page as follows:
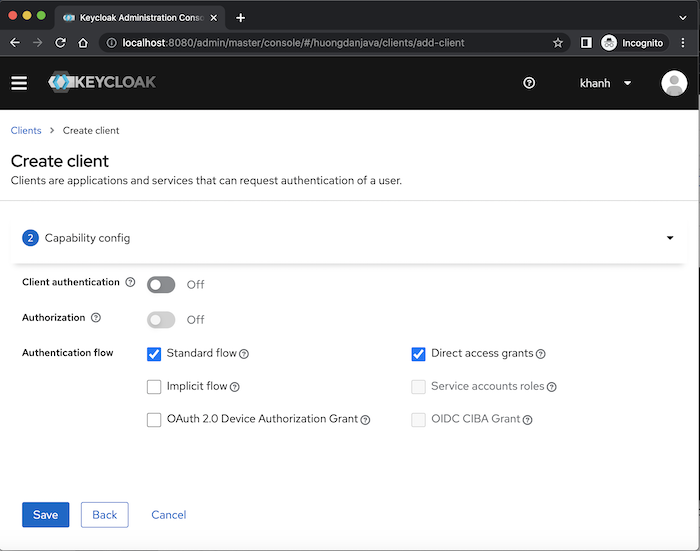
By default, for the OpenID Connect type, Keycloak will create a new client that supports the Authorization Code and Resource Owner Password Credentials grant type of OAuth2 so you should see the Standard flow and Direct access grants fields selected. Keycloak also supports Implicit Flow (field Implicit flow), Client Credentials (field Service accounts roles) and Device Authorization (field OAuth 2.0 Device Authorization Grant) of OAuth 2, CIBA flow (field OIDC CIBA Grant) a standard that extends OpenID Connect. Click if you want your client to support these grant types!
I will not use Resource Owner Password Credentials grant type for my Angular application so I will uncheck this grant type!
Here, you can also see that the Client authentication and Authorization fields are turned off. The Client authentication field is related to the client’s access type, the default “off” means the access type is public, “on” is confidential! Regarding the client’s access type, you can read more here.
The Authorization field is related to authorization support, scope definition, authorization policies, for our client!
For the Angular application, the access type should be public and do not support Authorization so I will not turn on these 2 fields!
Click the Save button, you will see the client created with the following results:
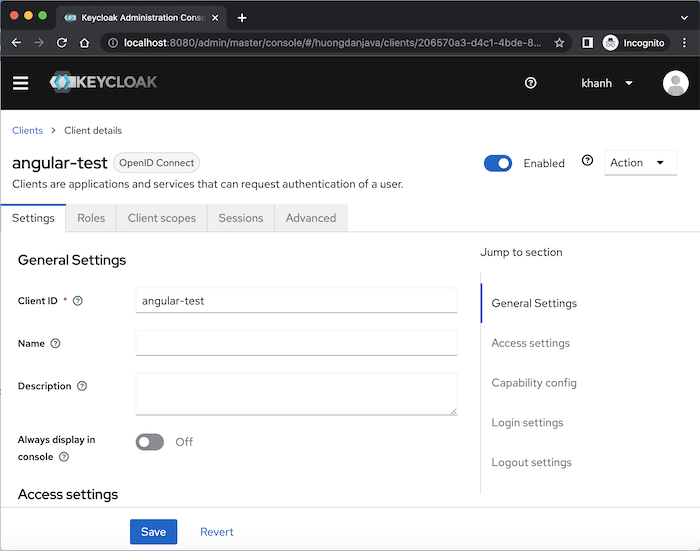
We can enable or disable this client using the Enabled field and there are many fields that we can configure for a client’s information.
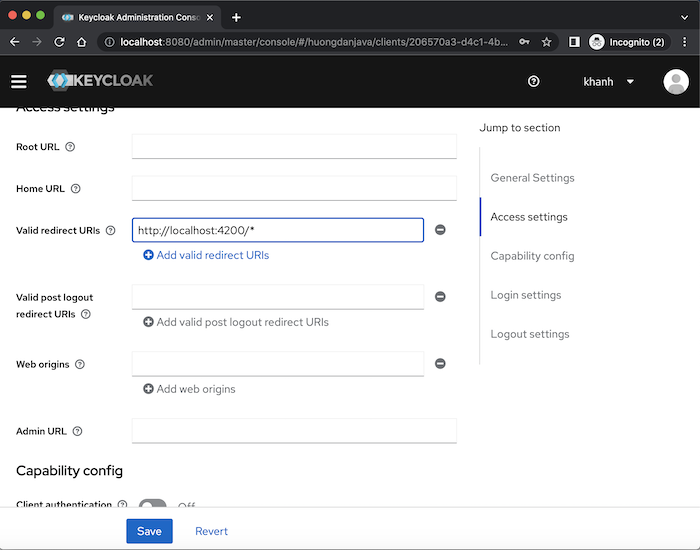
For the Angular application, in the Access settings section, you should configure the field Valid redirect URIs. Locally, the value of this field could be: http://localhost:4200/* as follows:
We can also change the theme for the user’s login page using the Login Theme field in the Login Settings section.
In the Advanced tab, Advanced Settings, you can configure the Code Exchange method of grant type Authorization Code with PKCE if you want:
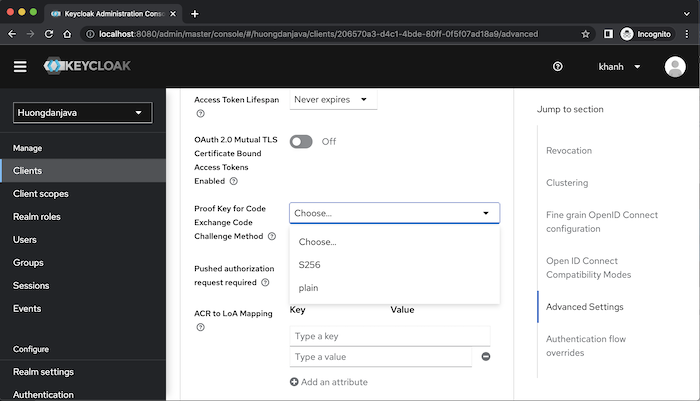
By default, if we do not configure this field, Keycloak will not apply PKCE to this client, unless the client sends the code exchange and code challenge method.
After configuring the information for the Client, please click the Save button to save those configurations!
In this tutorial, I only mentioned the basic configuration information of a Client created in Keycloak using grant type Authorization Code with PKCE. Depending on the grant type that the client supports, there is much more information and configuration. Depending on your needs, please learn more!