MicroProfile is a set of APIs based on Jarkata EE that makes us easy to build Java Enterprise applications according to the microservices architecture model. These APIs include:
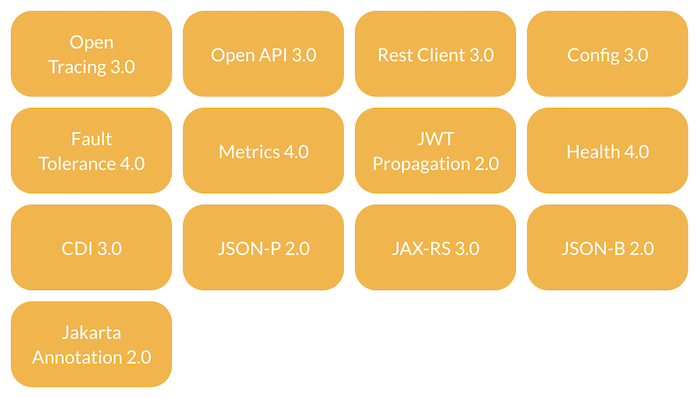
With:
- Open Tracing is used to track the flow of a request to services.
- Open API is used to create API documentation, we often call it Swagger. You can see about Swagger in Spring Boot.
- Rest Client is used to calling a RESTful Web Service, similar to RestTemplate or WebClient in Spring.
- Config is used to do things related to the configuration of the application.
- Fault Tolerance is used to handle cases where the application is failing.
- Metrics are used to define application metrics.
- JWT Propagation is used to work with access tokens in OAuth2 and OpenId Connect.
- Health exposes runtime information of services.
- Jakarta EE’s CDI: supports dependency injection in the application.
- JSON-P (JSON Processing) is used to convert Java object POJO to JSON.
- JAX-RS implements RESTful Web Service.
- JSON-B (JSON Binding) is used to convert JSON to Java objects.
- Jakarta Annotation by Jakarta EE defines a set of annotations for working with Jakarta EE applications.
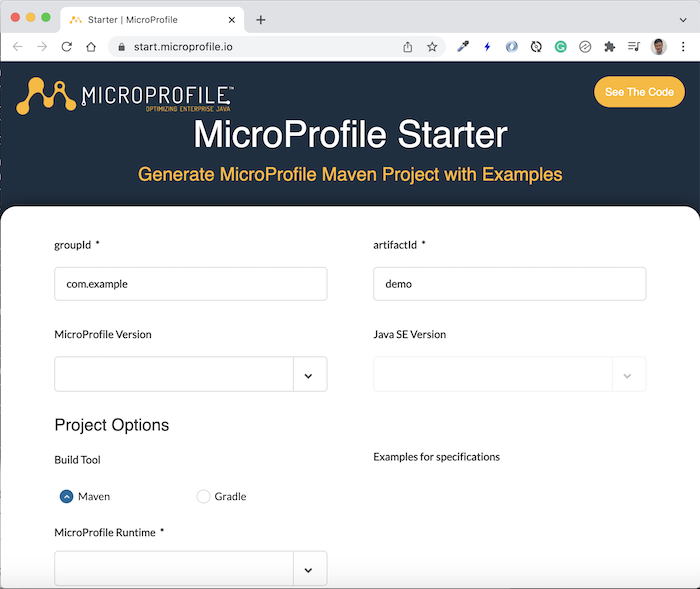
We can use the MicroProfile Starter tool to create a new MicroProfile project, similar to the Spring framework, at https://start.microprofile.io/:
As an example for this tutorial, I will create a new service using MicroProfile as follows:
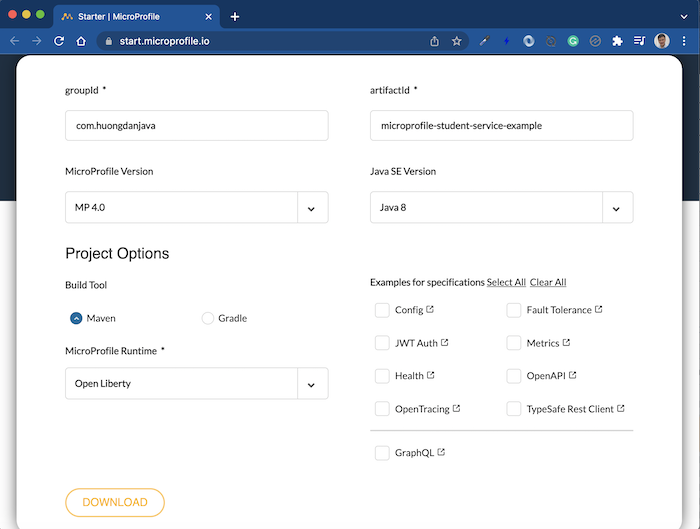
You don’t need to select APIs! By default, all MicroProfile APIs are declared in the application.
Click DOWNLOAD to download the project to your computer, then import it with the Maven project into the IDE you are using!
Its results are as follows:
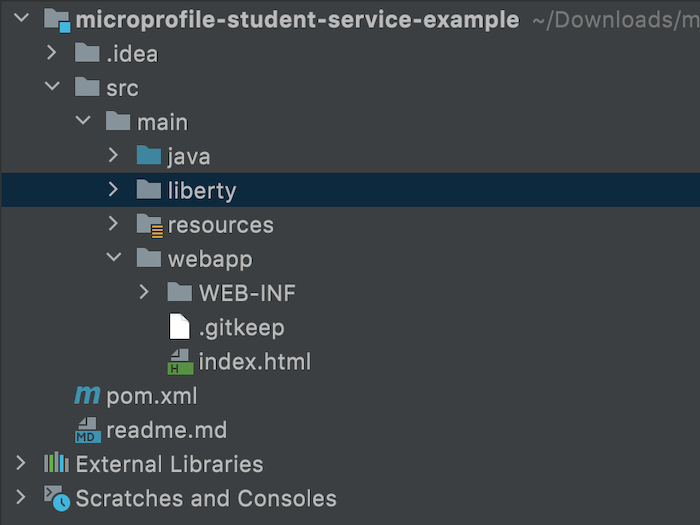
Check out this Maven project’s External Libraries:
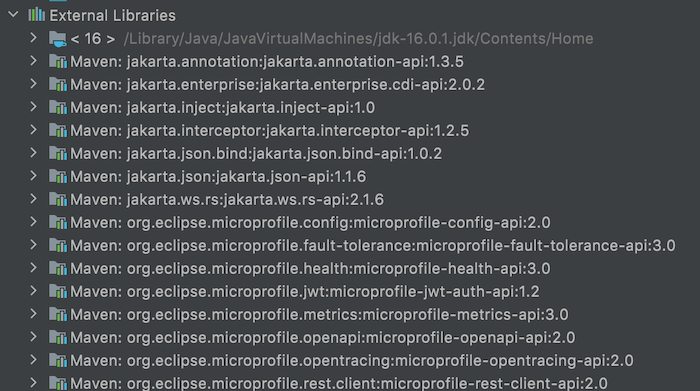
you will see in addition to the dependencies of MicroProfile, we also see dependencies of Jakarta EE. They are all APIs, there is no implementation, so to run the MicroProfile application, we must use server runtimes that support MicroProfile such as Open Liberty, Payara, WildFly,… !
I chose to use Open Liberty with the Liberty Maven plugin to run the example for this tutorial as follows:
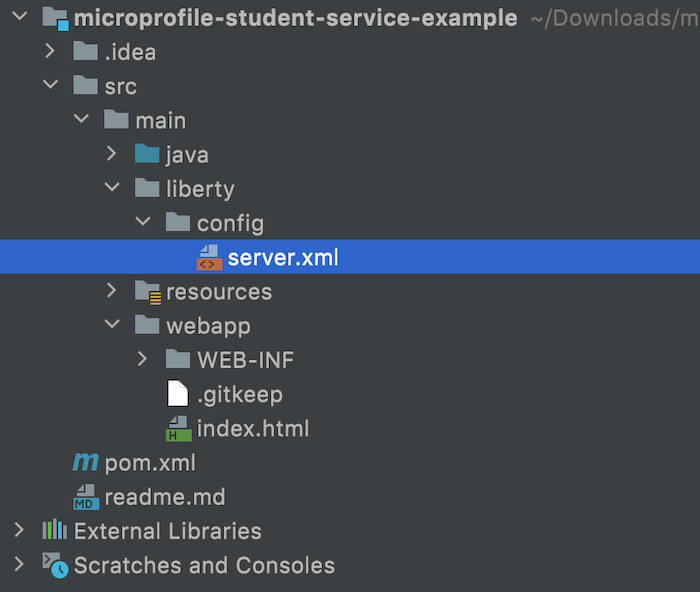
The contents of the generated server.xml file are as follows:
|
1 2 3 4 5 6 7 8 9 10 11 12 13 14 15 16 17 18 19 20 21 |
<?xml version="1.0" encoding="UTF-8"?> <server description="${project.name}"> <featureManager> <feature>microProfile-4.0</feature> </featureManager> <httpEndpoint id="defaultHttpEndpoint" httpPort="9080" httpsPort="9443"/> <webApplication location="${project.name}.war" contextRoot="${app.context.root}"> <classloader apiTypeVisibility="+third-party"/> </webApplication> <mpMetrics authentication="false"/> <!-- This is the keystore that will be used by SSL and by JWT. --> <keyStore id="defaultKeyStore" location="public.jks" type="JKS" password="atbash"/> <!-- The MP JWT configuration that injects the caller's JWT into a ResourceScoped bean for inspection. --> <mpJwt id="jwtUserConsumer" keyName="theKeyId" audiences="targetService" issuer="${jwt.issuer}"/> </server> |
As you can see, feature microProfile-4.0 is declared for use in the <featureManager> tag. There are also several other configurations. Properties such as project.name, jwt.issuer, app.context.root are declared in the <bootstrapProperties> tag of the Liberty Maven plugin in the pom.xml file.
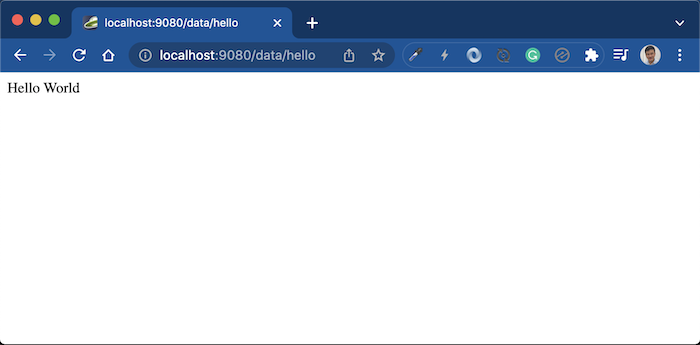
Running the project with the Liberty Maven plugin, you can access the generated project’s default endpoint http://localhost:9080/data/hello, the results are as follows:
In addition, with the microProfile-4.0 feature declared to support, we can also access some other endpoints such as:
OpenAPI to see API documentation http://localhost:9080/openapi/ui/:
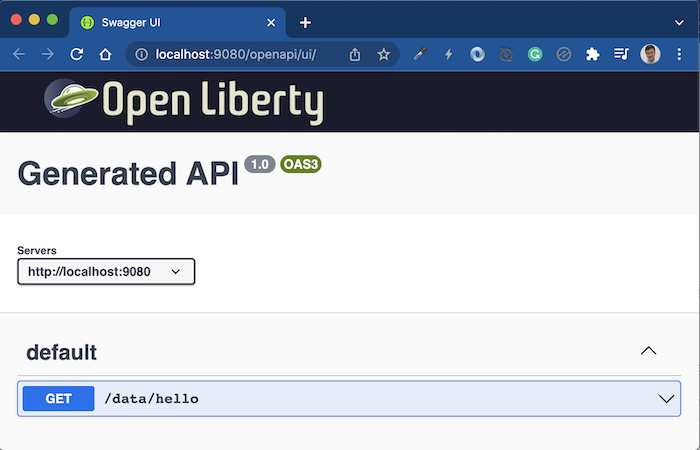
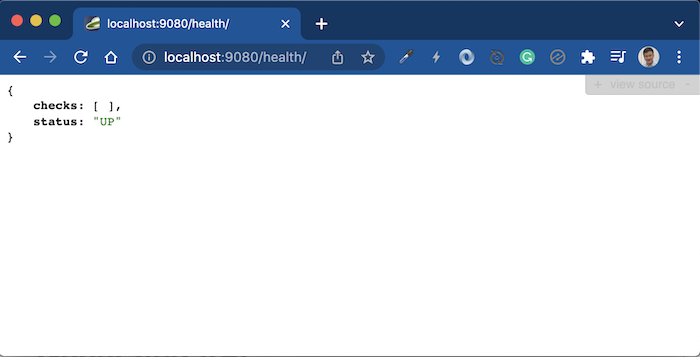
Health check service http://localhost:9080/health/:
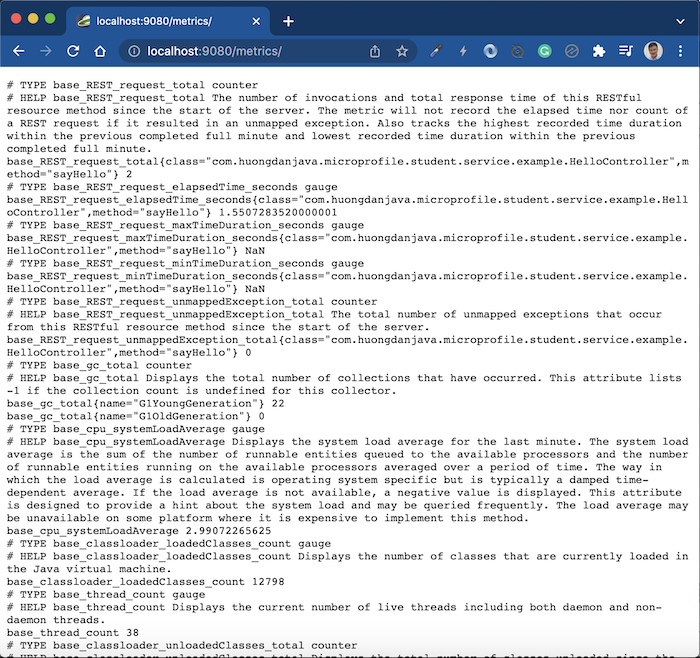
Metrics http://localhost:9080/metrics/:
Depending on your needs, please use MicroProfile accordingly!

