WebClient is an interface, implementation is the DefaultWebClient object, introduced with Spring WebFlux that allows us to consume the Reactive Web Service. How to create a request and handle a response using the WebClient? Let’s find out in this tutorial.
First, I will create a new Spring Boot project with Spring WebFlux dependency as an example:
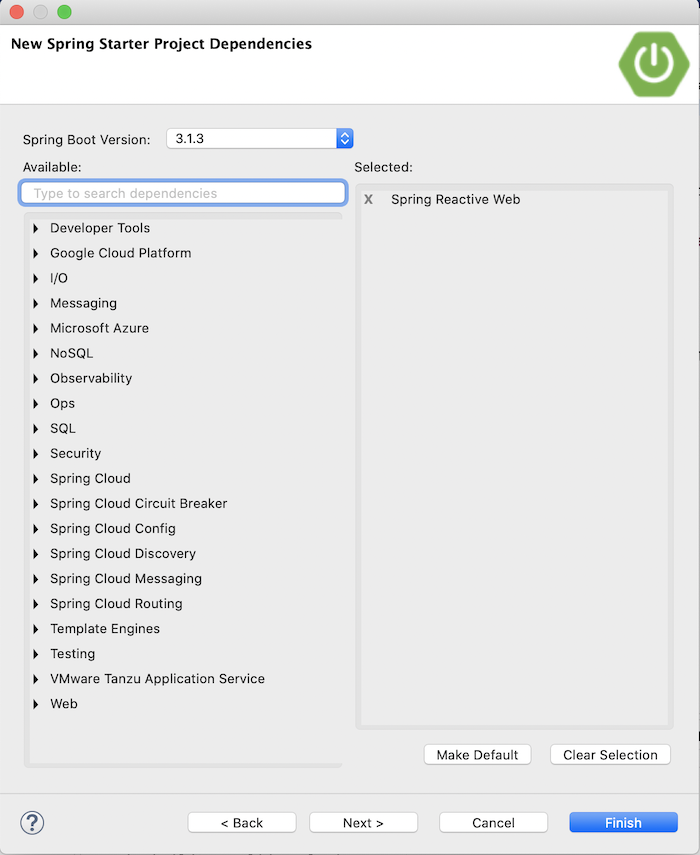
Result:
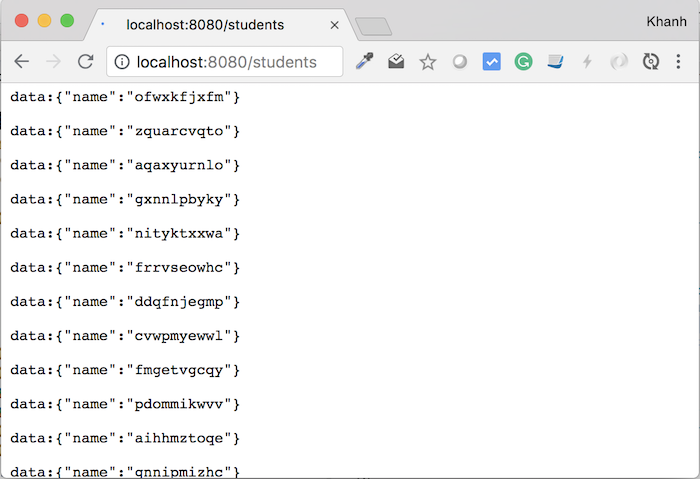
As an example of Reactive Web Service, I will use the example I created in Reactive web using annotation with Spring WebFlux:
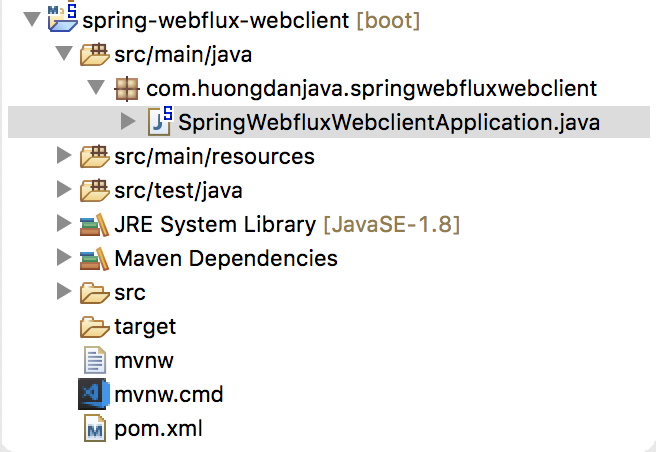
For simplicity, I will code to run Java console application with Spring Boot by implementing the CommandLineRunner interface like this:
|
1 2 3 4 5 6 7 8 9 10 11 12 13 14 15 16 17 18 |
package com.huongdanjava.springwebfluxwebclient; import org.springframework.boot.CommandLineRunner; import org.springframework.boot.SpringApplication; import org.springframework.boot.autoconfigure.SpringBootApplication; @SpringBootApplication public class SpringWebfluxWebclientApplication implements CommandLineRunner { public static void main(String[] args) { SpringApplication.run(SpringWebfluxWebclientApplication.class, args); } @Override public void run(String... args) throws Exception { } } |
Since our Spring Boot project has a dependency declaration for Spring WebFlux, our application will start using the default port of 8080. As the Reactive Web Service is running on port 8080, so I will change the port for our example in this tutorial using port 8081. We just need to declare the server.port=8081 property in the application.properties file.
OK, everything is ready, now let’s go to the main topic of this tutorial!
I will declare the base URL that our example will consume as follows:
|
1 |
String url = "http://localhost:8080"; |
To use the WebClient object to consume the Reactive Web Service above, we first need to initialize the object for it.
There are 3 ways to do this:
The first is that we will create the WebClient object with the default configuration as follows:
|
1 |
WebClient webClient = WebClient.create(); |
The second way is to create a new WebClient object with the request URL that we need to consume:
|
1 |
WebClient webClient = WebClient.create(url); |
Finally, we can use the DefaultWebClientBuilder object to initialize the WebClient object with more information:
|
1 |
WebClient webClient = WebClient.builder().baseUrl(url).build(); |
Here, I just initialized the WebClient object using the DefaultWebClientBuilder object with the simple information of baseUrl. You can configure more information, such as:

In this tutorial, I will use the 3rd way!
Once you have the WebClient object, you can use it to build the request, send the request, and receive the response.
WebClient supports all HTTP methods, so we can easily build any request.
You can use the get(), post(), put(), patch(), and delete() methods to build GET, POST, PUT, PATCH, and DELETE requests.
|
1 |
webClient.get() |
Alternatively, you can use the method() method with the enum HttpMethod parameter to do this:
|
1 |
webClient.method(HttpMethod.GET) |
Once you’ve defined the HTTP method, you need to define the URI that you need to request. In my example, this definition would be:
|
1 |
webClient.get().uri("/students") |
Next, depending on the request, you need to build the body data for the request. GET request is not required but a POST request will be needed. In the case of POST, for body data, we will use the body() method, for example:
|
1 2 3 |
webClient.post() .uri("/student/add") .body(BodyInserters.fromPublisher(Mono.just("Khanh"), String.class)); |
Here we have used the abstract class BodyInserters to populate data to the body of the request. This class supports many different ways to populate different types of data. You can find out more!
In this tutorial, my request is a GET request, so my code is as simple as:
|
1 2 |
webClient.get() .uri("/students"); |
Once the request has been completed, we will start sending the request and receive the response.
To do this, you can use the exchangeToMono(), exchangeToFlux() or retrieve() method. The difference between these exchange() methods and the retrieve() method is mainly in the type of data they return.
The exchange() methods return a ClientResponse object with HTTP status and header information. We can use the bodyToMono() or bodyToFlux() method to get data in the body of the response.
|
1 2 3 4 5 6 |
webClient.get() .uri("/students") .exchangeToFlux(response -> { System.out.println(response.statusCode()); return response.bodyToFlux(String.class); }); |
The retrieve() method will return the ResponseSpec object so we can get the data in the body of the response directly:
|
1 2 3 4 |
webClient.get() .uri("/students") .retrieve() .bodyToFlux(String.class); |
As you can see, similar to when using exchange() methods, we will use the bodyToFlux() or bodyToMono() method to get the data in the body of the response. These methods will throw a WebClientResponseException if the HTTP Status returned is 4xx (error by client) or 5xx (server error).
Once you have flux or mono from the response body, you can use these objects to retrieve the data you need.
Get the first data when our example connects to the Reactive Web Service:
|
1 2 3 4 5 6 7 8 9 10 |
String url = "http://localhost:8080"; WebClient webClient = WebClient.builder().baseUrl(url).build(); Flux<String> flux = webClient.get() .uri("/students") .retrieve() .bodyToFlux(String.class); System.out.println(flux.blockFirst()); |
Result:
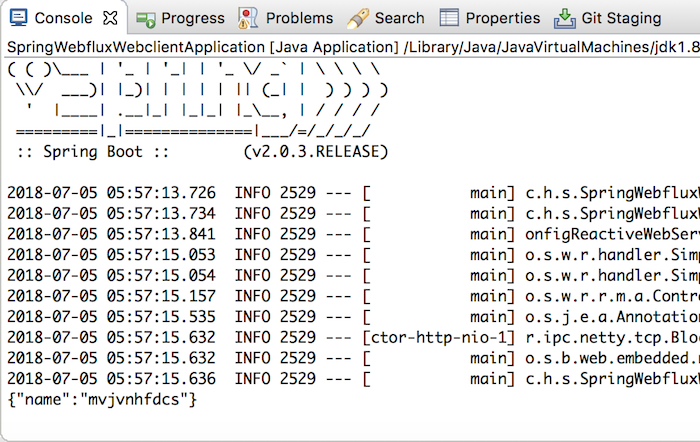
If you want to keep subscribing to receive data when new data is added, you can code as follows:
|
1 2 3 4 5 6 7 8 9 10 |
String url = "http://localhost:8080"; WebClient webClient = WebClient.builder().baseUrl(url).build(); Flux<String> flux = webClient.get() .uri("/students") .retrieve() .bodyToFlux(String.class); flux.subscribe(s -> System.out.println(s)); |
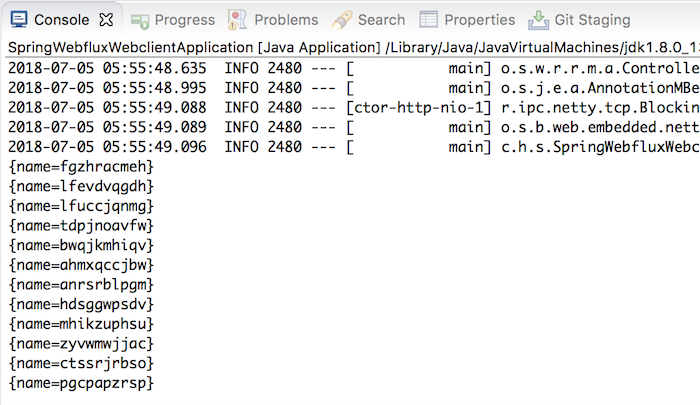
Result:
