Open Liberty is also a Java Server runtime that helps us run Java web applications. Using the Liberty Maven plugin will help us quickly deploy the application to Open Liberty easily during development. In this tutorial, I will show you how to use this Liberty Maven plugin!
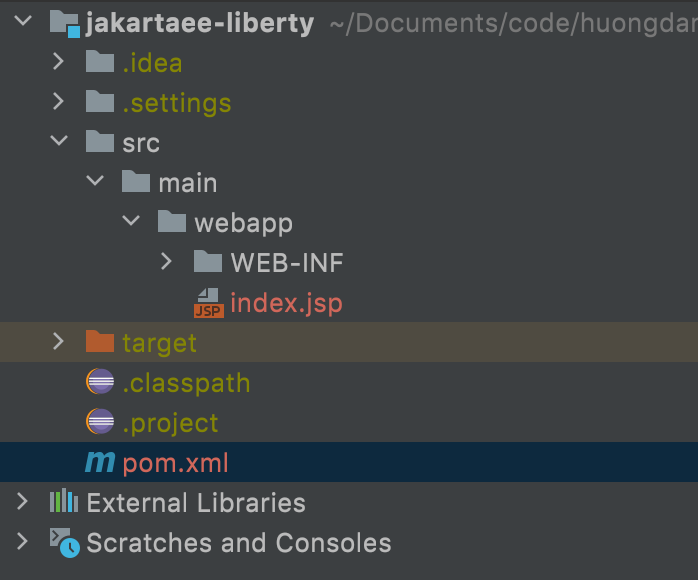
First, I will create a new Jakarta EE Maven project as an example:
I will not use the Maven Jetty plugin to run this project but will use the Liberty Maven plugin.
You can declare the Liberty Maven plugin as follows:
|
1 2 3 4 5 |
<plugin> <groupId>io.openliberty.tools</groupId> <artifactId>liberty-maven-plugin</artifactId> <version>${liberty-maven-plugin.version}</version> </plugin> |
with:
|
1 |
<liberty-maven-plugin.version>3.5.1</liberty-maven-plugin.version> |
For this plugin to work, we need to define information about the Open Liberty server in a file named server.xml located in the /src/main/liberty/config directory:
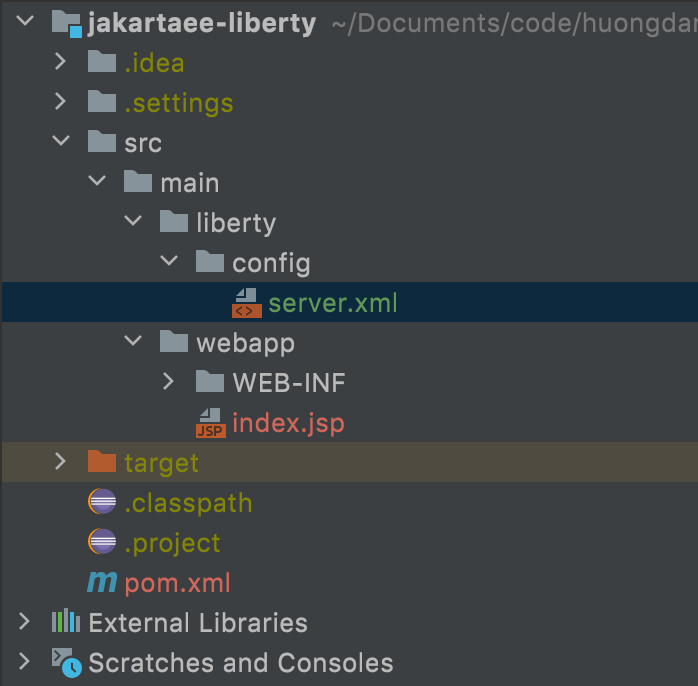
The contents of this server.xml file are as follows:
|
1 2 3 4 5 6 7 8 |
<server description="Open Liberty server"> <featureManager> <feature>jakartaee-9.1</feature> </featureManager> <webApplication location="jakartaee-liberty.war" contextRoot="/"/> <httpEndpoint host="*" httpPort="${default.http.port}" httpsPort="${default.https.port}" id="defaultHttpEndpoint"/> </server> |
with 2 properties “default.http.port” and “default.https.port” defined in pom.xml file as follows:
|
1 2 |
<liberty.var.default.http.port>9080</liberty.var.default.http.port> <liberty.var.default.https.port>9443</liberty.var.default.https.port> |
Liberty Maven plugin will automatically replace the value of properties with the key starting with liberty.var, declared in the pom.xml file with the properties declared in the server.xml file.
With the Liberty Maven plugin, we need to define the feature we want to run in this server.xml file. As you can see, here I am running Jakarta EE 9.1, so I have declared this feature in the <featureManager> tag. You can see the full features of Open Liberty here.
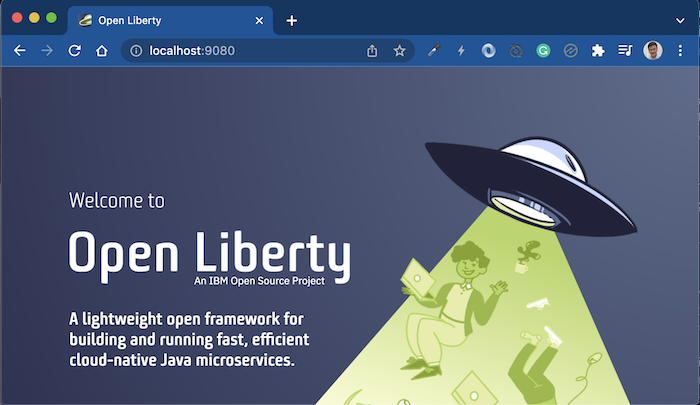
Now, if you run the application in Maven with “mvn clean liberty:run” and go to the address http://localhost:9080/, you will see the following output:
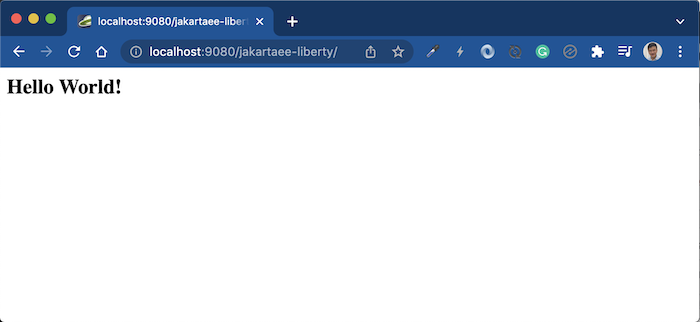
With the declaration in the file server.xml, our application will run at the address http://localhost:9080/jakartaee-liberty/!
The following results:
Liberty Maven plugin supports us live coding, which means Open Liberty will automatically load our changes in the code during development. You can run the Maven command “mvn clean liberty:dev” to do this, making our development process faster, very convenient!