To create a new queue in ActiveMQ Artemis, you need to create a new address first.
Create a new address
To create an address, in the Artemis Console page, in the Artemis menu, click on the Addresses tab!
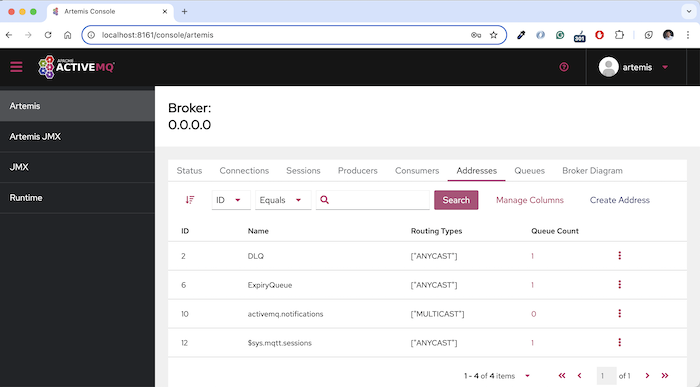
The addresses you see in the image above are the default addresses when we first install ActiveMQ Artemis!
Click the Create address button to create a new address!
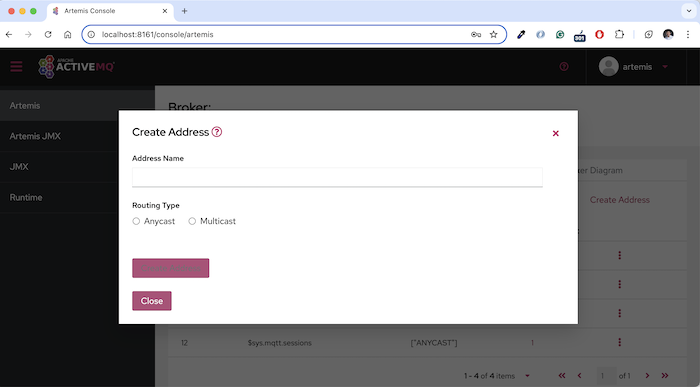
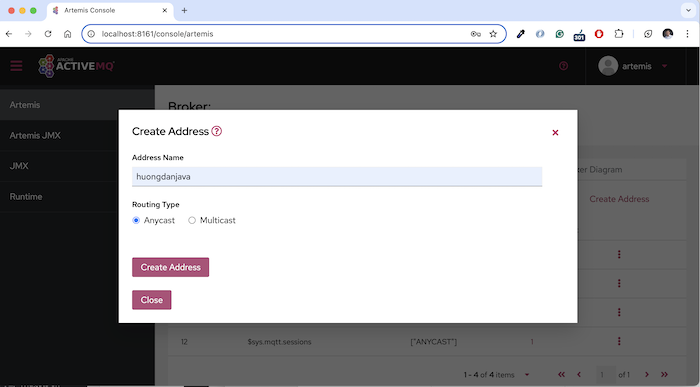
Please fill in Address Name, select Routing Type as Anycast or Multicast and click the Create Address button to create a new address. My example is as follows:
Result:
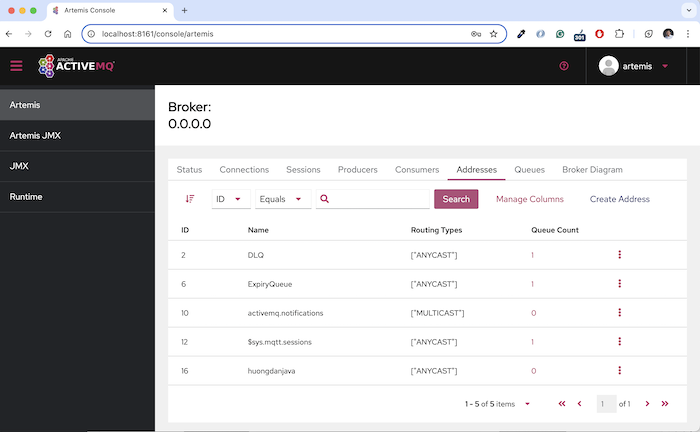
So we have successfully created a new address! Now, you can create a new queue with this new address.
Create a new queue
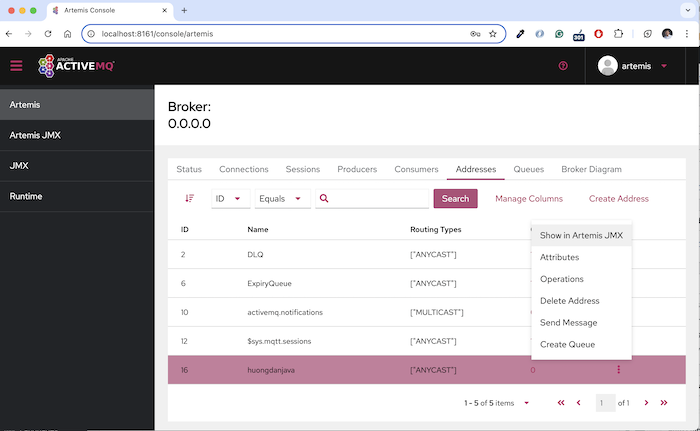
To create a new queue, click on the 3 vertical dots button in the corresponding address line, then select Create Queue as follows:
The new queue creation window will appear as follows:
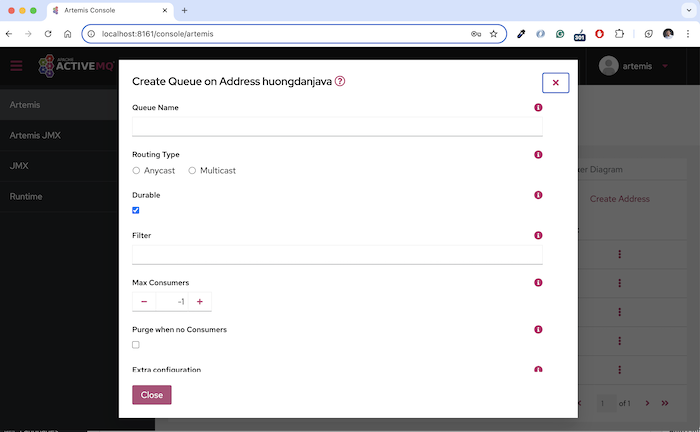
The information we need to fill in includes:
- Queue Name: The name of the queue you want to create
- Routing Type: If you want to create a queue similar to a queue in JMS (messages will only be sent to a single consumer), select Anycast, but if you want to create a queue similar to a topic in JMS (messages will be sent to many different consumers), select Multicast.
- Durable: Check this option if you want the queue to still exist even when you restart ActiveMQ Artemis.
- Filter: Use this option if you want to filter messages. Messages must satisfy the filter for them to be routed to this queue.
- Max Consumers: If you want to limit the number of Consumers, enter a number that you want, if you don’t want to limit, just leave the default value of -1!
- Purge when no Consumers: This option prevents the queue from receiving messages when there are no consumers subscribed and it will also remove all messages if there are no consumers.
- Extra configuration: Some other configurations that you can configure, such as delay-before-dispatch or auto-delete.
For example, I fill in the queue information as follows:
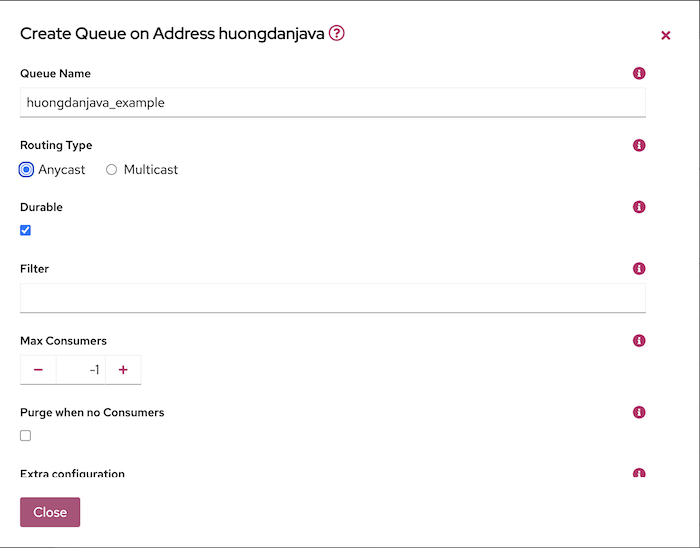
Next, click the Create Queue button to create a new queue!
My results are as follows:
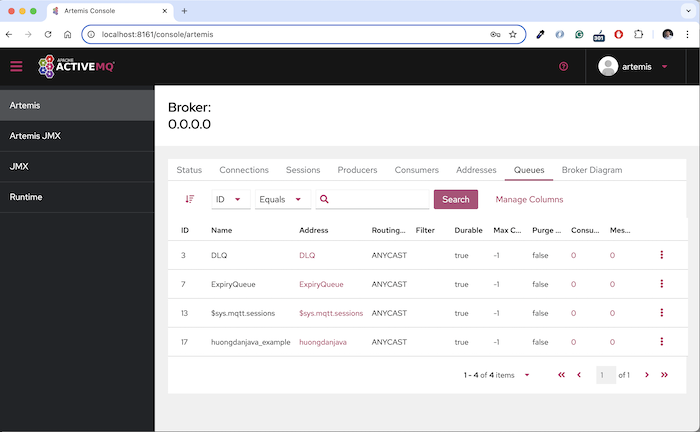
So we have successfully created a new queue in ActiveMQ Artemis!