In the previous tutorial, I introduced to you all about RAML to define APIs for RESTful Web Service. The APIkit Router is a function of Mule ESB that allows us to create new RESTful Web Service from a RAML file. How is it in details? Let’s find out in this tutorial.
For example, I have a RAML file defining the APIs for a student management system as follows:
|
1 2 3 4 5 6 7 8 9 10 11 12 13 14 15 16 17 18 19 20 21 22 23 24 25 26 27 28 29 30 31 32 33 34 35 |
#%RAML 1.0 baseUri: https://localhost:8081/api title: Student Information Management System version: 1.0 /student/{ID}: uriParameters: ID: description: | ID of the Student type: string example: "1" get: responses: 200: body: application/json: example: | {"ID":1, "code": "001","name": "Khanh"} delete: responses: 200: body: application/json: example: | {"message": "Student deleted!"} /students: get: responses: 200: body: application/json: example: | [{"ID":1, "code": "001","name": "Khanh"}, {"ID":2, "code": "002","name": "Quan"}] |
Based on the above RAML file, you can see that my student management system allows users to query the list of students, find student by ID, or delete student by ID.
OK, now we go to the main thread of this tutorial.
First, I will create a new Mule project using above RAML file.
In Anypoint Studio IDE, go to File, select New and choose Mule Project:
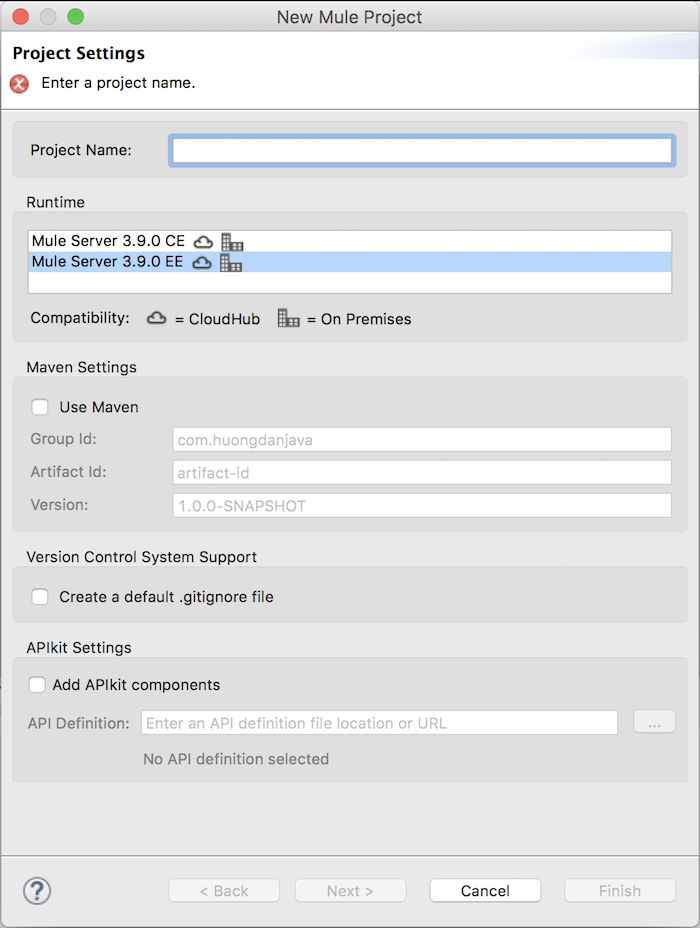
Just fill in the Project Name as usual.
In this window, as you can see, we have a section called APIkit Settings. This section allows us to use the RAML file with the Mule ESB APIkit Router to generate the Mule Flow for each request URL that we have defined in the RAML file. You will see what I just said at the moment, now, just check Add APIkit components and then select the RAML file as follows:
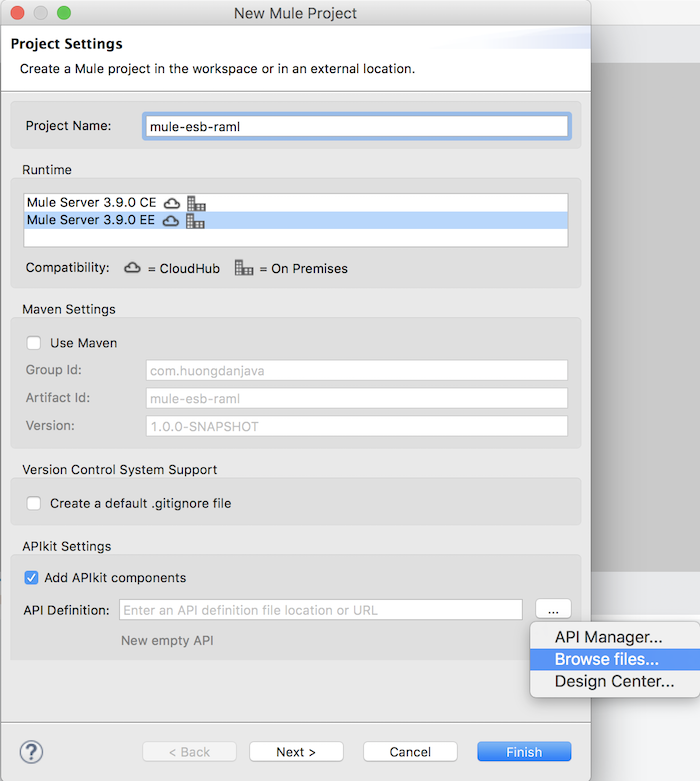
Select the RAML file and click the Finish button to finish creating new Mule project.
My result is as follows:
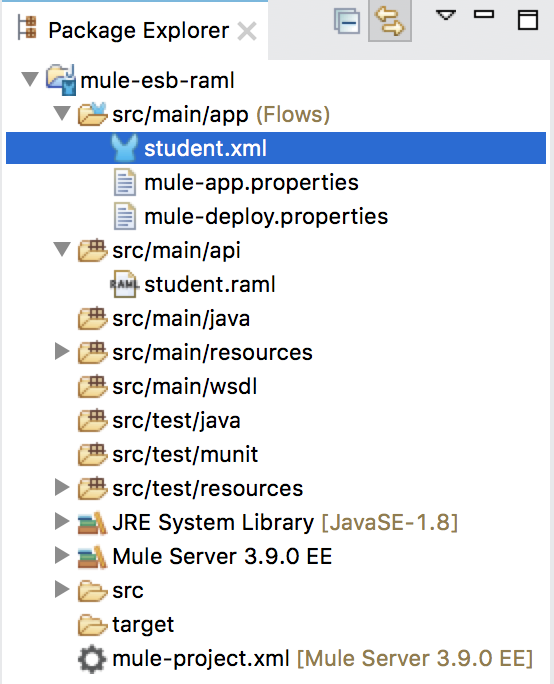
As you can see in the src/main/api directory, the RAML file which we just used to create the new project.
Now, you open the Mule Configuration File student.xml file, you will see, Mule ESB has created new Mule Flows using APIkit Router based on the definition of the RAML file automatically. The 3 request URLs that I defined in the RAML file, were generated to 3 Mule Flows as follows:
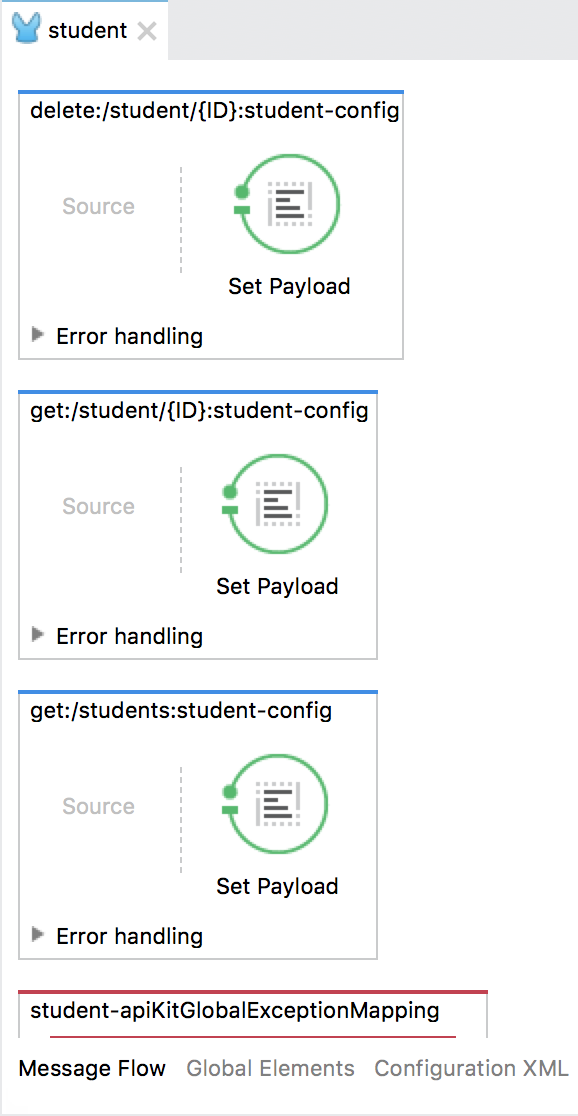
Our task now is to simply add processing to complete our APIs. By default, Mule will respond to the response body that we defined in the example for each request URL in our RAML file. You can see the endpoint Set Payload to see this clearly. Here, I will not implement more processing for each request URL, you can add the processing according to your needs.
In addition, the Mule ESB Router API also supports generating HTTP status codes for us in the event of a failure in processing our request URLs.

You also need to handle your needs accordingly.
Now, if you run this project, you will see a tab of the APIkit Console opened in Anypoint Studio as follows:
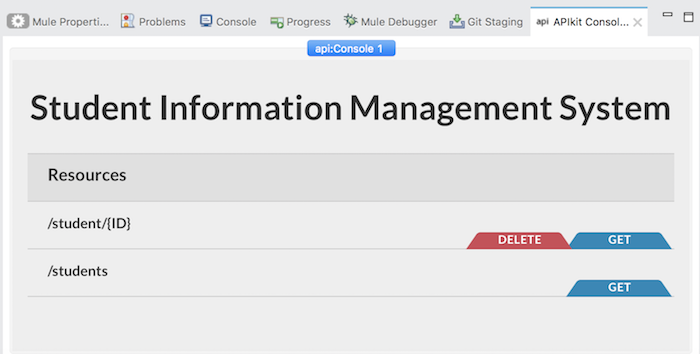
This is the function of Mule ESB in Anypoint Studio that allows us to experience the APIs we have defined in the RAML file. As you can see, all the APIs shown here, you can use it to check the APIs which we define in the RAML file fit your needs or not? From that, you can have the adjustments accordingly.