In the previous tutorial, I introduced you to Liquibase, a library that helps us to perform database migration for any Java application. In this tutorial, I will guide you to implement database migration using Liquibase with Spring MVC application!
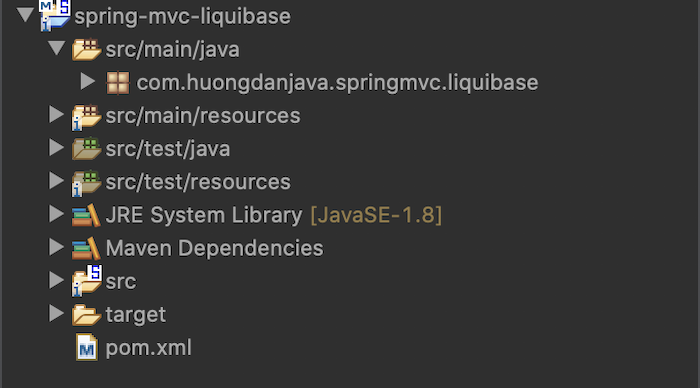
First, I will create a new Spring MVC project using Maven as an example.
Result:

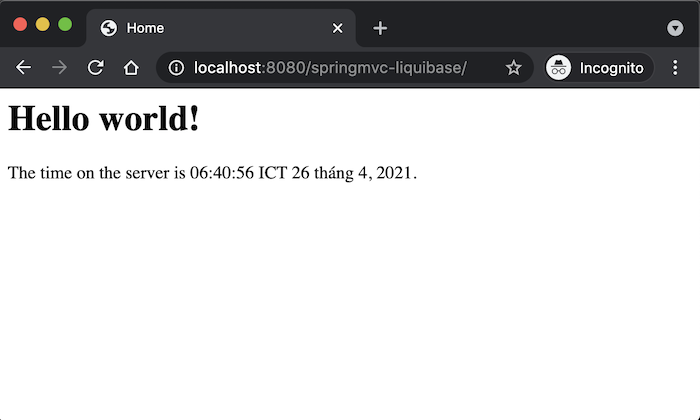
The results when I run this project will be as follows:

Để làm việc với Liquibase, các bạn cần khai báo dependency của nó:
|
1 2 3 4 5 |
<dependency> <groupId>org.liquibase</groupId> <artifactId>liquibase-core</artifactId> <version>4.31.1</version> </dependency> |
To work with a database in Spring, we need to add spring-orm dependency:
|
1 2 3 4 5 |
<dependency> <groupId>org.springframework</groupId> <artifactId>spring-orm</artifactId> <version>${org.springframework-version}</version> </dependency> |
I will use a PostgreSQL database in this example:
|
1 2 3 4 5 |
<dependency> <groupId>org.postgresql</groupId> <artifactId>postgresql</artifactId> <version>42.7.5</version> </dependency> |
By default, Liquibase supports integration with the Spring framework. By declaring the bean of the SpringLiquibase class in the Spring container, when running the application using the Spring framework, Liquibase will automatically perform the database migration for us!
You can configure the bean of the SpringLiquibase class in the Spring container using XML configuration (in file /src/main/webapp/WEB-INF/spring/root-context.xml) as follows:
|
1 2 3 4 |
<bean id="springLiquibase" class="liquibase.integration.spring.SpringLiquibase"> <property name="dataSource" ref="dataSource" /> <property name="changeLog" value="classpath:db-changelog.xml" /> </bean> |
Our task is to just configure the bean for dataSource and changeLog only!
I will configure the dataSource for the PostgreSQL database in the Spring container (in file /src/main/webapp/WEB-INF/spring/root-context.xml) as follows:
|
1 2 3 4 5 6 |
<bean id="dataSource" class="org.springframework.jdbc.datasource.DriverManagerDataSource"> <property name="driverClassName" value="org.postgresql.Driver" /> <property name="url" value="jdbc:postgresql://localhost:5432/liquibase_example" /> <property name="username" value="khanh" /> <property name="password" value="1" /> </bean> |
The dataSource configuration I will not mention in detail here. You can read more this tutorial JPA and Spring framework.
From the value of changeLog in the SpringLiquibase configuration above, you can understand that you need to create a changelog file of db-changelog.xml in the src/main/resources directory.
I will define the contents of the changelog file to add the clazz table as follows:
|
1 2 3 4 5 6 7 8 9 10 11 12 13 14 15 |
<?xml version="1.0" encoding="UTF-8"?> <databaseChangeLog xmlns="http://www.liquibase.org/xml/ns/dbchangelog" xmlns:xsi="http://www.w3.org/2001/XMLSchema-instance" xsi:schemaLocation="http://www.liquibase.org/xml/ns/dbchangelog http://www.liquibase.org/xml/ns/dbchangelog/dbchangelog-4.0.xsd"> <changeSet id="1" author="khanh"> <createTable tableName="clazz"> <column name="id" type="BIGINT" autoIncrement="true"> <constraints primaryKey="true" nullable="false" /> </column> <column name="name" type="VARCHAR(50)" /> </createTable> </changeSet> </databaseChangeLog> |
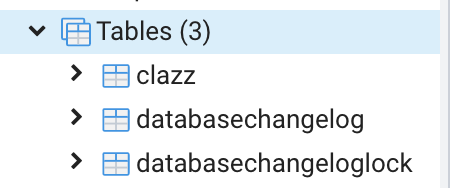
Now, rerun the application, check the database, you will see the following results:


