After defining API specs with RAML, we will proceed to implement this API specs. If your application is using the Spring framework then you can use Spring MVC-RAML Plugin to generate API contract with Spring framework and just add implementation code. How is it in detail? Let’s find out together in this tutorial!
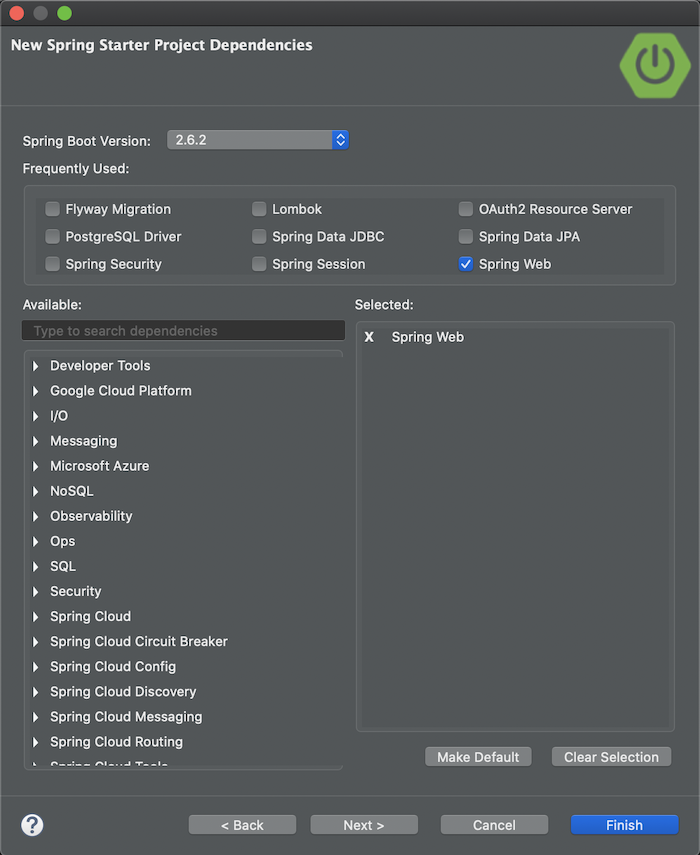
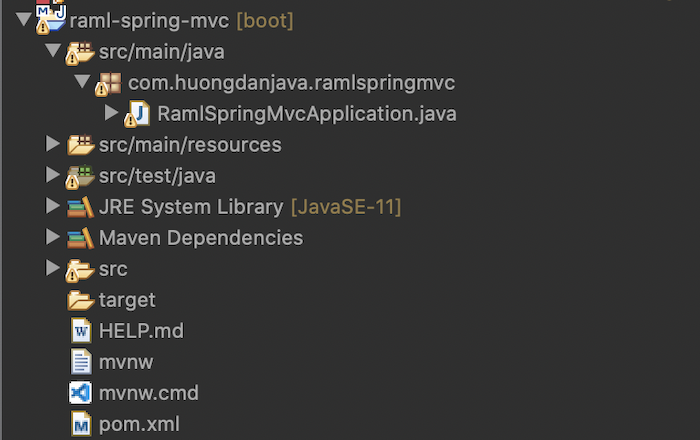
First, I will create a new Spring Boot project with a Web dependency as follows:
Result:
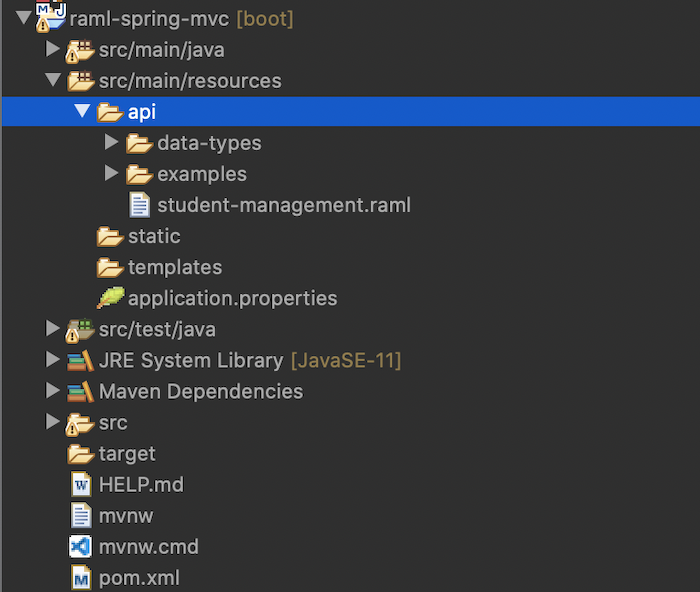
As an example, I will use the API specs defined with RAML in the tutorial about API fragments with RAML. You can get the content of this API specs here, copy all the files and folders into the src/main/resources/api directory of our project:
To start, we will declare the Spring MVC-RAML Plugin in our project as follows:
|
1 2 3 4 5 |
<plugin> <groupId>com.phoenixnap.oss</groupId> <artifactId>springmvc-raml-plugin</artifactId> <version>2.0.5</version> </plugin> |
We will add the configuration to make this plugin work.
This configuration includes the path to the RAML file we will use to generate the request URIs, the directory path of the Controller class that will be generated, … You can configure this plugin basically as follows:
|
1 2 3 4 5 6 7 8 9 10 11 12 |
<plugin> <groupId>com.phoenixnap.oss</groupId> <artifactId>springmvc-raml-plugin</artifactId> <version>2.0.5</version> <configuration> <ramlPath>src/main/resources/api/student-management.raml</ramlPath> <outputRelativePath>src/main/java</outputRelativePath> <basePackage>com.huongdanjava.ramlspringmvc.web</basePackage> <baseUri>/api</baseUri> <rule>com.phoenixnap.oss.ramlplugin.raml2code.rules.Spring4ControllerInterfaceRule</rule> </configuration> </plugin> |
<ramlPath> allows us to configure the path to the RAML file that defines the API specs.
<outputRelativePath> will be the path to the directory where the API contract will be generated. Here, you also see, we also have <basePackage> to define the package for generated Java classes.
<baseUri> will override the baseUri definition that we defined in the RAML file. When generating, the value of baseUri will be used to define the request URI at the top of each Controller class!
<rule> allows us to define how Controller classes will be generated. Spring MVC-RAML Plugin defines some rules as follows:

Spring4ControllerInterfaceRule will generate Controller classes that are interfaces. We will need to create class implementations for these Controller interfaces.
Spring4RestTemplateClientRule will generate classes that help us consume the request URIs that we define in the API specs.
Spring4ControllerDecoratorRule will generate code based on the decorator design pattern.
Spring4ControllerStubRule will generate Controller classes and we will modify these classes to add implementation.
As you can see, I use Spring4ControllerInterfaceRule to separate the API specs definition from the implementation part. After that, there are no changes to the API specs, we only change the code implementation when necessary.
There are a number of other configurations that you can learn more about here. In this tutorial, I only introduce to you some basic configurations.
After the configuration is complete, we can configure the execution so that every time we compile, build the source code, the Spring MVC-RAML Plugin can run to generate the code for us, for example as follows:
|
1 2 3 4 5 6 7 8 9 10 11 12 13 14 15 16 17 18 19 20 21 |
<plugin> <groupId>com.phoenixnap.oss</groupId> <artifactId>springmvc-raml-plugin</artifactId> <version>2.0.5</version> <configuration> <ramlPath>src/main/resources/api/student-management.raml</ramlPath> <outputRelativePath>src/main/java</outputRelativePath> <basePackage>com.huongdanjava.ramlspringmvc.web</basePackage> <baseUri>/</baseUri> <rule>com.phoenixnap.oss.ramlplugin.raml2code.rules.Spring4ControllerInterfaceRule</rule> </configuration> <executions> <execution> <id>generate-springmvc-endpoints</id> <phase>compile</phase> <goals> <goal>generate-springmvc-endpoints</goal> </goals> </execution> </executions> </plugin> |
Goal “generate-springmvc-endpoints” of Spring MVC-RAML Plugin will help us generate code at compile time.
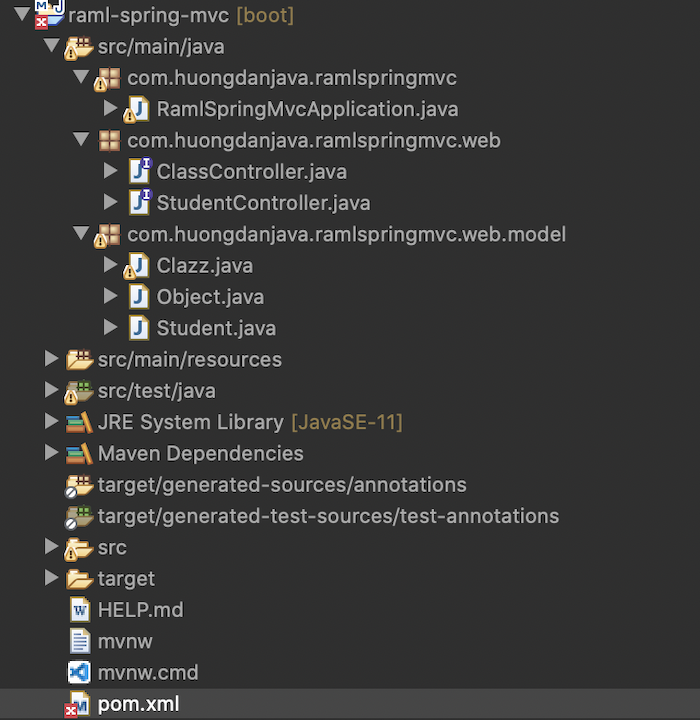
Now if you run “mvn clean install”, check the project, you will see the generated code as follows:
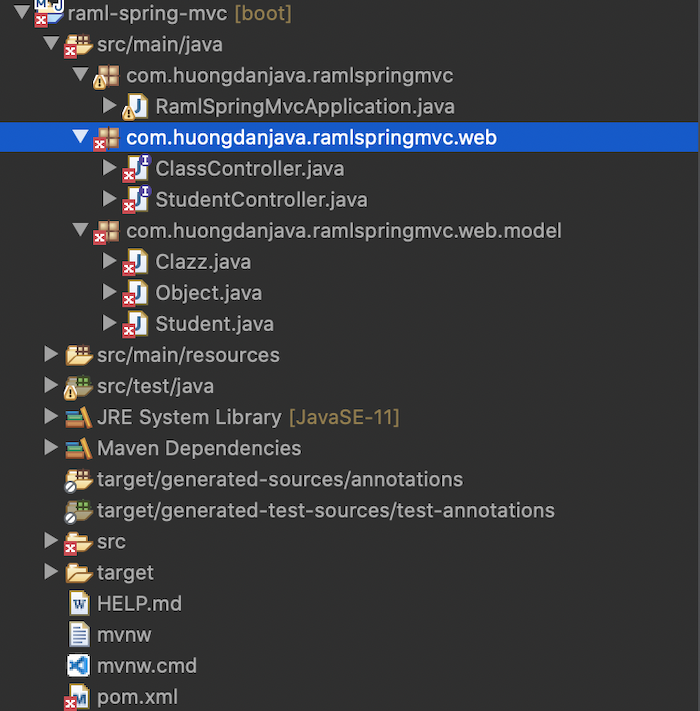
Two Controller classes correspond to the 2 root request URIs that we defined in the RAML file. Check the content of these Controller classes, you will see that they are interfaces:
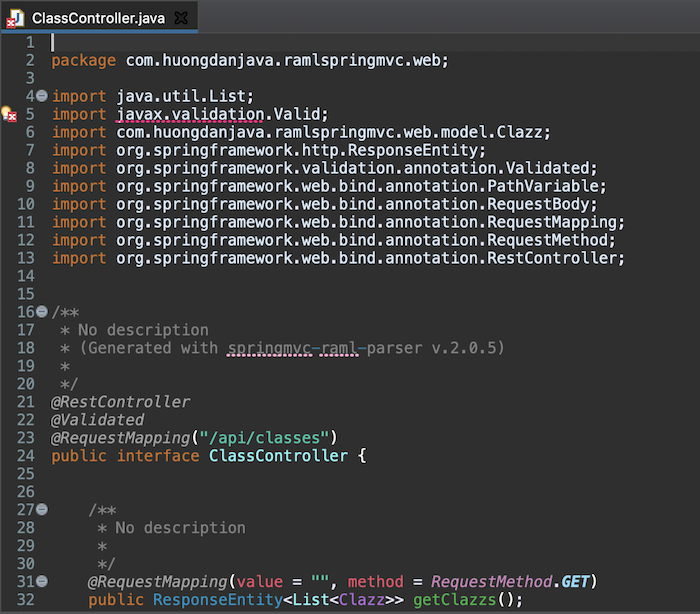
Our task is to create new classes to implement these interfaces.
When generating these Controller classes, some libraries were used to adapt the definitions in the RAML file. In my case, there are 2 libraries that Spring MVC-RAML Plugin has used, Common Lang and Java Bean Validator, we need to declare to use these dependencies so that the project does not fail as follows:
|
1 2 3 4 5 6 7 8 9 10 |
<dependency> <groupId>org.hibernate.validator</groupId> <artifactId>hibernate-validator</artifactId> </dependency> <dependency> <groupId>commons-lang</groupId> <artifactId>commons-lang</artifactId> <version>2.6</version> </dependency> |
My results are as follows: