Previously, Apache ActiveMQ Classic did not have an official Docker Image, so I often used a Docker Image at https://hub.docker.com/r/symptoma/activemq. But now you can use its official Docker Image here https://hub.docker.com/r/apache/activemq-classic.
The contents of our docker-compose.yaml file to install ActiveMQ Classic with Docker Compose will be as follows:
|
1 2 3 4 5 6 7 8 9 10 |
services: activemq: image: apache/activemq-classic:latest container_name: 'activemq' ports: - 61616:61616 - 8161:8161 volumes: - ./activemq_data:/data/activemq - ./activemq_log:/var/log/activemq |
The default port of ActiveMQ Classic is 61616, you need to expose it to the outside to be able to use it. Port 8161 is the port for WebConsole. If you need to use WebConsole, you can also expose it to the outside as I did above!
In addition, the 2 folders inside the ActiveMQ Classic container are /data/activemq and /var/log/activemq, you should also mount them to external folders so that we can work easily.
The result when running the command “docker compose up” in the folder containing the docker-compose.yaml file with the above content is as follows:
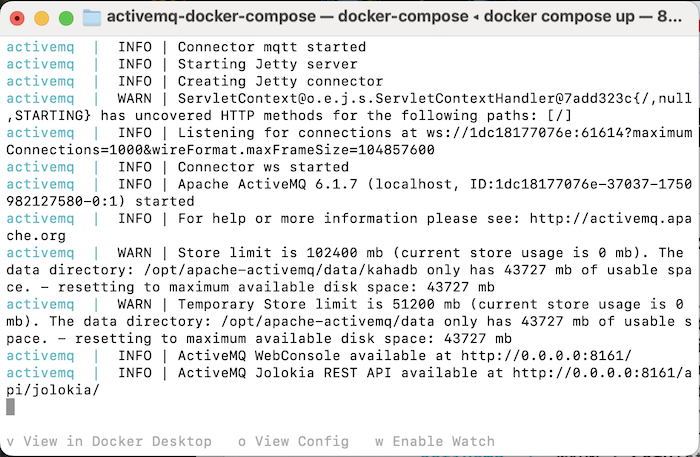
So we have started an ActiveMQ Classic server with WebConsole!
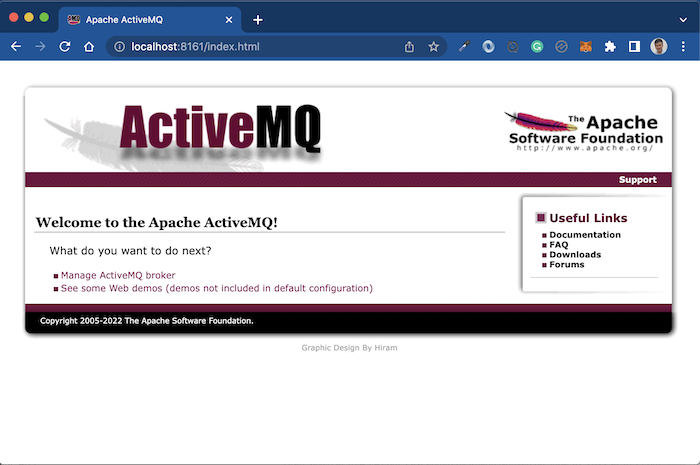
You can access WebConsole using the address http://localhost:8161/:

Log in with the username and password admin, you will see the following result: