In this tutorial, I will show you how to install Apache Kafka on macOS!
First, go to Apache Kafka’s Download page at https://kafka.apache.org/downloads to download its latest version!
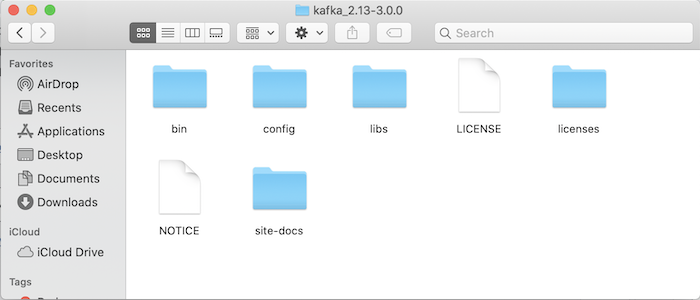
After the download is complete, please unzip this download file:
Apache Kafka depends on Apache ZooKeeper for cluster management, so to start Apache Kafka, the first thing we need to do is start Apache ZooKeeper.
The Apache Kafka installation file already includes Apache Zookeeper, so you don’t need to download Apache Zookeeper!
In the Apache Kafka installation directory, there is a config directory, which contains the default configuration files of Apache Kafka and also Apache ZooKeeper:
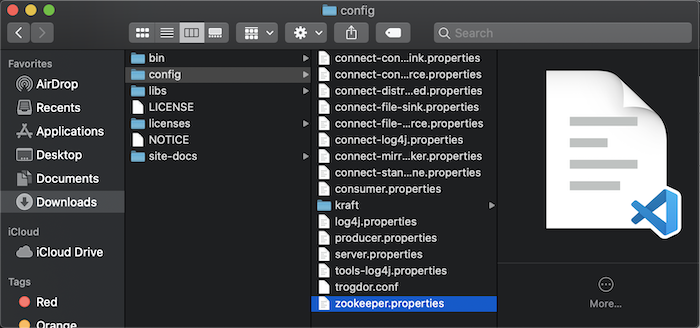
By default, Apache ZooKeeper will save data in the /tmp/zookeeper directory. To change this default directory, you can open the zookeeper.properties file in this config directory and change the value of the dataDir property, for example, as follows:
|
1 |
dataDir=/Volumes/Passport/softwares/kafka/zookeeper |
Now in the Apache Kafka installation directory, you can start Apache ZooKeeper using the following command:
|
1 |
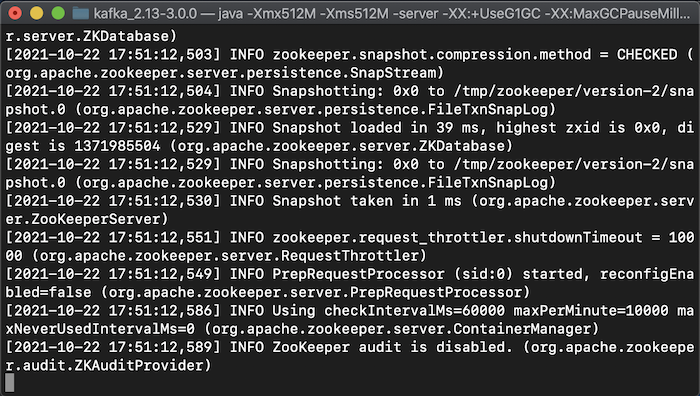
./bin/zookeeper-server-start.sh ./config/zookeeper.properties |
Result:
After you have started Apache ZooKeeper, now you can start Apache Kafka.
By default, the Apache Kafka log directory is configured to point to the /tmp/kafka-logs directory. If you want, you can also change this default configuration by opening the server.properties file and editing the value of the log.dirs property to point to the directory you want.
My example is as follows:
|
1 |
log.dirs=/Volumes/Passport/softwares/kafka/logs |
At this point you can start Apache Kafka using the following command:
|
1 |
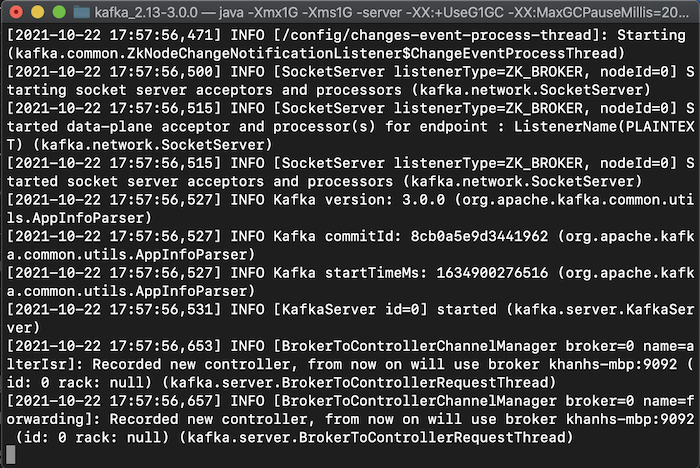
./bin/kafka-server-start.sh ./config/server.properties |
Result:
 So we have completed installing Apache Kafka on macOS!
To be able to use Apache Kafka anywhere on your machine, you can also do one more step which is to edit the .bash_profile file in the user directory, to add the path to the bin directory of Apache Kafka, my example is as follows:
|
1 |
export PATH=/Volumes/Passport/softwares/kafka/bin:$PATH |
To make our changes take effect immediately, please reload the .bash_profile file with the following command:
|
1 |
. .bash_profile |
Now, anywhere on your machine, you can use Apache Kafka CLI, for example as follows: