Although CVS is not as popular as before, there are cases where you will need to know how to install CVS server as myself. Therefore, in this tutorial I would like to sum up the steps to install the CVS server on Ubuntu. You can refer to it if needed!
First, let’s open the Ubuntu Terminal and install the cvs library using the following command:
|
1 |
sudo apt-get install cvs |
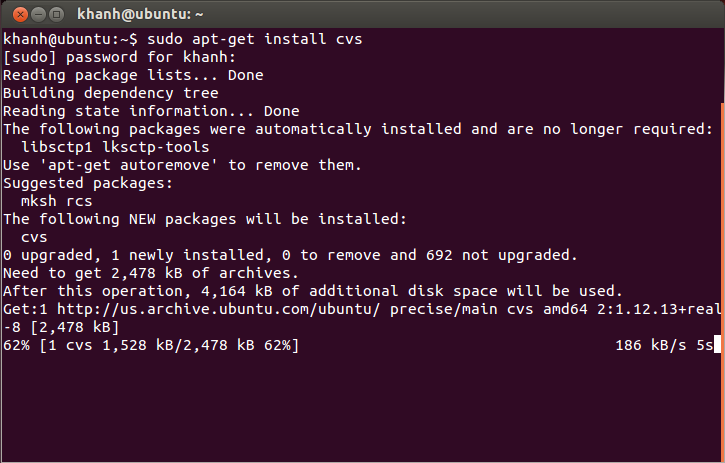
Result:
Next up is the cvsd library installation, which is a wrapper library for CVS, which makes CVS run more secure:
|
1 |
sudo apt-get install cvsd |
During the installation of the cvsd library, it will appear in the following window:
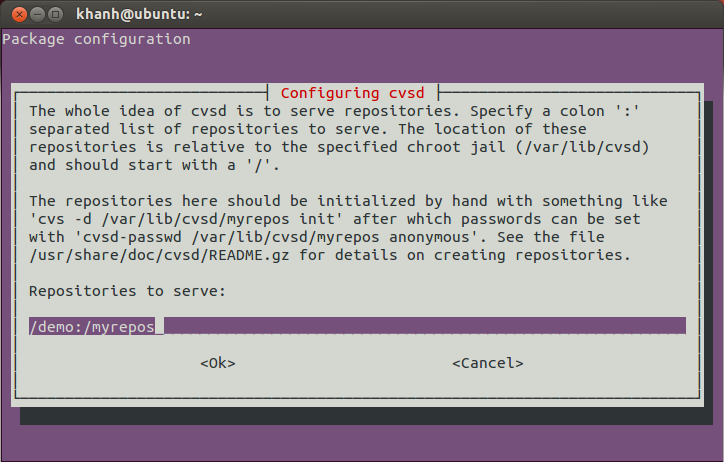
In this window, we will declare the relative path to the CVS repository directories located in the /var/lib/cvsd directory. That means, we will create our CVS repository in the /var/lib/cvsd directory and declare them here.
For example, I would create a CVS repository named repos located in the /var/lib/cvsd directory, so I would declare it in the Repository to serve box in this window as follows:
|
1 |
/repos |
If you have multiple CVS repositories like repos1, repos2 then just declared in this box as:
|
1 |
/repo1:/repo2 |
Then click the Ok button in this window.
Result:
Now we will create the CVS repository we have declared. In this example, we will create a directory named repos located in /var/lib/cvsd:
|
1 |
sudo mkdir -p /var/lib/cvsd/repos |
and use the cvs command to initialize the CVS repository in this directory:
|
1 |
sudo cvs -d /var/lib/cvsd/repos init |
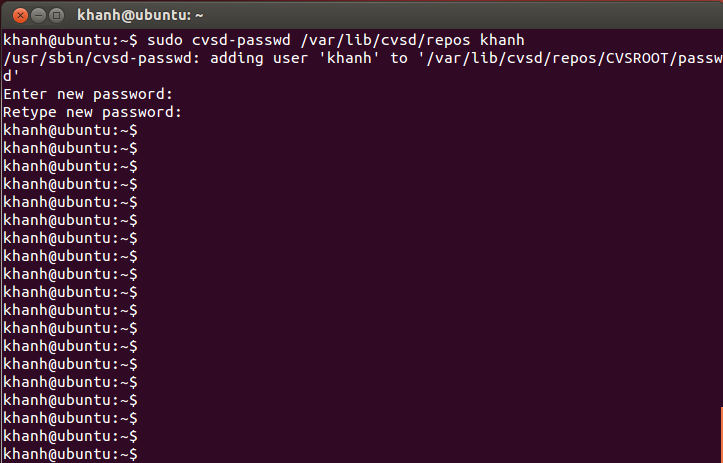
Next, we will create a username for this CVS repository with the following statement:
|
1 |
sudo cvsd-passwd /var/lib/cvsd/repos <username> |
Here, my username is khanh:
The last step is to change the permissions of the /var/lib/cvsd directory for the cvsd user:
|
1 |
sudo chown -R cvsd:cvsd /var/lib/cvsd |
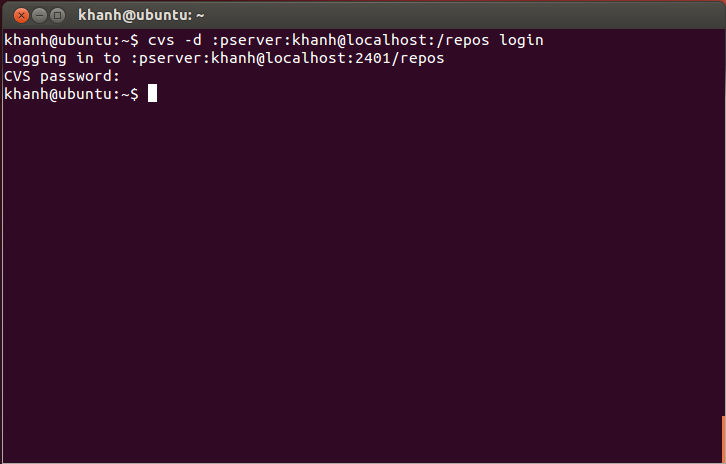
Ok, so we have successfully installed CVS server.
The results are as follows: