
Jenkins is a tool that makes it easy to build source code for software projects. In this tutorial, I will guide you to install Jenkins on Ubuntu and will have some instructions about it in the incoming tutorials.
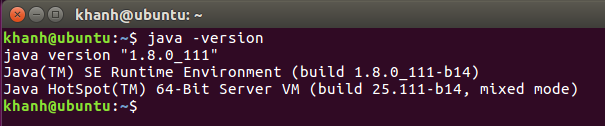
To install Jenkins, you need to install Java first. With the current version of Jenkins, we need to install Java 7 or above.
Here, I installed Java 8 as follows:
OK, let’s start installing Jenkins now!
- First, run the following two commands to add the key:
|
1 |
wget -q -O - https://jenkins-ci.org/debian/jenkins-ci.org.key | sudo apt-key add - |
and source list:
|
1 |
sudo sh -c 'echo deb http://pkg.jenkins-ci.org/debian binary/ > /etc/apt/sources.list.d/jenkins.list' |
of Jenkins into apt command.
- Then, run the following command to update the apt cache:
|
1 |
sudo apt-get update |
- Finally, run the following command to install Jenkins.
|
1 |
sudo apt-get install jenkins |
Once installed, Jenkins will run underneath the system.
Its jenkins.log file is also created in the /var/log/jenkins/directory. You can check this log file if there is a problem with Jenkins.
By default, Jenkins will run on port 8080. You can access Jenkins with the following URL:
|
1 |
http://localhost:8080/ |
Result:
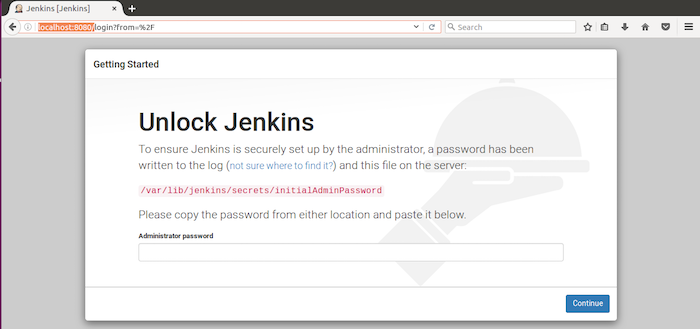
As you can see, we need to unlock Jenkins as instructed above. It provides us with a password contained in the jenkins.log file and in /var/lib/jenkins/secrets/initialAdminPassword to unlock. Please copy this password and paste into the Administrator password box and then click the Continue button.
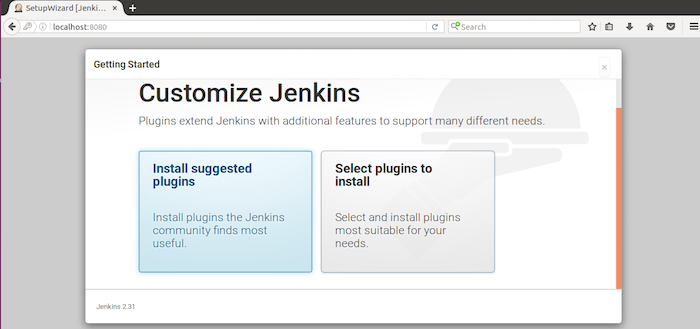
At this point, choose Install suggested plugins to Jenkins install the common plugins that we often use.
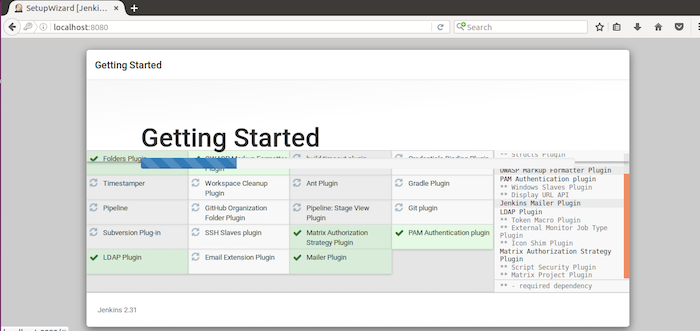
After installing the plugins, Jenkins will ask you to setup the administrator account as follows:
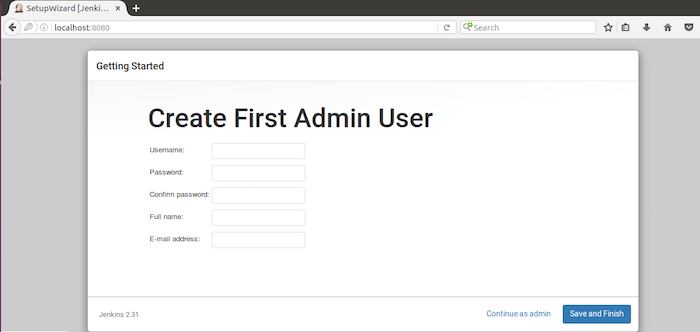
Please fill the appropriate information of you and then click Save and Finish.
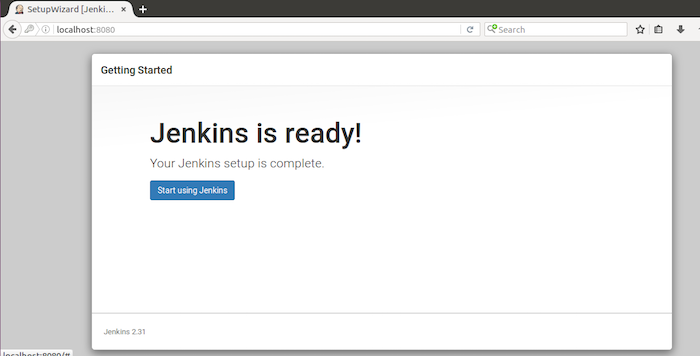
Click on Start using Jenkins to enter Jenkins main window.
Result:
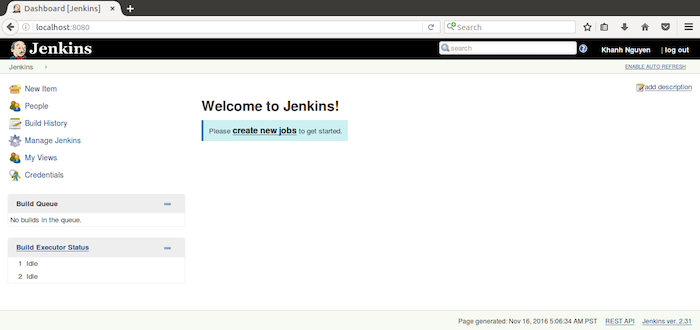
At this point, we have finished installing Jenkins on Ubuntu! Currently, the Jenkins version is 2.31.
