In Mule ESB, in addition to existing transformers such as Byte Array to String, Object to JSON, XML to JSON,… we can use DataWeave to transform more complex data types, from input to output, in a flexible way. In this tutorial, I will introduce you to some knowledge about DataWeave and a simple example on how to use DataWeave to transform data from CSV format to XML format.
DataWeave makes it easy to transform from one data format to another. It is a language used to query and transform complex data. The DataWeave code is like JSON syntax and we can call functions written in Java or Groovy inside DataWeave.
DataWeave supports a variety of data formats such as XML, JSON, CSV …
In Anypoint Studio, we can use the Transform Message Component to query and transform data using DataWeave.
To give you a better view of DataWeave, I will make a simple example using the Transform Message Component with DataWeave to transform the data in CSV format into XML format.
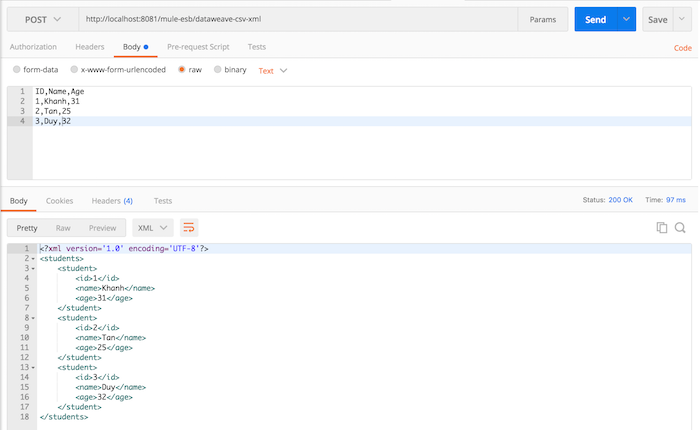
My CSV data is in the following format:
|
1 2 3 |
ID,Name,Age 1,Khanh,31 2,Tan,25 |
The XML format we expect to get is:
|
1 2 3 4 5 6 7 8 9 10 11 12 13 |
<?xml version='1.0' encoding='UTF-8'?> <students> <student> <id>1</id> <name>Khanh</name> <age>31</age> </student> <student> <id>2</id> <name>Tan</name> <age>25</age> </student> </students> |
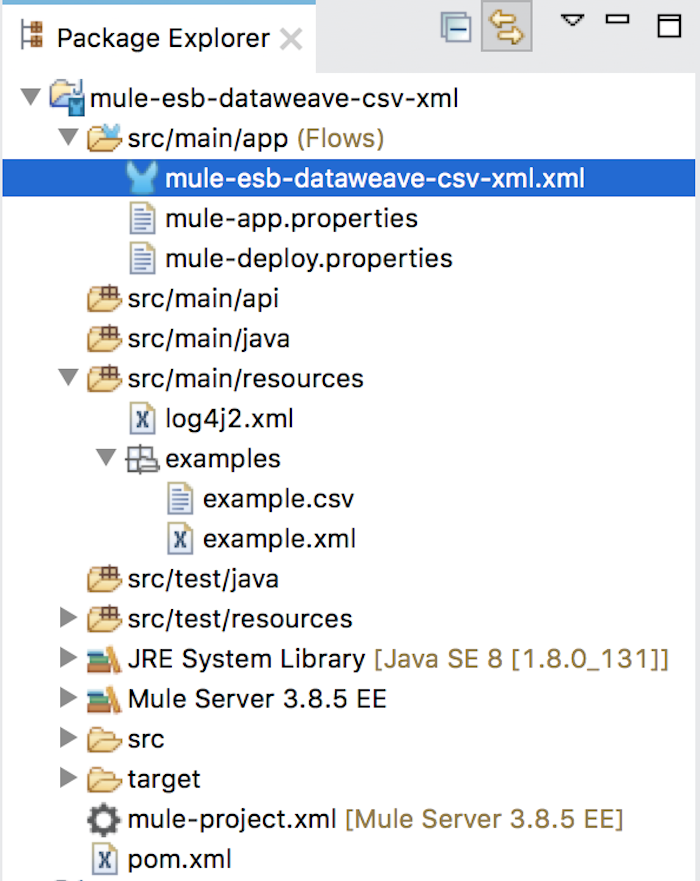
OK, I will first create a new Mule ESB Maven project as an example. Then I would create two examples.csv and example.xml files to contain the data before and after the transform. Both of these files will be placed in the /src/main/resources/examples/directory of the project.
My project will have the following structure:
If you do not know how to create Mule ESB Maven project, please refer to this tutorial.
The mule-esb-dataweave-csv-xml.xml file will contain the main Mule flow in our example.
Mule Flow will have the following content:
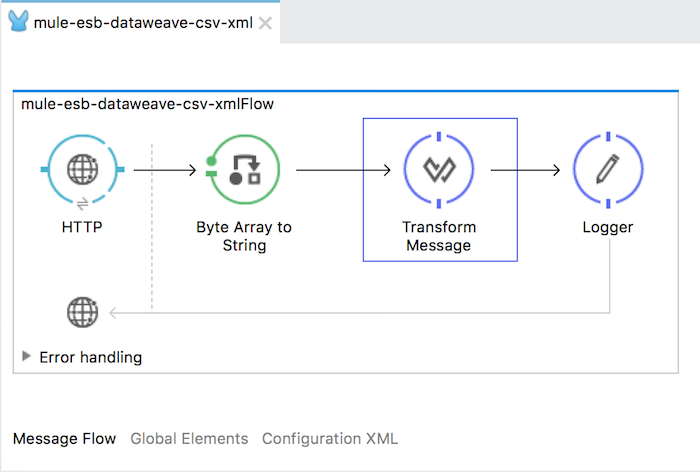
Inside:
- HTTP Listener Connector: used for the client to transmit data in the CSV specification in the HTTP request body.
- Byte Array to String Transformer is used to convert binary data in the body of the HTTP request to String as CSV.
- Tranform Message Component converts CSV data into XML format.
- Logger Component: used to print XML content after conversion.
The HTTP Listener Connector is configured (with the base URL: http://localhost:8081/mule-esb/) as follows:
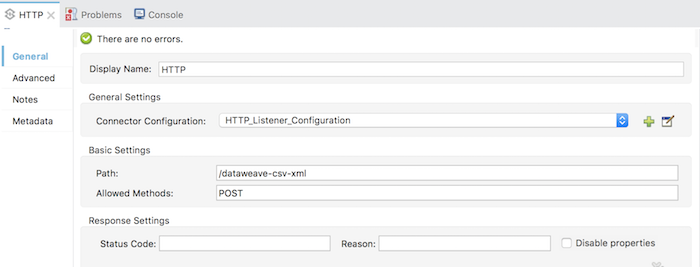
Anyone can refer to the configuration section of the HTTP Listener Connector here.
The Byte Array to String does not have to be configured.
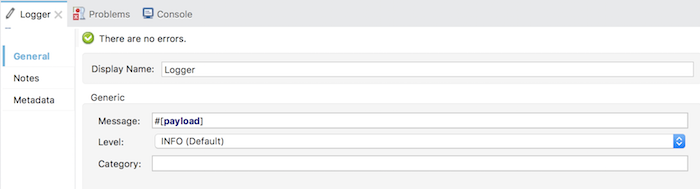
The Logger Component configuration is as simple as printing the payload:
Most important is the Transform Message Component.
By default, the Transform Message Component will be configured as follows:
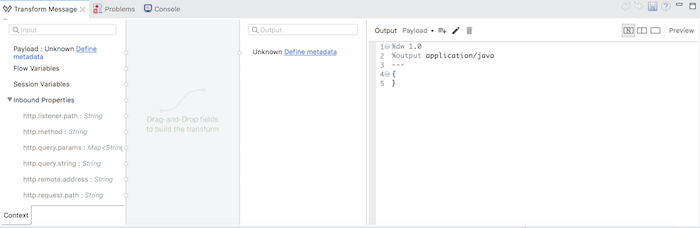
As you can see, we have three parts: Input, Output and Data Weave script.
We will only use Input and Output in case you can define the data before and after transform into fixed structures, or you have sample data for them. In this case, you can use these two parts to generate the Data Weave script by dragging and dropping. In the rest, we cannot define the structure of data for Input and Output, we need to write Data Weave script.
Because I already have sample data before and after the transform so in this example, I will use the Input and Output to generate Data Weave script.
Input part will allow us to define the data that we will use to transform the output.
All input data can include Payload of Mule Message, Flow Variables, Session Variables and Inbound Properties.
With Payload, we can define any data format. As you can see, we have the Define metadata section in the Input Payload section. If you click on this section, you will see the following window:
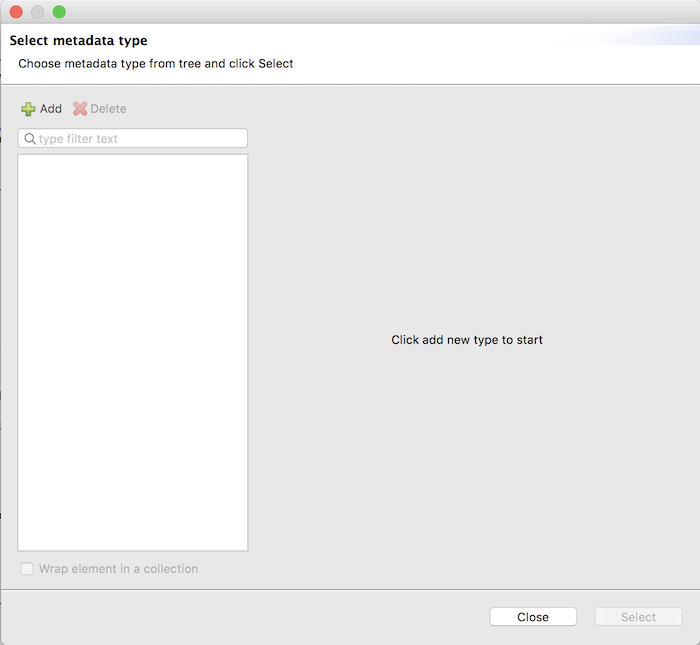
This window allows us to define data for the payload, which means that by default, when processing to this Transform Message Component, the Payload data will have this data format. For example, here is the CSV format, when processing to this Transform Message Component the data will be in CSV format.
Here, Mule allows us to define metadata for CSV with a file. Click the Add button to create a new type for CSV.
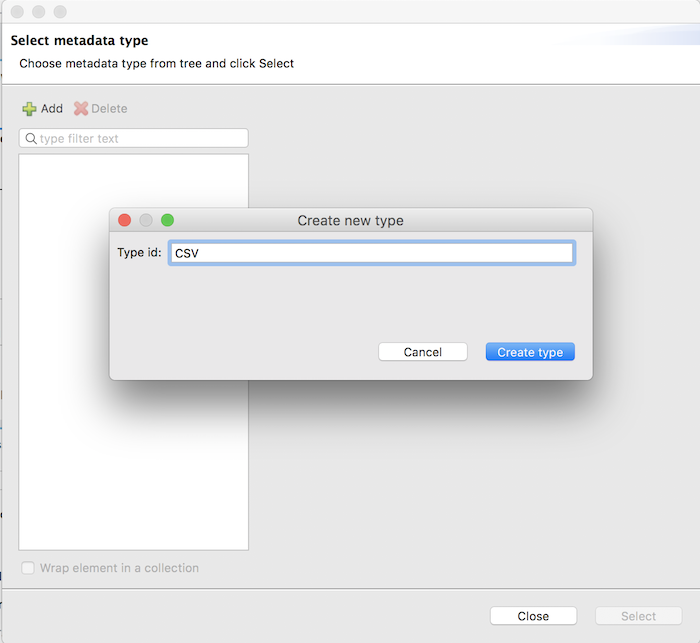
Click the Create type button to finish.
In the Type box, you will see many types of data supported by the Mule ESB.
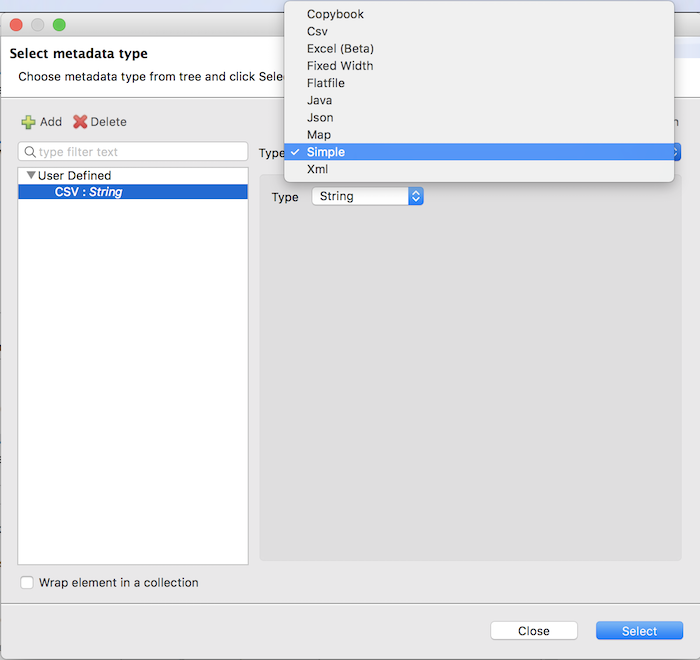
Select Csv in the Type box, then select Sample File and point to the file containing the CSV file that we want to transform. Then you will see the Metadata window as follows:
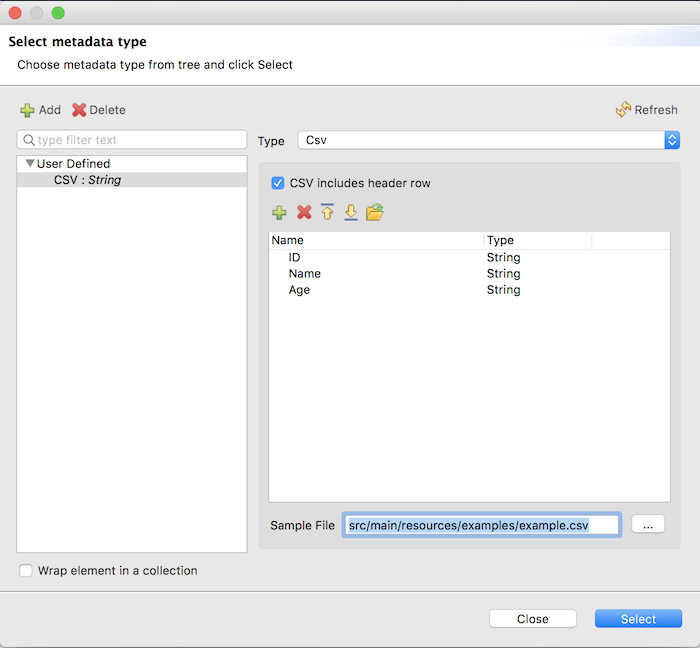
Hit the Select button to complete the Metadata for Payload definition in the Input section of the Transform Message Component.
At this point, you will see the input of the Transform Message Component as follows:
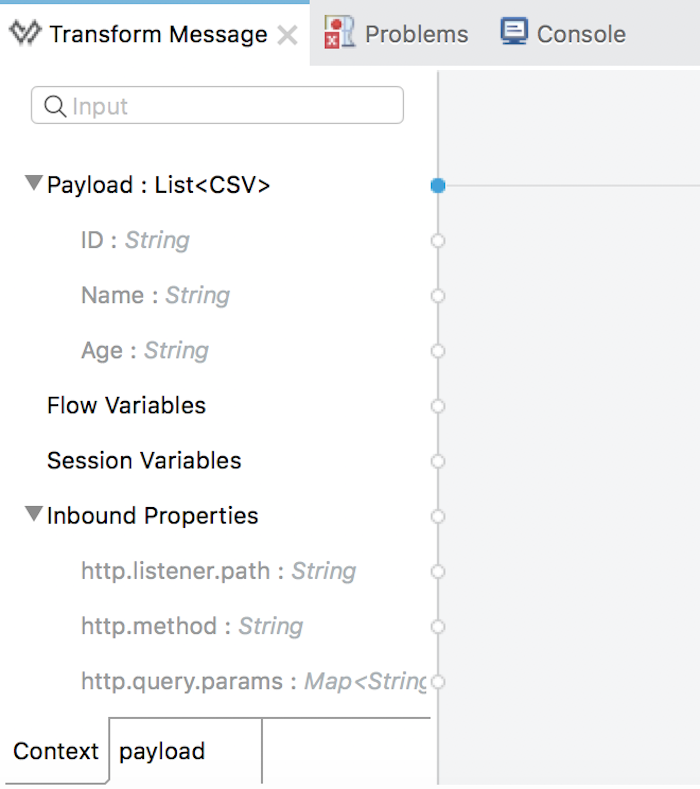
So we have defined the input. As you can see, the data for Payload has been formatted in a structure like our sample data.
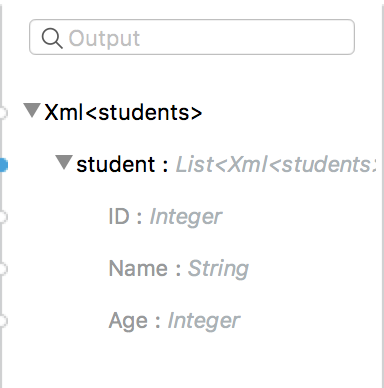
Our output part, you can also click the Define metadata button to define the structure of the output as sample data as the input.
Just do the same with sample data as the example.xml file in the /src/main/resources/examples directory.
My result is as follows:
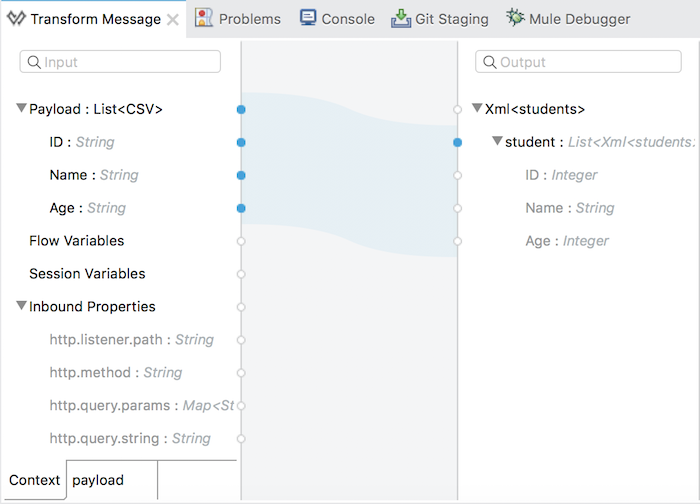
At this point, the input and output of the Transform Message Component have the following content:
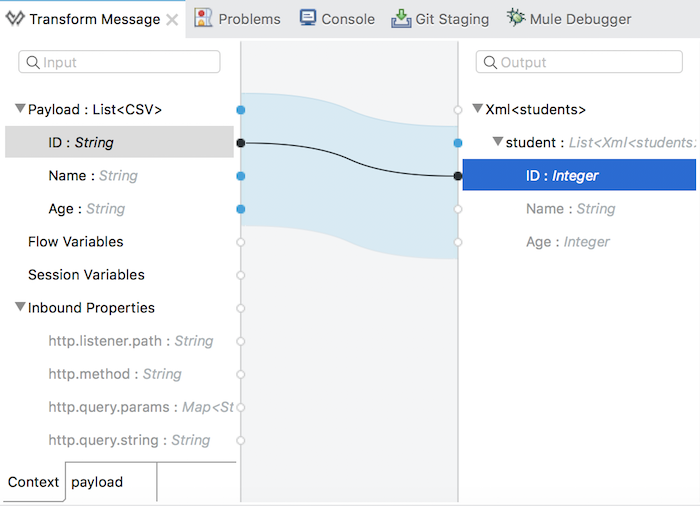
Now you can drag the ID attribute of the Input and drop into the ID attribute in the Output as follows to map them together as follows:
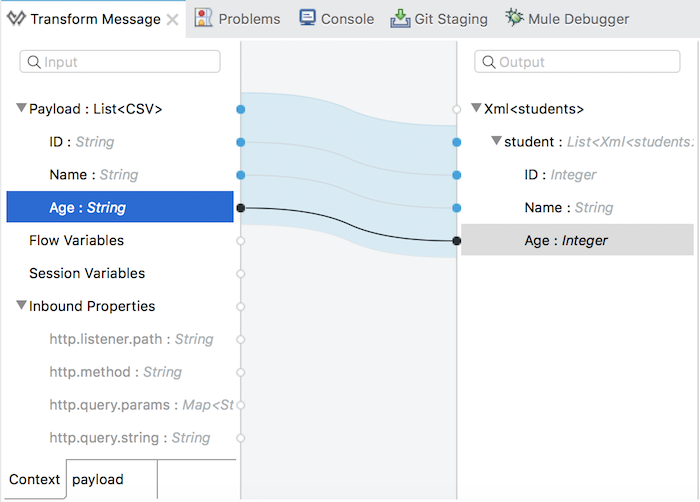
Do the same for the Name and Age properties.
Result:
If you look at the Data Weave script, you will see it generated with the following content:
|
1 2 3 4 5 6 7 8 9 10 11 12 13 14 15 16 |
%dw 1.0 %output application/xml --- { students: { (payload map ((payload01 , indexOfPayload01) -> { student: { ID: payload01.ID as :number, Name: payload01.Name, Age: payload01.Age as :number } })) } } |
This is the Data Weave script that if it is not generated by dragging and dropping the Input with the Output, we have to write to transform from CSV to XML.
Let’s analyze the contents of this Data Weave script.
First, we need to declare:
|
1 2 3 |
%dw 1.0 %output application/xml |
to specify the output will be XML format.
Going from outside to inside, the first thing we need of the output is the <students> root tag, so our first code to write is:
|
1 2 3 4 5 |
{ students: { () } } |
Given each line in the CSV file, we will create a <student> tag, so here we will use the map operator to foreach each line in the CSV file and create the <student> tag:
|
1 2 3 4 5 6 7 8 |
{ students: { (payload map ((payload01 , indexOfPayload01) -> { student: { } })) } } |
The variable payload01 will be the object containing the information for each line in the CSV file and to print out the ID, Name, Age we will write as follows:
|
1 2 3 4 5 6 7 8 9 10 11 |
{ students: { (payload map ((payload01 , indexOfPayload01) -> { student: { ID: payload01.ID as :number, Name: payload01.Name, Age: payload01.Age as :number } })) } } |
At this point, we have completed the DataWeave script to transform the CSV data into XML format.
You can click Preview to see the result:

Now we can run our Mule ESB application and use Postman to test the result: