For Java code, to ensure that the code we wrote, works as we expect, and in the future if we make code changes we can be aware of the errors, we often use JUnit to write Unit Test. And for Mule ESB with Mule Flows, in order to achieve this goal, we need to use MUnit to write Unit Test. How is it in details? Let’s find out about MUnit in Mule ESB in this tutorial.
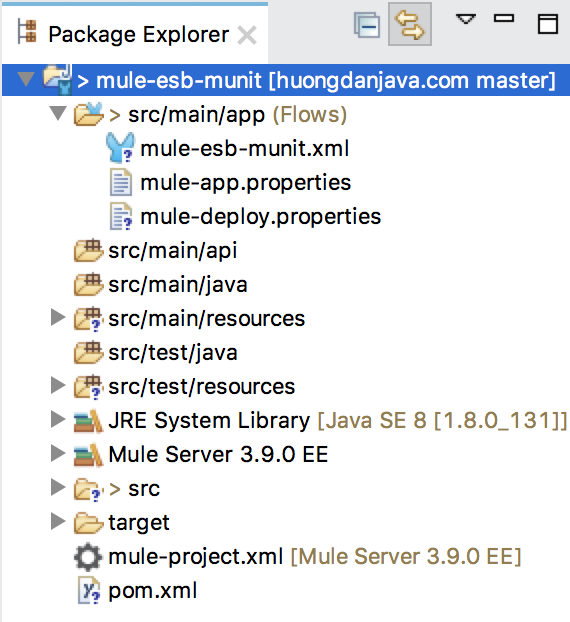
First, I will create a Mule Maven project with a simple Mule Flow like below:
Mule Flow:
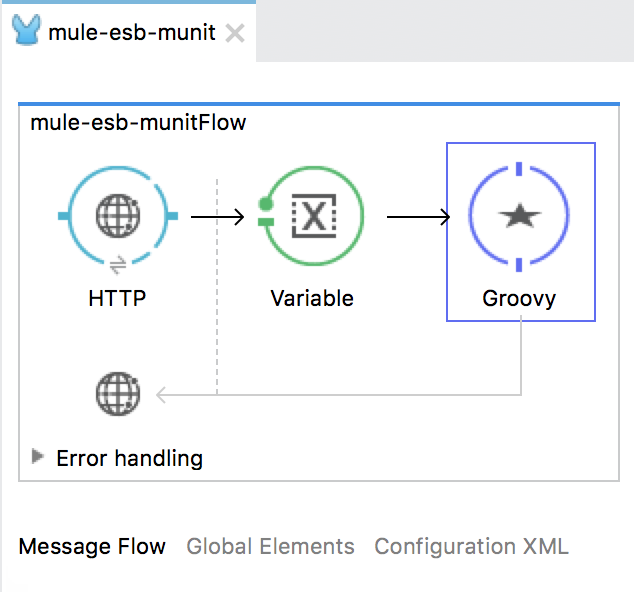
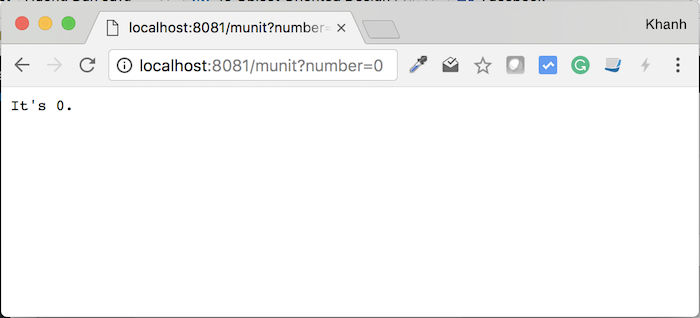
This Mule Flow will allow users to access our application and pass a request parameter named “number”. We will return the client the words “It’s 0.” or “It’s not 0” based on the value of the parameter number is 0 or not?
So:
- The HTTP Listener Connector is configured so that the client can access our application using http://localhost:8081/munit. You can see how to configure HTTP Listener Connector here. The user can pass the parameter number by request as follows: http://localhost:8081/munit?number=1.
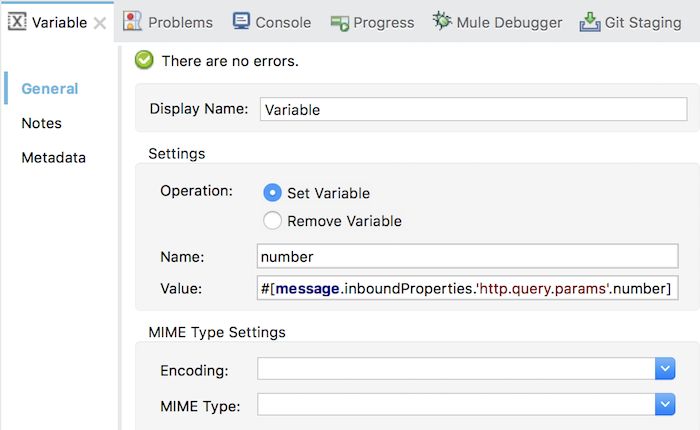
- The Variable operation is used to set a Flow variable named “number” with the value that the user passed in the request URL.
- Groovy Component handles the value that the user passed to return the result.

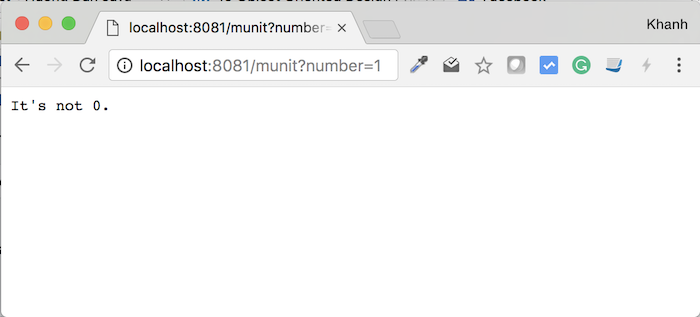
At this point, if you run the application will see the results as follows:
OK, now we will use MUnit to write Unit Test for our Mule Flow!
First, right-click on our project, then select New and then choose MUnit Test:
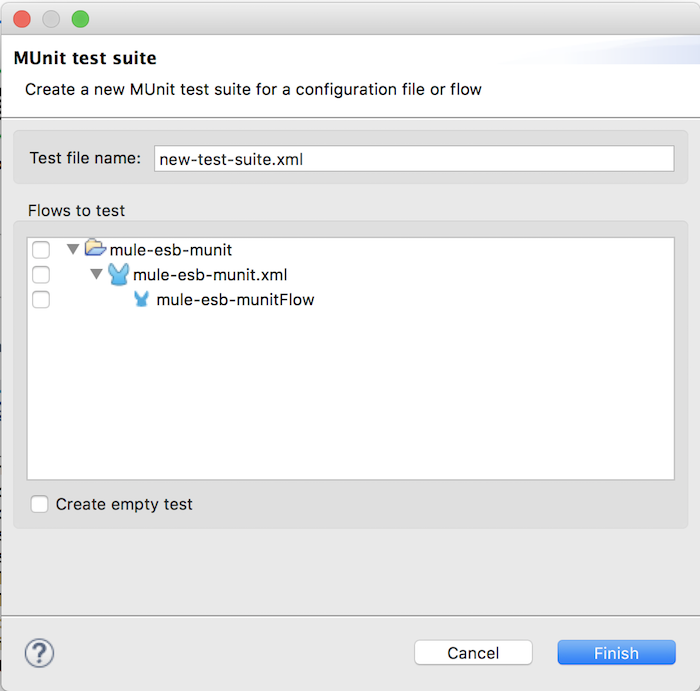
In the window above, select the Mule Flow that we need to test, and then name the MUnit Test file base on your own discretion. Here, I configured as follows:
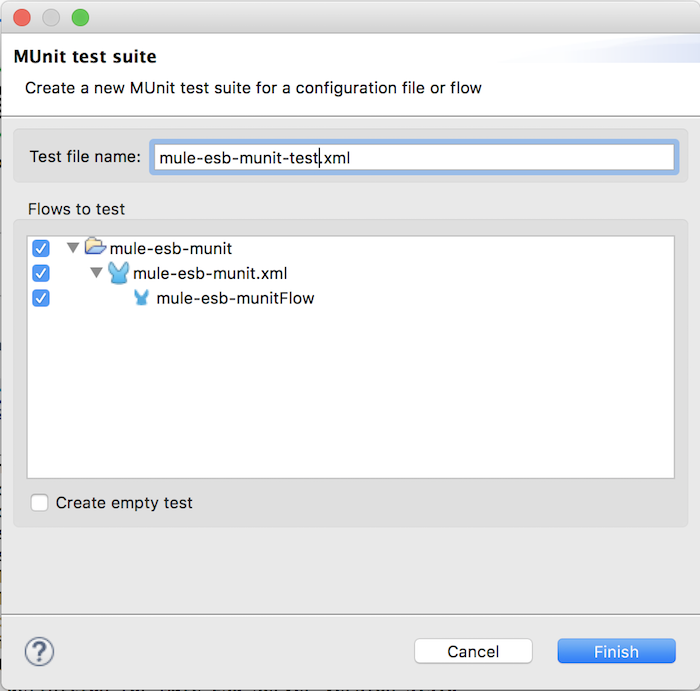
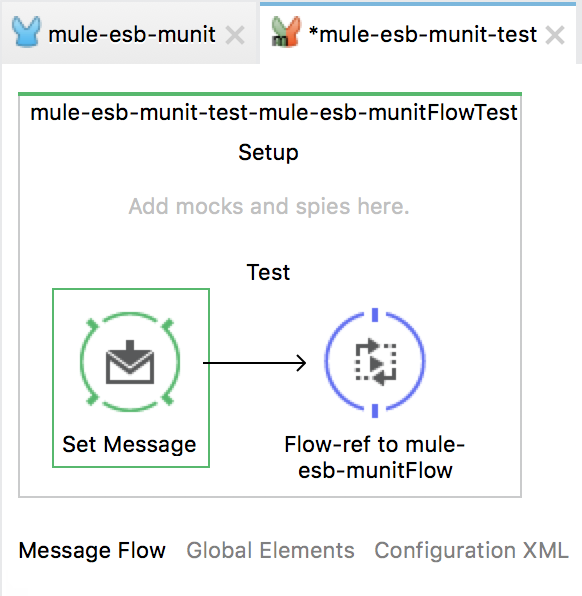
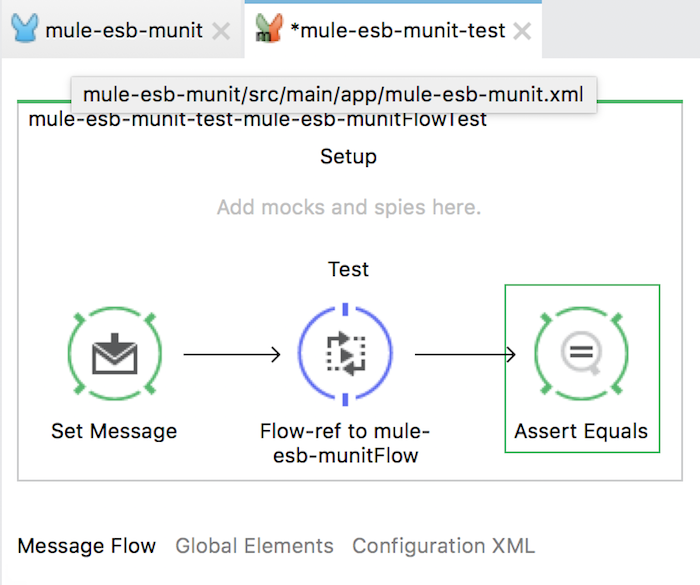
Then click Finish button to create the MUnit Test file. The contents of this MUnit Test file will look like as follows:
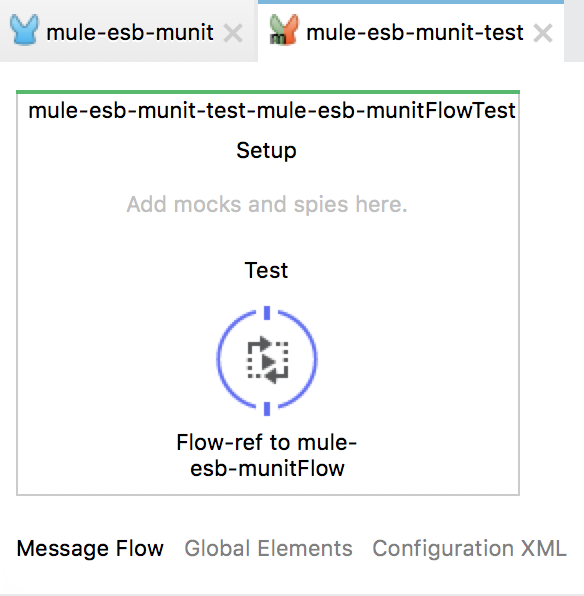
You can see the initial content of this MUnit Test file is using the Flow Reference to reference the Mule Flow we need to test. Our task is only to set input data and expectation after the Mule Flow is processed.
To set the input data, use the Set Message component of MUnit by dragging it in front of the existing Flow Reference:
This Set Message component allows us to build a complete Mule Message that includes the Payload and the Header information of a Mule Message. The configuration of this Set Message component is as follows:
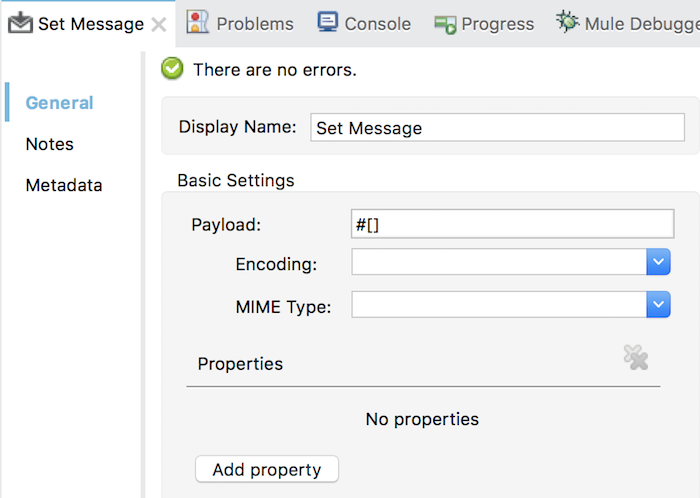
Here we have the Payload field to set the payload for the Mule Message, while the Add property button allows us to add other information such as the Mule Message header.
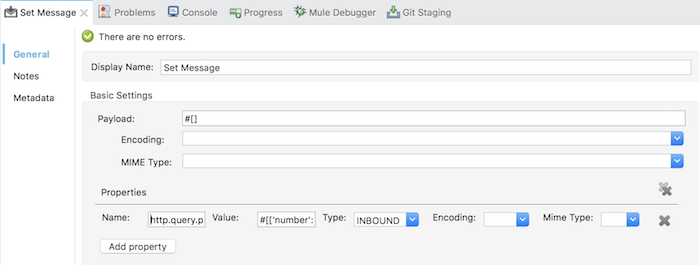
In this test, I will test if the user passes parameter number = 0 so I will add a property named “http.query.params”, the value is “# [[‘number’: ‘0’]]” with type is INBOUND as follows:
Now, we will set up the expectation with the input data as above.
Like JUnit, we have the Assert class to compare our expectation with the value after the code has finished processing. In MUnit, we also have many Assert components that allow us to do this.
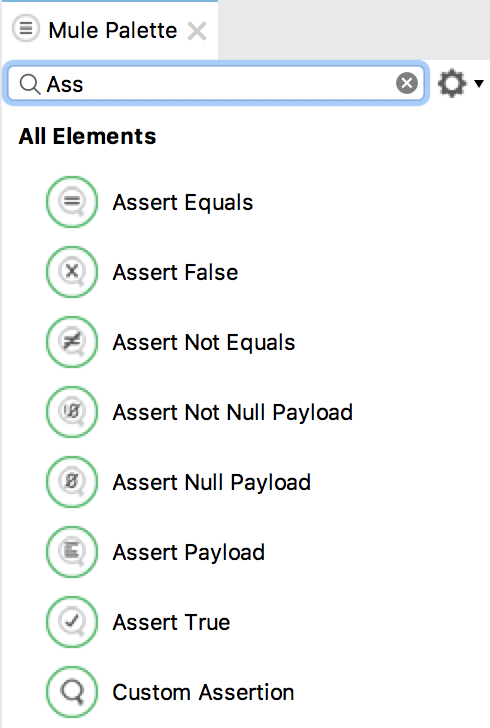
Look at the name of each Assert component, you know the effect of them all, right? 😀
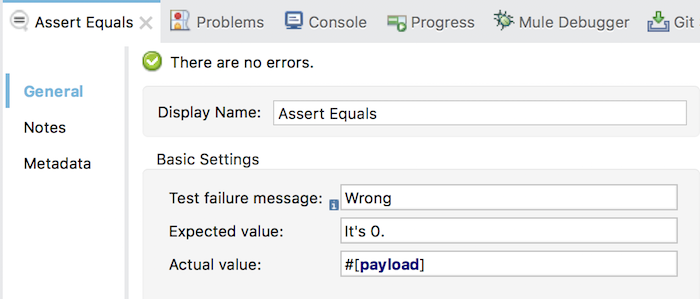
Here, in this example, our need is to test the text that Mule Flow returns with expectation of “It’s 0.” then I will use Assert Equals
with configuration as follows:
OK, now try to run by right-clicking on the MUnit Test file and select Run As, then select MUnit.
Result:
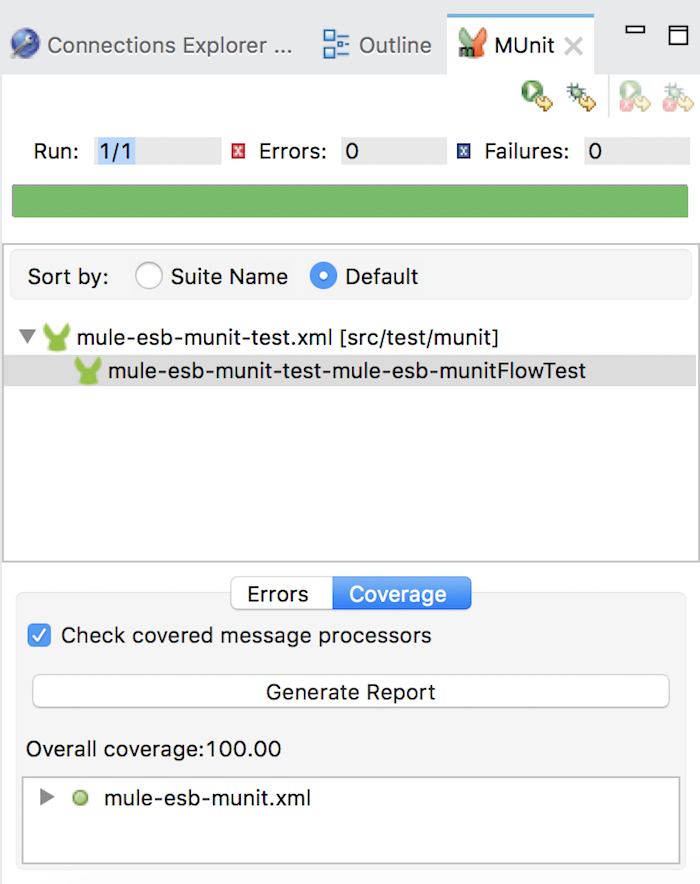
Green means the test passed. Here, MUnit also allows us to see how much Mule Flow Coverage. 100% is perfect, don’t you? 😀