When developing an application that uses any programming language, it is important to ensure that our code is written exactly as we want, even if the code is wrong in business logic. To do this, we must have unit test for our code. In this tutorial, I will introduce you about unit testing in Angular so you can better understand how we will write unit test in Angular!
First, I will create a new Angular project as an example:
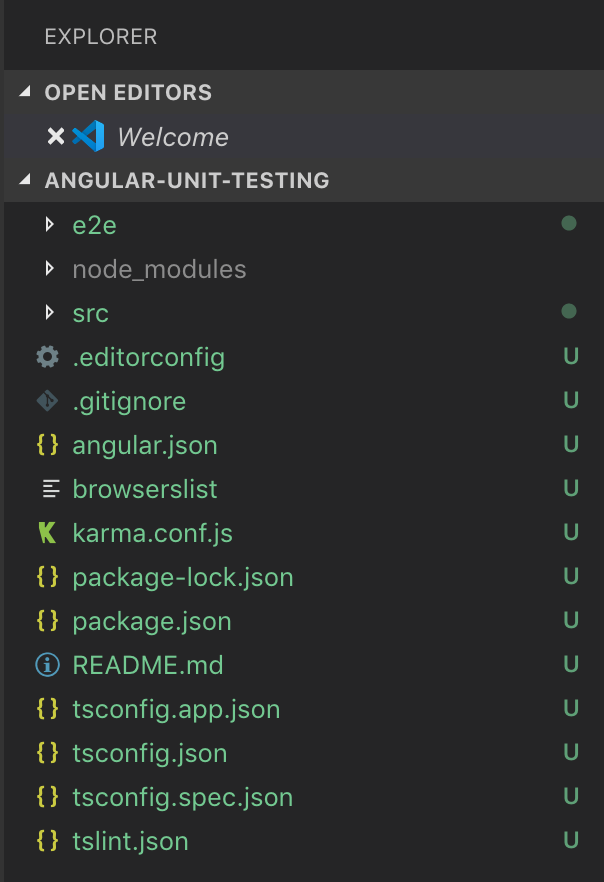
By default, when you create the Angular project using the Angular CLI, the two tools used to write and run unit test in Angular are Jasmine and Karma will be included, configured and an example of writing unit test using these two tools also included in the app.component.spec.ts file in the src/app directory.
Jasmine is a framework with many functions that makes it easy to write unit test in Angular and Karma is a tool to help us able to can run the unit test. We can also see the report, code coverage using this Karma tool.
Jasmine tools only let us write unit test so you won’t need to configure anything, but Karma. We have to configure it so that it can run, output report, displays the code coverage for us. By default when creating the Angular project, you will see Karma karma.conf.js configuration file in the project’s home directory with the following content:
|
1 2 3 4 5 6 7 8 9 10 11 12 13 14 15 16 17 18 19 20 21 22 23 24 25 26 27 28 29 30 31 32 |
// Karma configuration file, see link for more information // https://karma-runner.github.io/1.0/config/configuration-file.html module.exports = function (config) { config.set({ basePath: '', frameworks: ['jasmine', '@angular-devkit/build-angular'], plugins: [ require('karma-jasmine'), require('karma-chrome-launcher'), require('karma-jasmine-html-reporter'), require('karma-coverage-istanbul-reporter'), require('@angular-devkit/build-angular/plugins/karma') ], client: { clearContext: false // leave Jasmine Spec Runner output visible in browser }, coverageIstanbulReporter: { dir: require('path').join(__dirname, './coverage/angular-unit-testing'), reports: ['html', 'lcovonly', 'text-summary'], fixWebpackSourcePaths: true }, reporters: ['progress', 'kjhtml'], port: 9876, colors: true, logLevel: config.LOG_INFO, autoWatch: true, browsers: ['Chrome'], singleRun: false, restartOnFileChange: true }); }; |
This configuration file of Karma will define the framework that we will use to write unit test using the “frameworks” properties, libraries needed for Karma to do the tasks we want, like reports, code. coverage, … is defined in the “plugins” attribute. By default, to run unit test, Karma will use Chrome browser with karma-chrome-launcher and Karma has a running mode called autoWatch, which means that if there are any changes in our code, Karma will automatically detect and run the test again. You can change this default configuration information if you want.
Another point to note is that here we have the test.ts file in the src directory acts as the first file which Angular will run when we run the test with the command “ng test”. The contents of this file are as follows:
|
1 2 3 4 5 6 7 8 9 10 11 12 13 14 15 16 17 18 19 20 |
// This file is required by karma.conf.js and loads recursively all the .spec and framework files import 'zone.js/dist/zone-testing'; import { getTestBed } from '@angular/core/testing'; import { BrowserDynamicTestingModule, platformBrowserDynamicTesting } from '@angular/platform-browser-dynamic/testing'; declare const require: any; // First, initialize the Angular testing environment. getTestBed().initTestEnvironment( BrowserDynamicTestingModule, platformBrowserDynamicTesting() ); // Then we find all the tests. const context = require.context('./', true, /\.spec\.ts$/); // And load the modules. context.keys().map(context); |
As you can see, an object named TestBed will be initialized by Angular in the test.ts file, this is the object that will help us create and configure the Component that we need to test. Also, in this test.ts file, we will also see a code that will help Angular detect files which name containing “spec” string, these are files that will define unit test in that Angular!
OK, The above is the basic information you need to know to start writing unit test in Angular. Now we will look at the content of the app.component.spec.ts file in the src/app directory to understand how to write the unit test!
The contents of this file are as follows:
|
1 2 3 4 5 6 7 8 9 10 11 12 13 14 15 16 17 18 19 20 21 22 23 24 25 26 27 28 29 30 31 |
import { TestBed, async } from '@angular/core/testing'; import { AppComponent } from './app.component'; describe('AppComponent', () => { beforeEach(async(() => { TestBed.configureTestingModule({ declarations: [ AppComponent ], }).compileComponents(); })); it('should create the app', () => { const fixture = TestBed.createComponent(AppComponent); const app = fixture.debugElement.componentInstance; expect(app).toBeTruthy(); }); it(`should have as title 'angular-unit-testing'`, () => { const fixture = TestBed.createComponent(AppComponent); const app = fixture.debugElement.componentInstance; expect(app.title).toEqual('angular-unit-testing'); }); it('should render title in a h1 tag', () => { const fixture = TestBed.createComponent(AppComponent); fixture.detectChanges(); const compiled = fixture.debugElement.nativeElement; expect(compiled.querySelector('h1').textContent).toContain('Welcome to angular-unit-testing!'); }); }); |
Here, we will use Jasmine’s describe() function to start writing unit test for our Component. This function is for creating a new set of test cases (can be called a group of specs), can also be called test suite, for your Component. The parameters of this function include the description of test suite and their definition as follows:
|
1 2 3 4 5 6 |
/** * Create a group of specs (often called a suite). * @param description Textual description of the group * @param specDefinitions Function for Jasmine to invoke that will define inner suites a specs */ declare function describe(description: string, specDefinitions: () => void): void; |
We have many specs in test suite, if every spec we have to do the Component configuration, it is not good approach. You can use the beforeEach() function to do this. When running a spec, Angular will call the beforeEach() function first to configure Component, then in each spec, we just need to create the Component and use Jasmine functions to implement the code for unit testing only.
In my example, the content of the beforeEach() function is simple because our application is simple. For large applications, you will need to do more than that, because maybe your Component uses a lot of other Components or many other things.
In each spec, you will need to create new Component and depending on the purpose of testing, we will use Jasmine‘s functions to implement it. We will use Jasmine’s function expect() and functions in the interface Matchers namespace jasmine to make assertion:
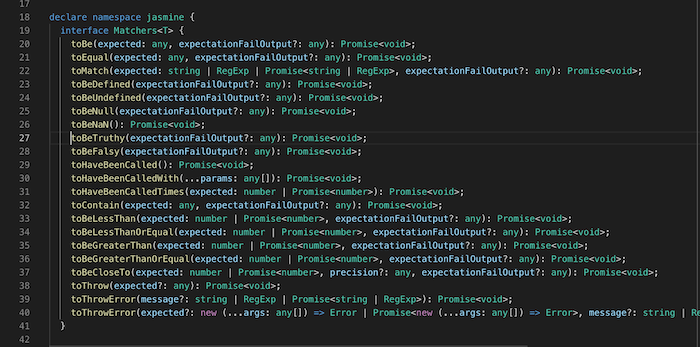
To ensure code quality, try to cover all cases in Component’s code with unit testing!