When a Pod in the Kubernetes system encounters a problem, it cannot fix itself, which will make our application unstable if there is any problem with Pod. To solve this problem, we need to use ReplicaSet to ensure that the number of Pods required for our application is always stable. That means, if a Pod has a problem, ReplicaSet will re-create that Pod for us. How is it in details? Let’s look at this tutorial together!
For example, I need to make sure that Kubernetes always has 2 Pods to run my huongdanjava application, I will define the spec file of ReplicaSet as follows:
|
1 2 3 4 5 6 7 8 9 10 11 12 13 14 15 16 17 18 19 |
apiVersion: apps/v1 kind: ReplicaSet metadata: name: frontend labels: app: huongdanjava spec: replicas: 2 selector: matchLabels: purpose: blog template: metadata: labels: purpose: blog spec: containers: - name: node-hello image: gcr.io/google-samples/node-hello:1.0 |
In the spec definition above, the “kind: ReplicaSet” is the Kubernetes object name we need to create with the name and the Labels assigned to this ReplicaSet object are defined in the metadata section. The main part of the ReplicaSet object definition is in the spec section, which defines how many Pods we need, how to use Pod with Label, and the information that the Pods will be used in the template section.
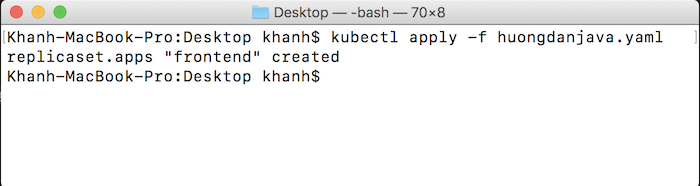
After defining the ReplicaSet object, you can use the apply command to submit this ReplicaSet for Kubernetes as follows:
|
1 |
kubectl apply -f huongdanjava.yaml |
Result:
Check all ReplicaSets in Kubernetes:
|
1 |
kubectl get rs |
you will see the following result:

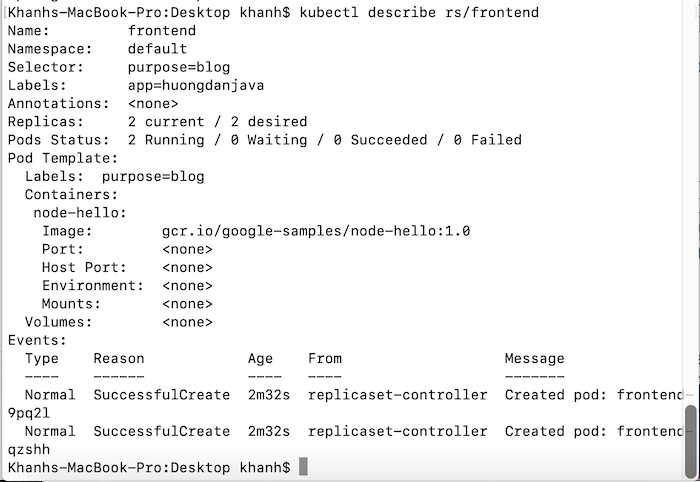
Check the information of ReplicaSet:
|
1 |
kubectl describe rs/frontend |
Check the number of Pods available:
|
1 |
kubectl get pods |
You will see the following result:

As you can see, 2 Pods are maintained for ensuring the definition of ReplicaSet.
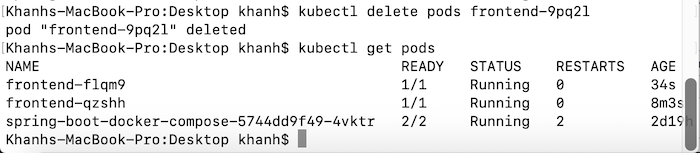
Now, If I delete 1 of the 2 frontend pods:
|
1 |
kubectl delete pods frontend-9pq2l |
then check the Pod, you will see the result a Pod frontend is recreated as follows:
To delete a ReplicaSet, you can use the following command:
|
1 |
kubectl delete rs/frontend |
My result is as follows: